Initialise
Use `terraform init` to initialise a terraform environment, downloading providers and modules.
Overview
In this short lab you will
- create a provider.tf in Cloud Shell
- use the
terraform initcommand to download the azurerm provider locally
Create a provider.tf
-
Open the Cloud Shell
Authenticate and check you are in the right subscription.
-
Create a directory
mkdir terraform-basicsUse
CTRL+SHIFT+Vto paste as plain text into the Cloud Shell’s terminal. -
Change to the directory
cd terraform-basics -
Open the Monaco editor
The Azure Cloud Shell includes the integrated open source Monaco editor.
code provider.tf -
Copy the example provider.tf
Click on the copy icon that appears when you hover over the example code block below.
terraform {
  required_providers {
    azurerm = {
      source  = "hashicorp/azurerm"
      version = "~>3.1"
    }
  }
}

provider "azurerm" {
  features {}

  storage_use_azuread = true
}
Terraform can use providers for multiple clouds and other technologies. This example provider.tf has provider requirements so that we are assured a minimum version of the azurerm provider, and also specifies a couple of azurerm provider features.
-
Paste into the editor window
Click on the main editor pain and paste using
CTRL+V.The circle next to the file name indicates that the file has unsaved changes.
-
Save the file
Click on the ellipsis (…) and select Save, or use
CTRL+S.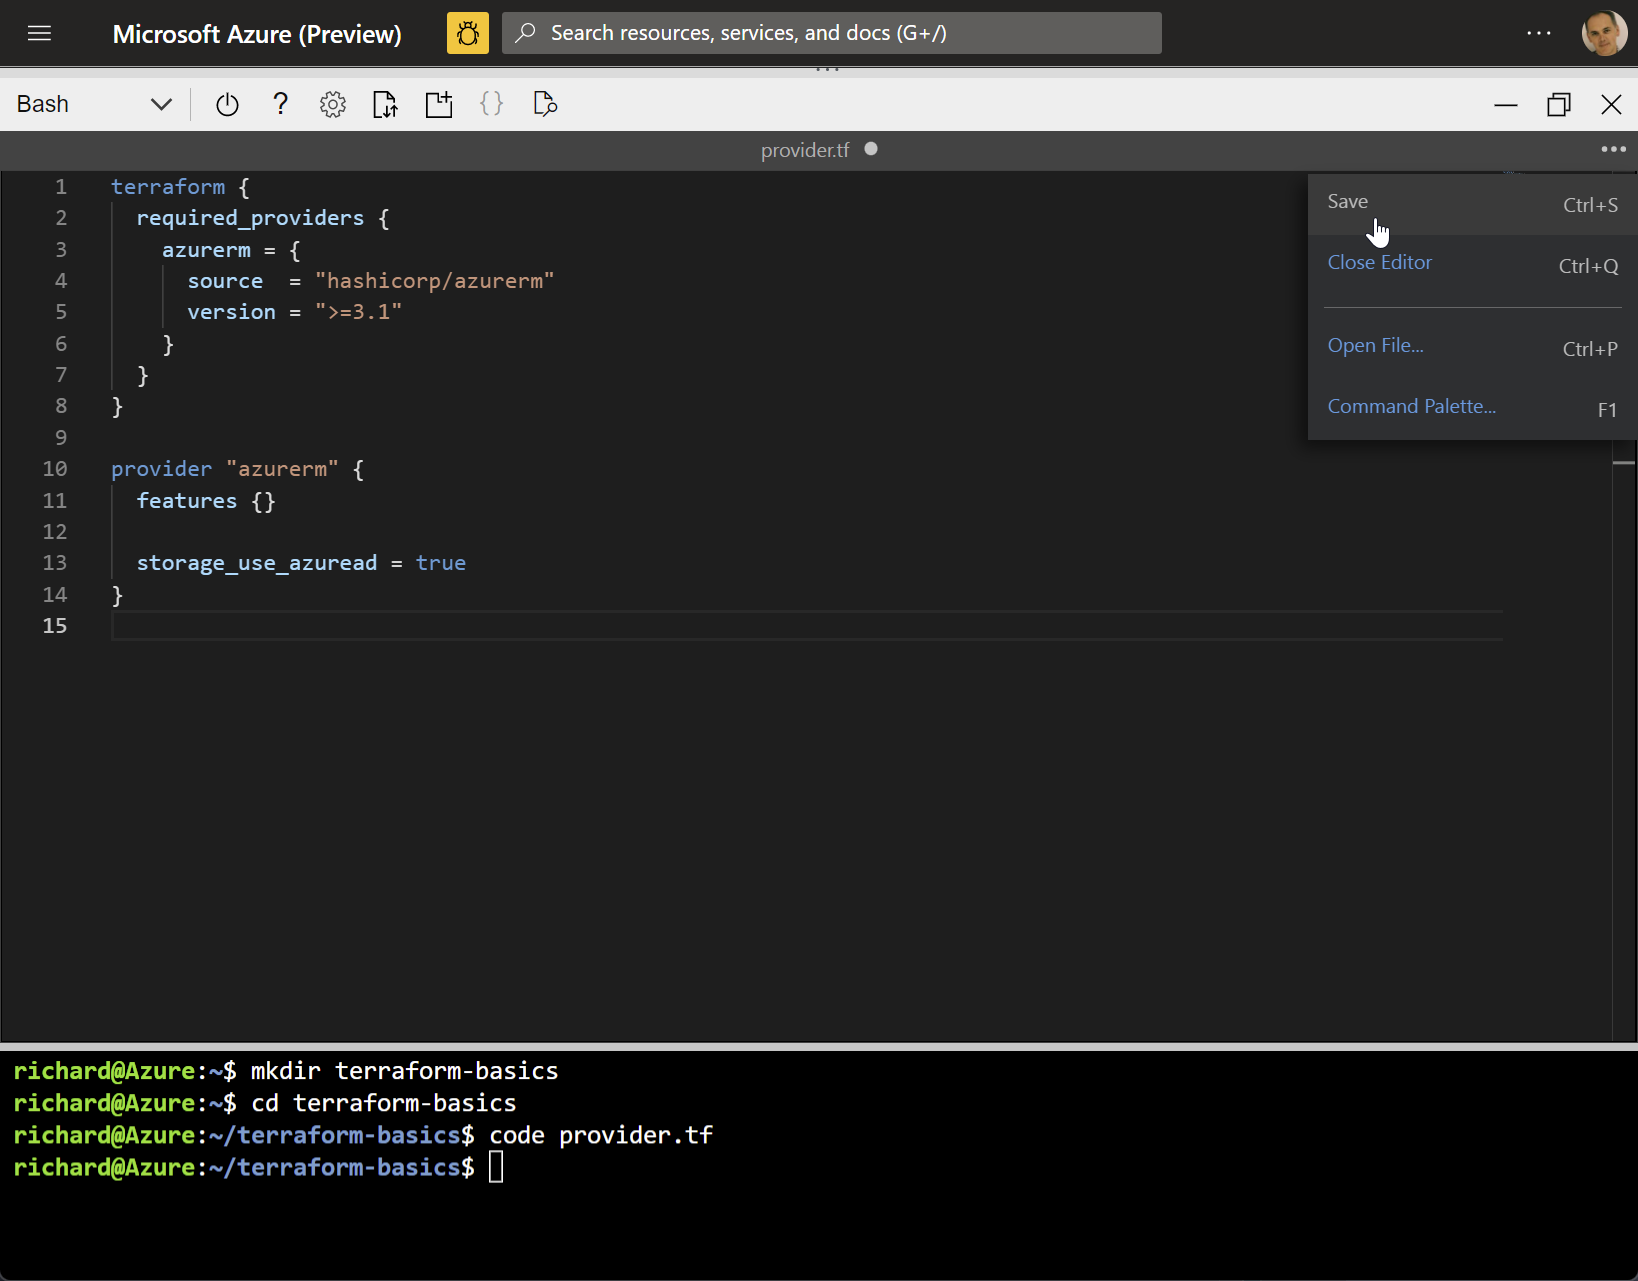
-
Close the editor
Select Close Editor from the ellipsis, or use
CTRL+Q.
Initialise terraform
-
Run
terraform versionterraform versionYou may ignore any message saying that your Terraform version is out of date.
The cloud shell container image includes the terraform binary and you cannot update it.
In later labs you will see how to install the terraform binary for other scenarios where you do have full control over the versions.
-
Run
terraform initThis is the first of the key commands in the Terraform workflow.
terraform initExample output:
Initializing the backend...

Initializing provider plugins...
- Finding hashicorp/azurerm versions matching "~> 3.1"...
- Installing hashicorp/azurerm v3.1.0...
- Installed hashicorp/azurerm v3.1.0 (signed by HashiCorp)

Terraform has created a lock file .terraform.lock.hcl to record the provider
selections it made above. Include this file in your version control repository
so that Terraform can guarantee to make the same selections by default when
you run "terraform init" in the future.

Terraform has been successfully initialized!

You may now begin working with Terraform. Try running "terraform plan" to see
any changes that are required for your infrastructure. All Terraform commands
should now work.

If you ever set or change modules or backend configuration for Terraform,
rerun this command to reinitialize your working directory. If you forget, other
commands will detect it and remind you to do so if necessary.
-
List the new files
find .terraform* -type fExample output:
.terraform/providers/registry.terraform.io/hashicorp/azurerm/3.1.0/linux_amd64/terraform-provider-azurerm_v3.1.0_x5
.terraform.lock.hcl
The azure provider has been downloaded and a dependency lock file has been created.
-
Run
terraform providersterraform providersThe
terraform providerscommand shows the required providers, their sources and the version constraints. This command becomes more useful when we start to make use of modules.Example output:
Providers required by configuration:
.
└── provider[registry.terraform.io/hashicorp/azurerm] ~> 3.1
-
Run
terraform versionagainterraform versionConfirms the version of the terraform binary and the providers.
Summary
We have reached the end of the lab. You have initialised the azurerm provider.
Move onto the next lab and we’ll create a couple of Terraform files.