Adding resources
Use the azurerm documentation to add a resource to your configuration.
Overview
In this lab you will
- browse the aka.ms/terraform documentation
- add a resource to create an Azure Container Instance
- plan and apply the change
Starting point
Your files should still look like this:
-
provider.tf
terraform { required_providers { azurerm = { source = "hashicorp/azurerm" version = "~>3.1" } } } provider "azurerm" { features {} storage_use_azuread = true } -
variables.tf
variable "resource_group_name" { description = "Name for the resource group" type = string default = "terraform-basics" } variable "location" { description = "Azure region" type = string default = "West Europe" } -
main.tf
resource "azurerm_resource_group" "basics" { name = var.resource_group_name location = var.location } -
terraform.tfvars
location = "UK South"You may have set a different value for location.
Azure Resource Group
There is a short URL for the azure provider’s resource documentation.
-
Browse to aka.ms/terraform in a new tab
Commit this short URL to memory! You’ll be using it often.
Note the azurerm version drop down at the top of the page. Default is the latest version.
❔Which terraform CLI command shows the azurerm provider version currently in use?
You can also search at the top of the screen for azuread and azurestack providers. Move from the Overview tab to the Documentation tab to see the matching view for those providers.
The available resources and data sources for Azure Resource Manager are shown on the left, along with a filter.
-
A resource will create a resource, a sub-resource or an association between resources.
-
A data source allows the azurerm provider to interrogate existing resources and and make use of their attributes. (An example of a common data source is azurerm_client_config which exports the client_id, tenant_id, subscription_id and object_id attributes.)
-
-
Filter the resources on the left
Type “resource group” in the search filter.
-
Select the azurerm_resource_group resource
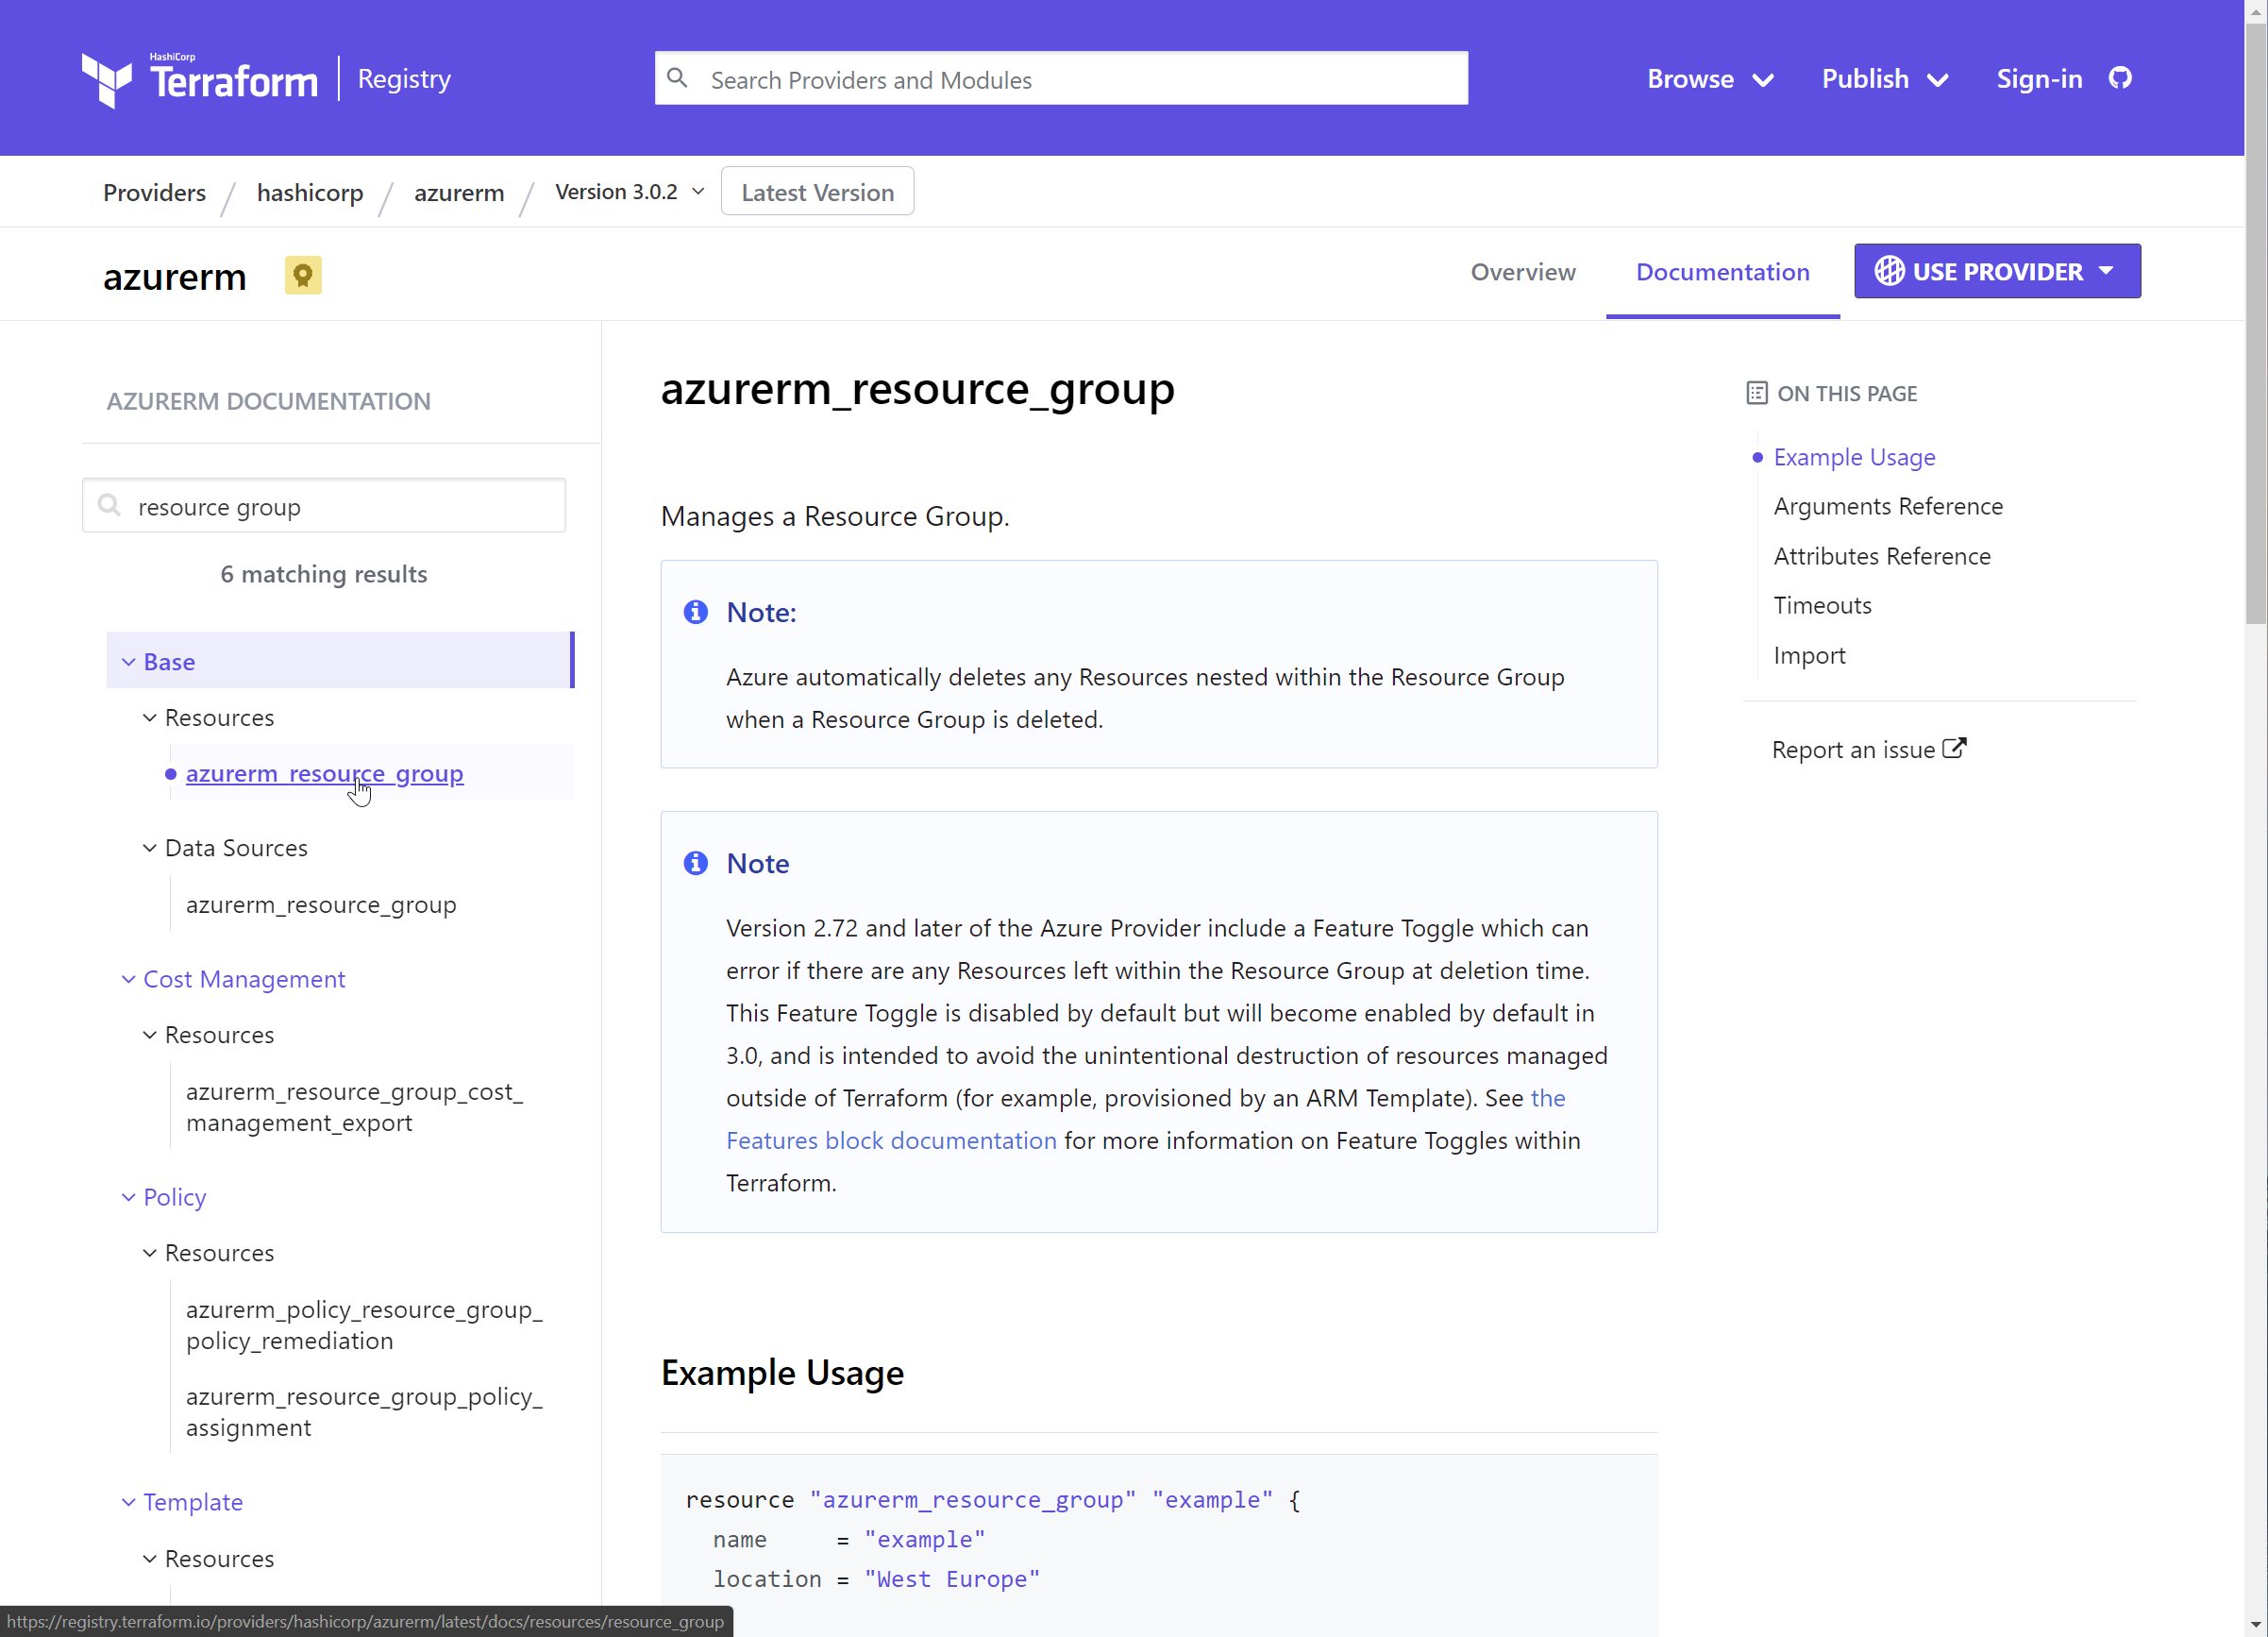
This is the documentation page for the resource group you’ve already created.
Each resource page shows an example, plus the arguments (name, location, tags) and the exported attributes (all arguments plus id).
Azure Container Instance
In the next section you will add a new azurerm_container_group resource to create an Azure Container Instance. Look at the documentation page for the resource.
-
Filter to “container” on the aka.ms/terraform page
-
Select the azurerm_container_group resource
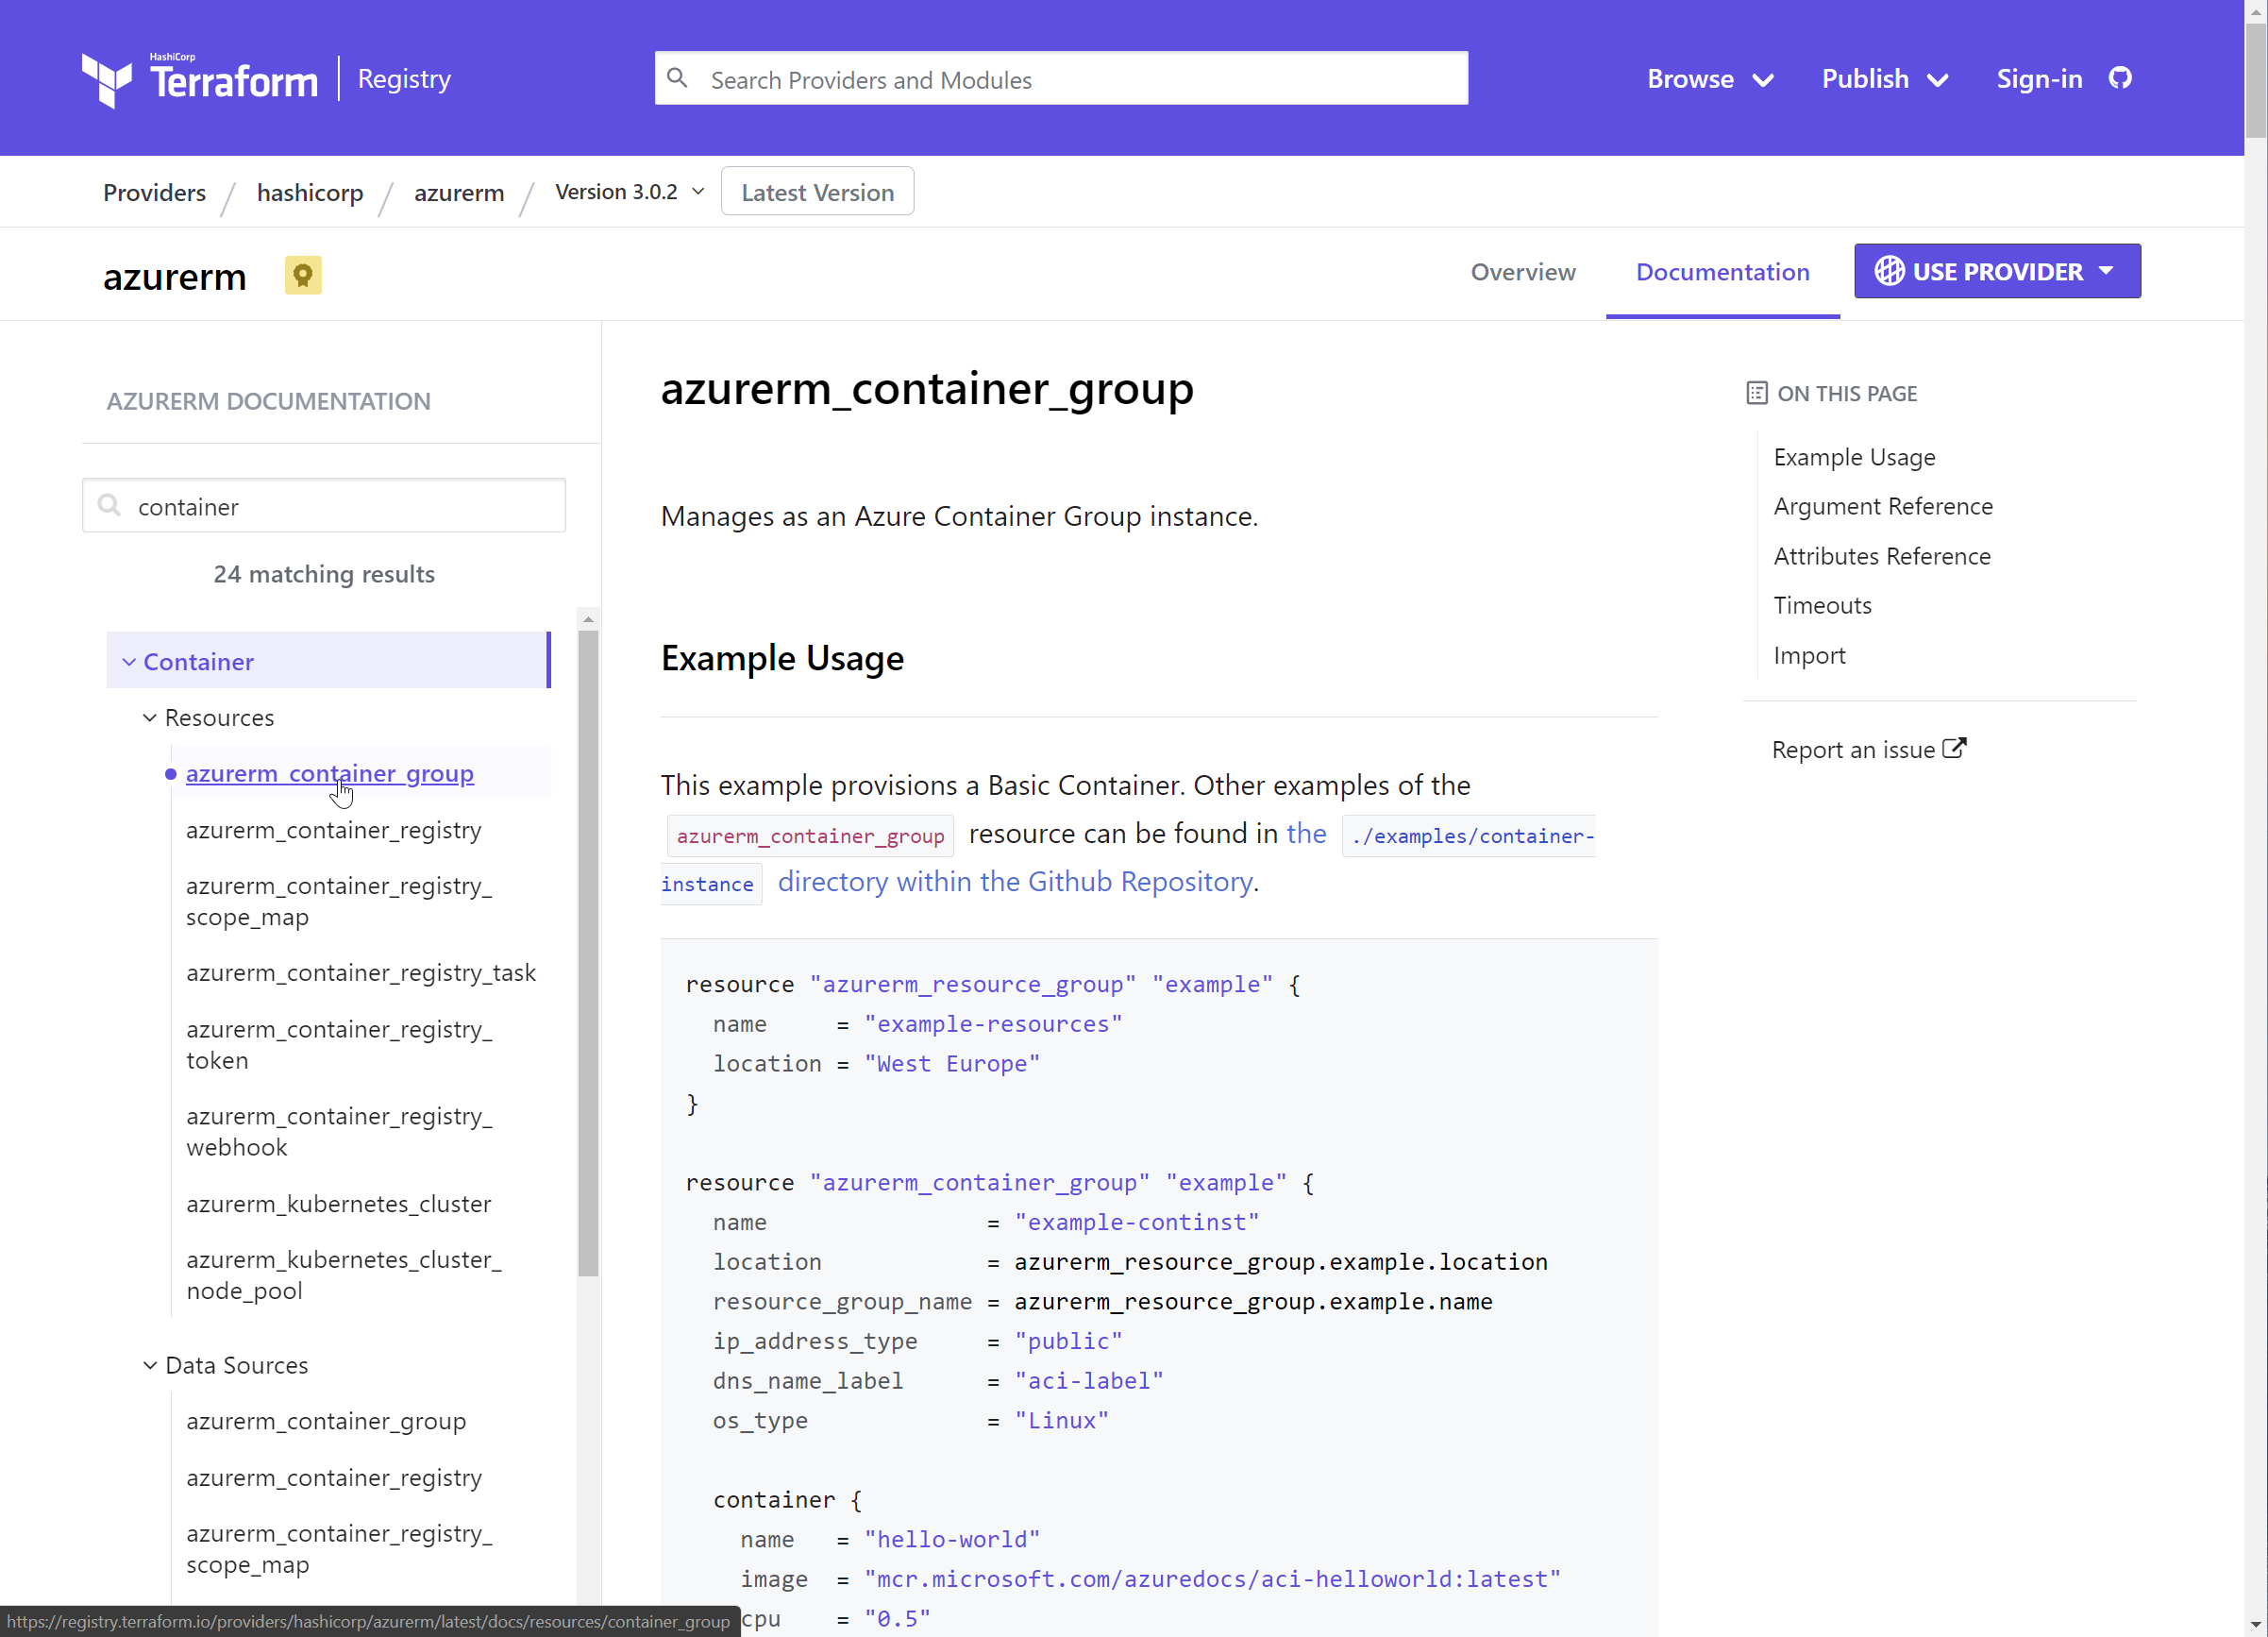
This is a more complex resource with a larger number of arguments and attributes.
Here is the Example Usage from the page:
resource "azurerm_resource_group" "example" {
  name     = "example-resources"
  location = "West Europe"
}

resource "azurerm_container_group" "example" {
  name                = "example-continst"
  location            = azurerm_resource_group.example.location
  resource_group_name = azurerm_resource_group.example.name
  ip_address_type     = "public"
  dns_name_label      = "aci-label"
  os_type             = "Linux"

  container {
    name   = "hello-world"
    image  = "mcr.microsoft.com/azuredocs/aci-helloworld:latest"
    cpu    = "0.5"
    memory = "1.5"

    ports {
      port     = 443
      protocol = "TCP"
    }
  }

  container {
    name   = "sidecar"
    image  = "mcr.microsoft.com/azuredocs/aci-tutorial-sidecar"
    cpu    = "0.5"
    memory = "1.5"
  }

  tags = {
    environment = "testing"
  }
}
Note that as well as top level arguments (name, location, os_type etc.) that there are also blocks. This example has container blocks. Some blocks support multiples. (The example container group contains two containers.) There can be blocks within blocks, such as the ports block within the first container block.
The documentation shows which arguments are required and optional within each block type, and detail on the permitted values.
In the example it uses
azurerm_resource_group.example.locationas the location value, rather than"UK South"orvar.location.This creates an implicit dependency between azurerm_container_group.example and azurerm_resource_group.example. These become linked nodes in the graph that Terraform generates to understand the order of operations, parallelism, dependencies etc.
You can also define explicit dependencies using the
depends_on = []argument.
Challenge
💪 Challenge: Add an azurerm_container_group resource.
Use the example config on the documentation page as your starting point. Here are the requirements.
variables.tf
- Create a new variable,
container_group_name- Description:
Name of the container group - Default:
terraform-basics
- Description:
- Add another variable,
prefix- Description:
Prefix string to ensure FQDNs are globally unique - No default
- Description:
terraform.tfvars
- Set the value for prefix
-
In the example screenshots the value has been set to
richeney -
Choose a different value that is unique to you
Recommended: no more than eight lowercase alphabetical characters
-
main.tf
-
Create a new azurerm_container_group, retaining example as the ident
i.e.,
resource "azurerm_container_group" "example" { -
Specify your existing resource group, and use the resource group’s location
-
Use the new container_group_name variable for the resource name
This would use the “bare” format, i.e.
var.container_group_name -
The DNS label should concatenate the prefix and the container_group_name
The interpolation format is
"${var.prefix}-${var.container_group_name}".Interpolation allows us to generate more complex expressions. Terraform knows to evaluate the variables surrounded with
${}to get their values. -
Use the Inspector Gadget image for the container
-
name:
inspectorgadget -
image:
"jelledruyts/inspectorgadget:latest"The Inspector Gadget image should be the only container in the container group.
-
Reduce the memory requirement to 1GB
-
Set the container port to 80 (HTTP)
-
-
No tags
Don’t forget to save all of your files.
⚠️ If you get completely stuck then the start of the next lab has a working config.
Terraform workflow
Run through the terraform workflow.
-
Format the files
terraform fmt -
Validate the config
terraform validate -
Check the plan
terraform plan -
Apply the changes
terraform apply
Confirm the container is working
-
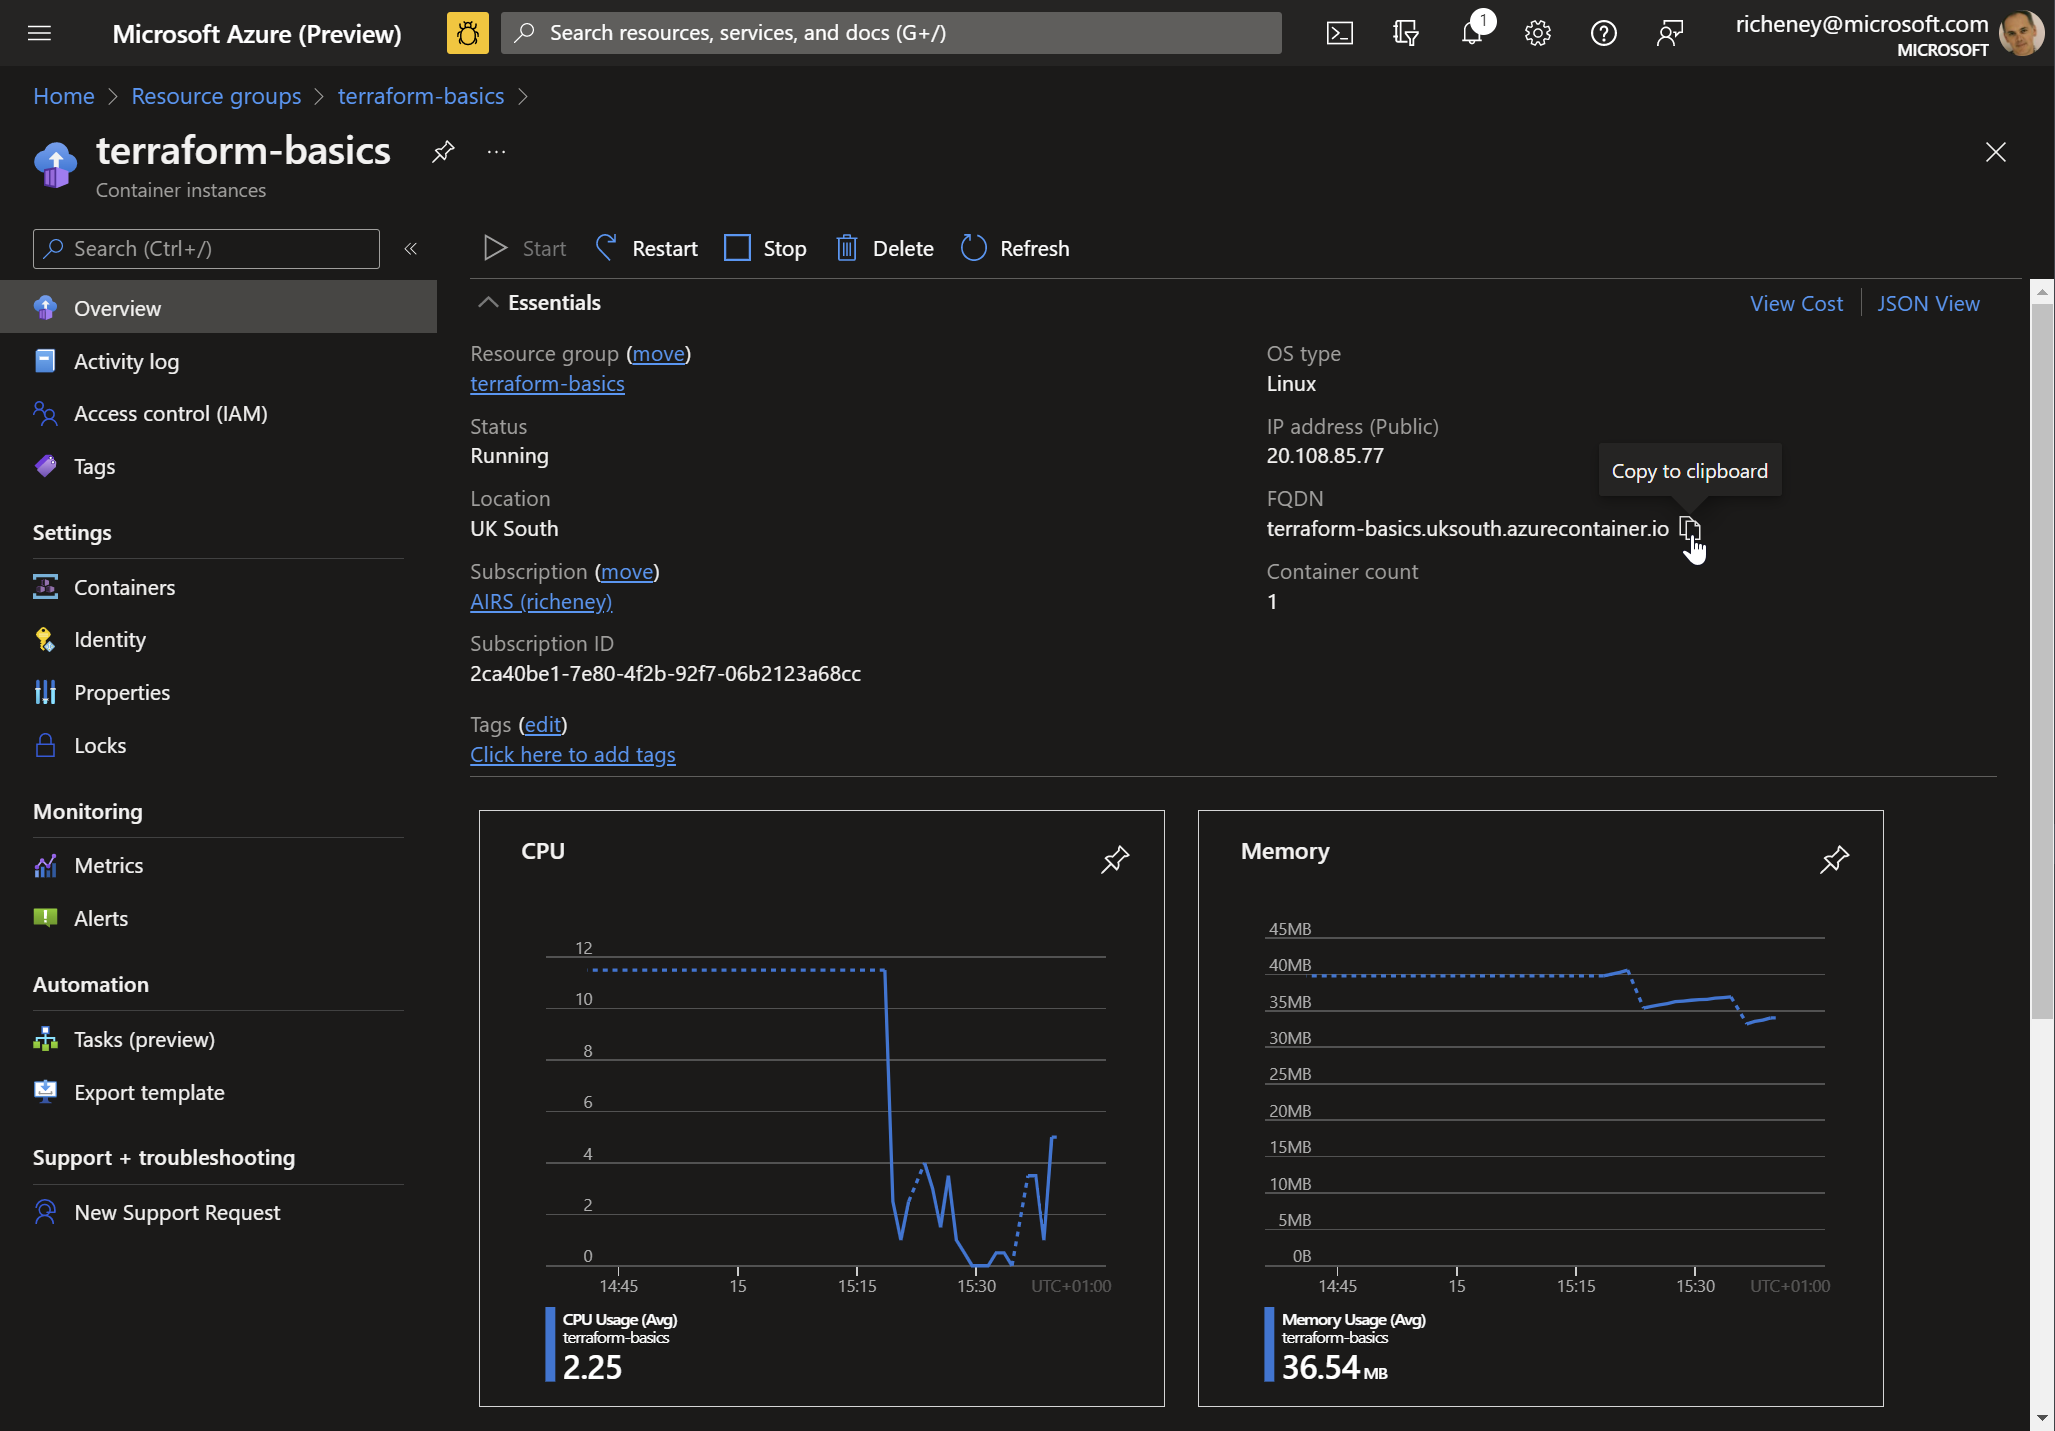
Browse the portal and find the URL for the container instance
-
Open a new tab in the browser and go to the site
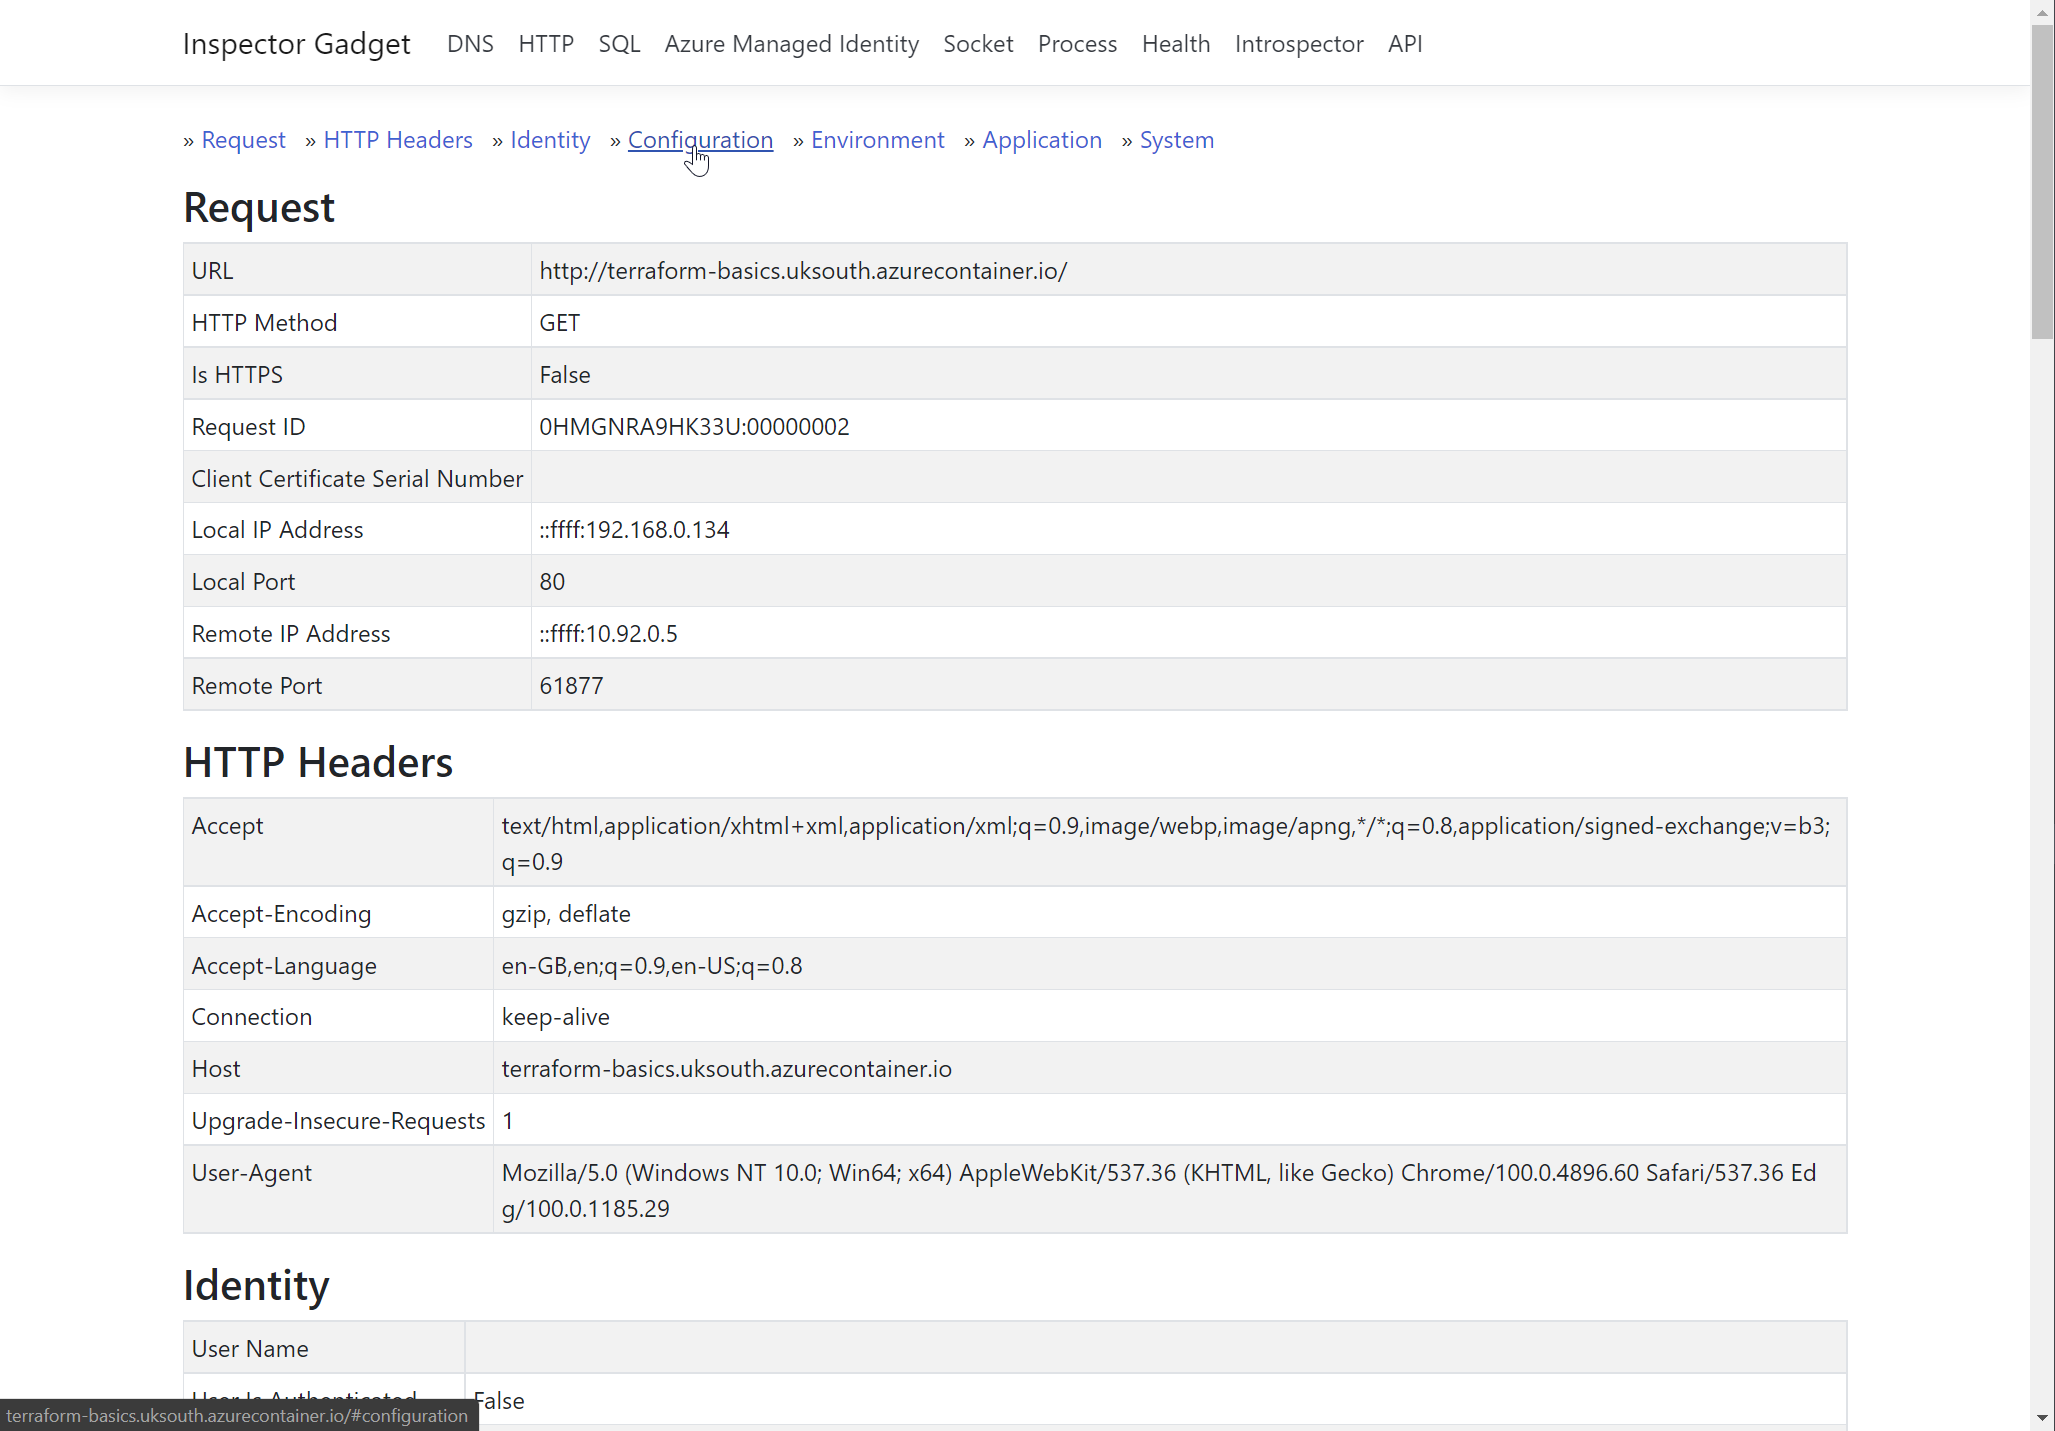
If your screen is similar to the one above then you have been successful! If not then check if your config differs from the one shown at the start of the next lab. (Note that the value of your prefix should be different.)
Summary
You successfully updated the config and added a resource.
Being able to navigate the documentation is a key skill when you are adding and modifying resources. You will also need to have a good working understanding of Azure, how the resources work and relate to each other.
In addition to the official documentation, you will also find plenty of sample configurations and blog pages for Terraform.
If you find the documentation is a little vague on an argument and its possible values then check the documentation for the Azure Resource Manager REST APIs as they can sometimes add insight where the resources closely match the properties found in those REST API calls.
In the next lab we will use locals and add an output.