Publish Offer
Create the listing in Partner Center and publish the offer.
Introduction
Now that we have the “technical assets” prepared for our offer, we can proceed to publish via Partner Center. This involves a number of steps including configuring the offer, setting up the listing details and assets and configuring plans, all done through Partner Center.
Create a New Offer
-
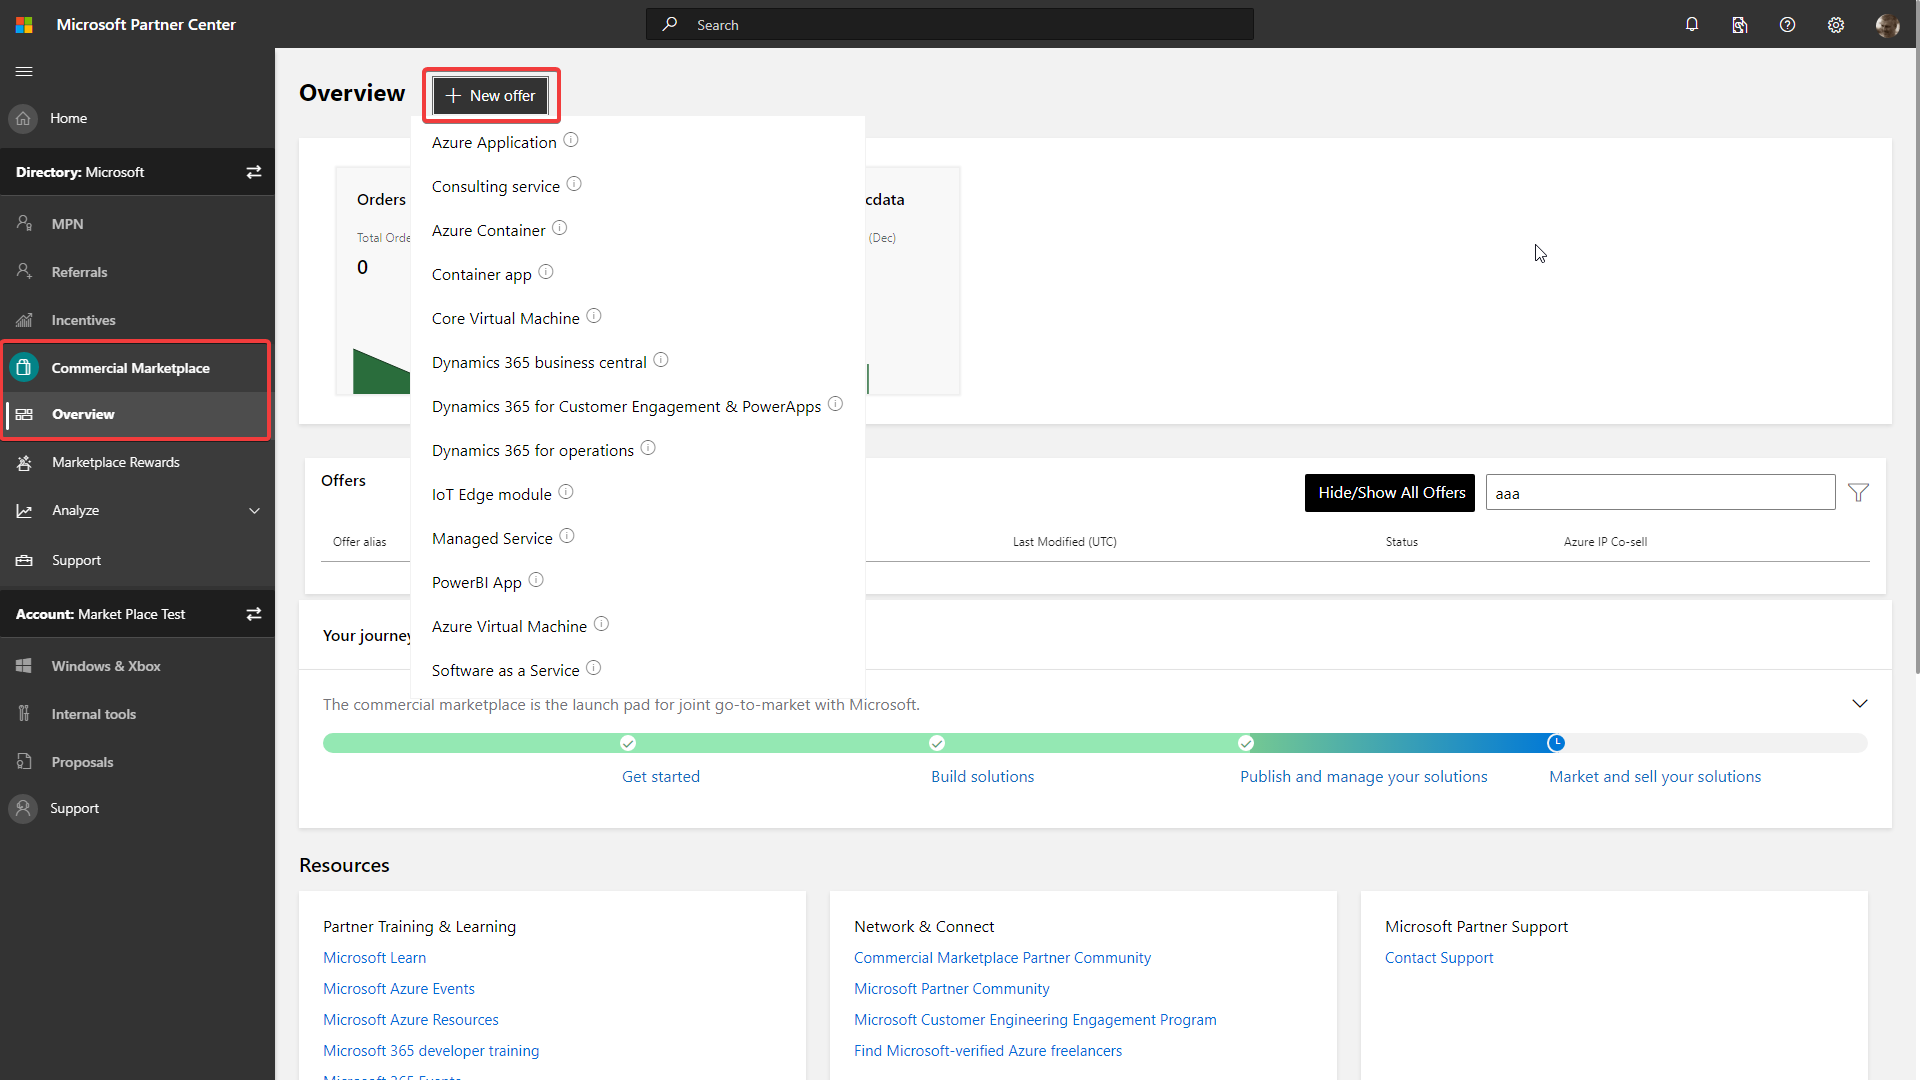
Login to Partner Center and navigate to: Commercial Marketplace -> Overview
-
At the top of the screen, Select: New Offer -> Azure Virtual Machine
-
Enter an
Offer IDandOffer alias. TheOffer IDmust be unique within your account. TheOffer aliasis a friendly name for use within Partner Center.You may want to create an
Offer aliassomething like “TEST_OFFER_DO_NOT_PUBLISH_xxxxxxx” to guard against the offer being inadvertently published by another user or in the future.
Offer Setup
Here we enter fundamental details about the offer and can connect a destination for Customer leads generated through the marketplace. For the purposes of the lab, complete as follows:
- Alias
- Leave per above
- Test drive
- Leave unchecked
- Customer leads
- Leave as “No CRM System connected'
Properties
Here we define the relevant categories the offer should appear in the marketplace and the legal terms. For the purposes of the lab, complete as follows:
- Categories
- Add a
Primary categoryandSubcategoryeg Media / Media Services
- Add a
- Legal
-
Check the
Use the Standard Contract...checkboxBe sure to Save draft before exiting the page
-
Offer listing
Here we define how the offer will appear in the marketplace - the offer listing itself and relevant metadata. For the purposes of the lab, complete as follows:
- Marketplace details
- Enter some text in each of the
Name,Search results summary,Short descriptionandDescriptionfields - For the
Privacy policy linkenter any valid URL
- Enter some text in each of the
- Product information links
- Leave any non-required fields blank
- Complete the required fields with name, email and phone
- Marketplace media
-
Only the Large logo is required
-
You can use your own image or the image here
Be sure to Save draft before exiting the page
-
Preview audience
A preview audience is able to browse and acquire an offer before it is published in the marketplace. This is intended as a testing mechanism and to provide a limited audience with a preview of the offer. The offer does not go through full certification so it is possible to review and test with the inherent delay that involves. It will take a few hours for a preview to become available as opposed to a few days for a full publish and certification cycle.
As we will not be going through the full publish process it is important a Preview audience is specified otherwise we will not be able to test our efforts. For the purposes of the lab, complete as follows:
-
Enter your Azure Subscription ID in the
Azure Subscription IDfield and a suitable description in theDescriptionfield -
You can add multiple subscription IDs but for the lab one will be sufficient
Be sure to Save draft before exiting the page
Plan overview
At least one plan is required for every offer. You can think of the offer as a container for plans which detail the
- Select
Create new plan(at the top of the page) - Enter a
Plan IDandPlan nameand selectCreate - You will enter a series of pages to define the individual plan
Plan setup
This is the “high-level configuration” for the plan. For the purposes of the lab, complete as follows:
Reuse technical configuration- leave uncheckedAzure regions- leave asAzure Globalchecked andAzure Governmentunchecked
Plan listing
This is the marketplace listing for the plan. eg we might have a bronze, silver, gold plan or “5 users”, “25 users” etc. They share the same offer but may provide different capabilities or licence conditions. For the purposes of the lab, complete as follows:
-
Plan nameshould be pre-populated. Leave as is. -
Enter some short text for
Plan summaryandPlan descriptionBe sure to Save draft before exiting the page
Pricing and availability
Here we describe which markets we want to make the offer available and the pricing model and price point. For the purposes of the lab, complete as follows:
-
Marketsshould be pre-populated for all markets except China which has some specific restrictions. Leave it as is. -
Pricing- leave the radio buttons as default and enter 0 for thePrice per core -
Free Trial- leave as “No Trial” -
Plan visibility- leave as “Public” -
Hide plan- leave uncheckedBe sure to Save draft before exiting the page
Technical configuration
This is what all the work in the previous sections was leading up to. This is where we reference the assets we’ve created and provide the VM image to the marketplace. For the purposes of the lab, complete as follows:
-
Operating system- change the family to “Linux” -
Vendor- change to “Ubuntu” -
OS friendly name- change to Ubuntu -
Recommended VM Sizes- for a real offer we could recommend optimal VM sizes for our offer. There’s no need to complete this for the lab. -
Open ports- add port 80 as follows
-
Properties- leaveSupports accelerated networkingunchecked -
Generations- leaveGeneration typeas “Generation 1” -
VM Images- set theDisk versionto “1.0.0” -
Select a method to provide your VM image- select the method you followed in the lab, “Shared Image Gallery” or “SAS URI”Use Shared Image Gallery approach
-
Click on
Select shared image -
A flyout will appear displaying the Shared Image Galleries you have access to
-
Expand the
marketplace_siggallery -
Select the image we created earlier in the lab. It should be identified as version 1.0.0.
Be sure to Save draft before exiting the page
Use SAS URI approach
-
Paste in the SAS URL you saved at the end of the “VM Offer with SAS” step of the lab.
Be sure to Save draft before exiting the page
Click on
Plan overviewat the top of the page to revert to the offer pages -
Co-sell with Microsoft
You are not required to enter anything on the Co-sell tab for the purposed of this lab.
Resell through CSPs
-
Select “No partners in the CSP program”
Be sure to Save draft before exiting the page
Review and Publish
We are now ready to review and publish (to a preview audience) the offer we have created.
-
Select “Review and publish” at the top of the page. You should see a summary like the below:

-
If any of the sections are not marked as “Complete”, go back and review.
-
Select “Publish” at the top of the page.
-
This will start the publish process. It will take a few hours before the preview becomes available.

-
Note the “Publisher signoff” stage in the process. This is a manual step where the publisher must confirm approval before the offer is fully published in the marketplace.
You will not do this for a test offer such as the one we are creating in this lab.
-
Check back after a few hours. Preview links should be created for Azure Marketplace and the Azure Portal.
-
Use the preview links to deploy your offer into your subscription.
-
You should be able to perform the following tests that we completed previously:
- Confirm that browsing to the IP address of the new VM displays the NGINX welcome page - NOTE you may need to add a rule on the NSG to allow incoming traffic on Port 80.
- SSH into the new VM and confirm the presence of a /tmp/users.txt file with a creation time matching the last reboot.
Cleanup Resources
- Once completed, you can cleanup resources by deleting the two Resource Groups created during the lab
marketplace-vm-offermarketplace-vm-offer-test