Initial Terraform workflow
Run the Terraform workflow in the user context and modify the config with a simple RBAC assignment.
Introduction
You have access, tooling, a Fabric capacity, a repo, and an app reg to use.
Let’s run through the Terraform workflow at the CLI to create a workspace and ensure that the authentication is working. Then we’ll look at the docs and add a role assignment to the workspace as a gentle first step to automating your Fabric environment.
Create a backend.tf
We will create a Terraform azurerm backend block so that the state is written to the storage account rather than a local terraform.tfstate file.
-
Create a backend.tf
This code block will create a Terraform azurerm backend block for the test container. (We will override the container value to prod in the CI/CD pipeline later.)
subscription_id=$(az account show --query id -otsv)
storage_account_name=$(az storage account list --subscription $subscription_id --resource-group "terraform" --query "[?starts_with(name,'terraformfabric')]|[0].name" -otsv)
cat - <<BACKEND > backend.tf
terraform {
  backend "azurerm" {
    subscription_id      = "$subscription_id"
    resource_group_name  = "terraform"
    storage_account_name = "$storage_account_name"
    container_name       = "test"
    key                  = "terraform.tfstate"
    use_azuread_auth     = true
  }
}
BACKEND
Example backend.tf
terraform {
  backend "azurerm" {
    subscription_id      = "<subscription_id>"
    resource_group_name  = "terraform"
    storage_account_name = "<storage_account_name>"
    container_name       = "test"
    key                  = "terraform.tfstate"
    use_azuread_auth     = true
  }
}
ℹ️ Note that the subscription_id and resource_group_name are not required, but it is useful to include.
Terraform workflow
You should be in the root of your cloned repo.
-
Initialise
terraform initExample output:
Initializing the backend...

Successfully configured the backend "azurerm"! Terraform will automatically
use this backend unless the backend configuration changes.
Initializing provider plugins...
- Reusing previous version of microsoft/fabric from the dependency lock file
- Using previously-installed microsoft/fabric v1.1.0

Terraform has been successfully initialized!

You may now begin working with Terraform. Try running "terraform plan" to see
any changes that are required for your infrastructure. All Terraform commands
should now work.

If you ever set or change modules or backend configuration for Terraform,
rerun this command to reinitialize your working directory. If you forget, other
commands will detect it and remind you to do so if necessary.
-
Create a variables file
Terraform has multiple ways of assigning variable values. The variables.tf has the variable declarations and defaults. The template repo also includes two variable files, test.tfvars and prod.tfvars.
The test.tfvars includes some example values. The fabric_capacity_name of “Premium Per User - Reserved” is for a P-SKU, so if that is you then feel free to skip this step.
If not then check the name for your capacity and update the test.tfvars file.
fab ls -l .capacitiesExample output.
    name                                                 id                                     sku   region      state
---------------------------------------------------------------------------------------------------------------------------
Premium Per User - Reserved.Capacity                     59d17bf8-cda2-4c43-824a-ec3a8078908d   PP3   West US 3   Active
Trial-20250314T172025Z-xmVeQXcryUKTbE5vcFY5Dg.Capacity   29dc2bec-dc5e-4c0a-85bc-564d96106653   FT1   West US 3   Active
example.Capacity                                         3da9391c-0cbb-4005-952a-1007a3021888   F2    UK South    Active
Remove the .Capacity suffix.
Create a terraform.tfvars file with your capacity name, e.g.:
fabric_capacity_name="example" fabric_workspace_display_name = "My Example Fabric Workspace" fabric_workspace_description = "This is an example Fabric Workspace created using Terraform." -
Plan
terraform plan -var-file=test.tfvarsExample output:
data.fabric_capacity.example: Reading...
data.fabric_capacity.example: Read complete after 7s [id=3da9391c-0cbb-4005-952a-1007a3021888]

Terraform used the selected providers to generate the following execution
plan. Resource actions are indicated with the following symbols:
  + create

Terraform will perform the following actions:

  # fabric_workspace.example will be created
  + resource "fabric_workspace" "example" {
      + capacity_assignment_progress = (known after apply)
      + capacity_id                  = "3da9391c-0cbb-4005-952a-1007a3021888"
      + capacity_region              = (known after apply)
      + description                  = "This is an example Fabric Workspace created using Terraform."
      + display_name                 = "My Example Fabric Workspace"
      + id                           = (known after apply)
      + identity                     = {
          + application_id       = (known after apply)
          + service_principal_id = (known after apply)
          + type                 = "SystemAssigned"
        }
      + onelake_endpoints            = (known after apply)
      + type                         = (known after apply)
    }

Plan: 1 to add, 0 to change, 0 to destroy.

Changes to Outputs:
  + fabric_capacity_id     = "3da9391c-0cbb-4005-952a-1007a3021888"
  + fabric_capacity_region = "UK South"

─────────────────────────────────────────────────────────────────────────────

Note: You didn't use the -out option to save this plan, so Terraform can't
guarantee to take exactly these actions if you run "terraform apply" now.
-
Apply
Assuming you are happy with the output from the plan then apply the config. Confirm the change when asked.
terraform apply -var-file=test.tfvarsExample output below (plan section removed):
Do you want to perform these actions?
  Terraform will perform the actions described above.
  Only 'yes' will be accepted to approve.

Enter a value: yes
fabric_workspace.example: Creating...
fabric_workspace.example: Still creating... [00m10s elapsed]
fabric_workspace.example: Creation complete after 15s [id=ab92499e-f69b-44ff-a780-bd6ca8744f86]

Apply complete! Resources: 1 added, 0 changed, 0 destroyed.

Outputs:

fabric_capacity_id = "3da9391c-0cbb-4005-952a-1007a3021888"
fabric_capacity_region = "UK South"
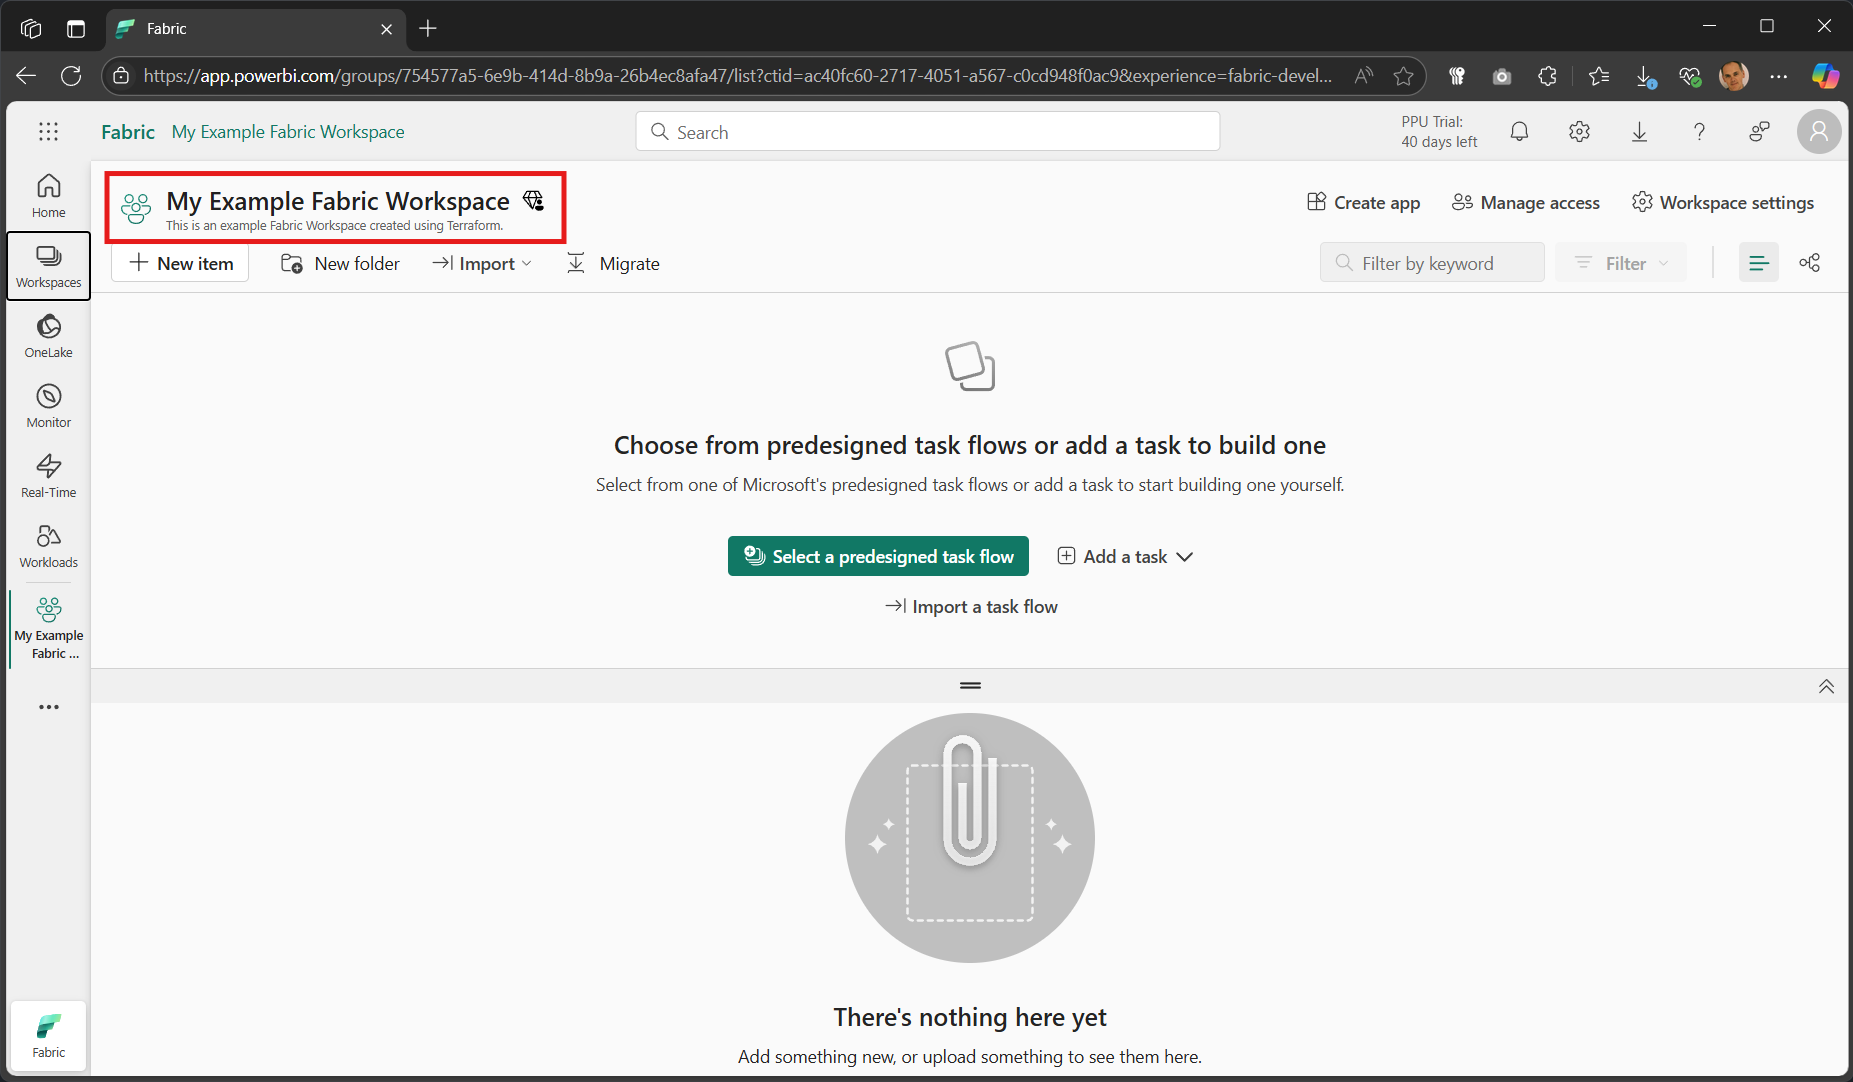
Check the Fabric Developer portal and you should see the new workspace.
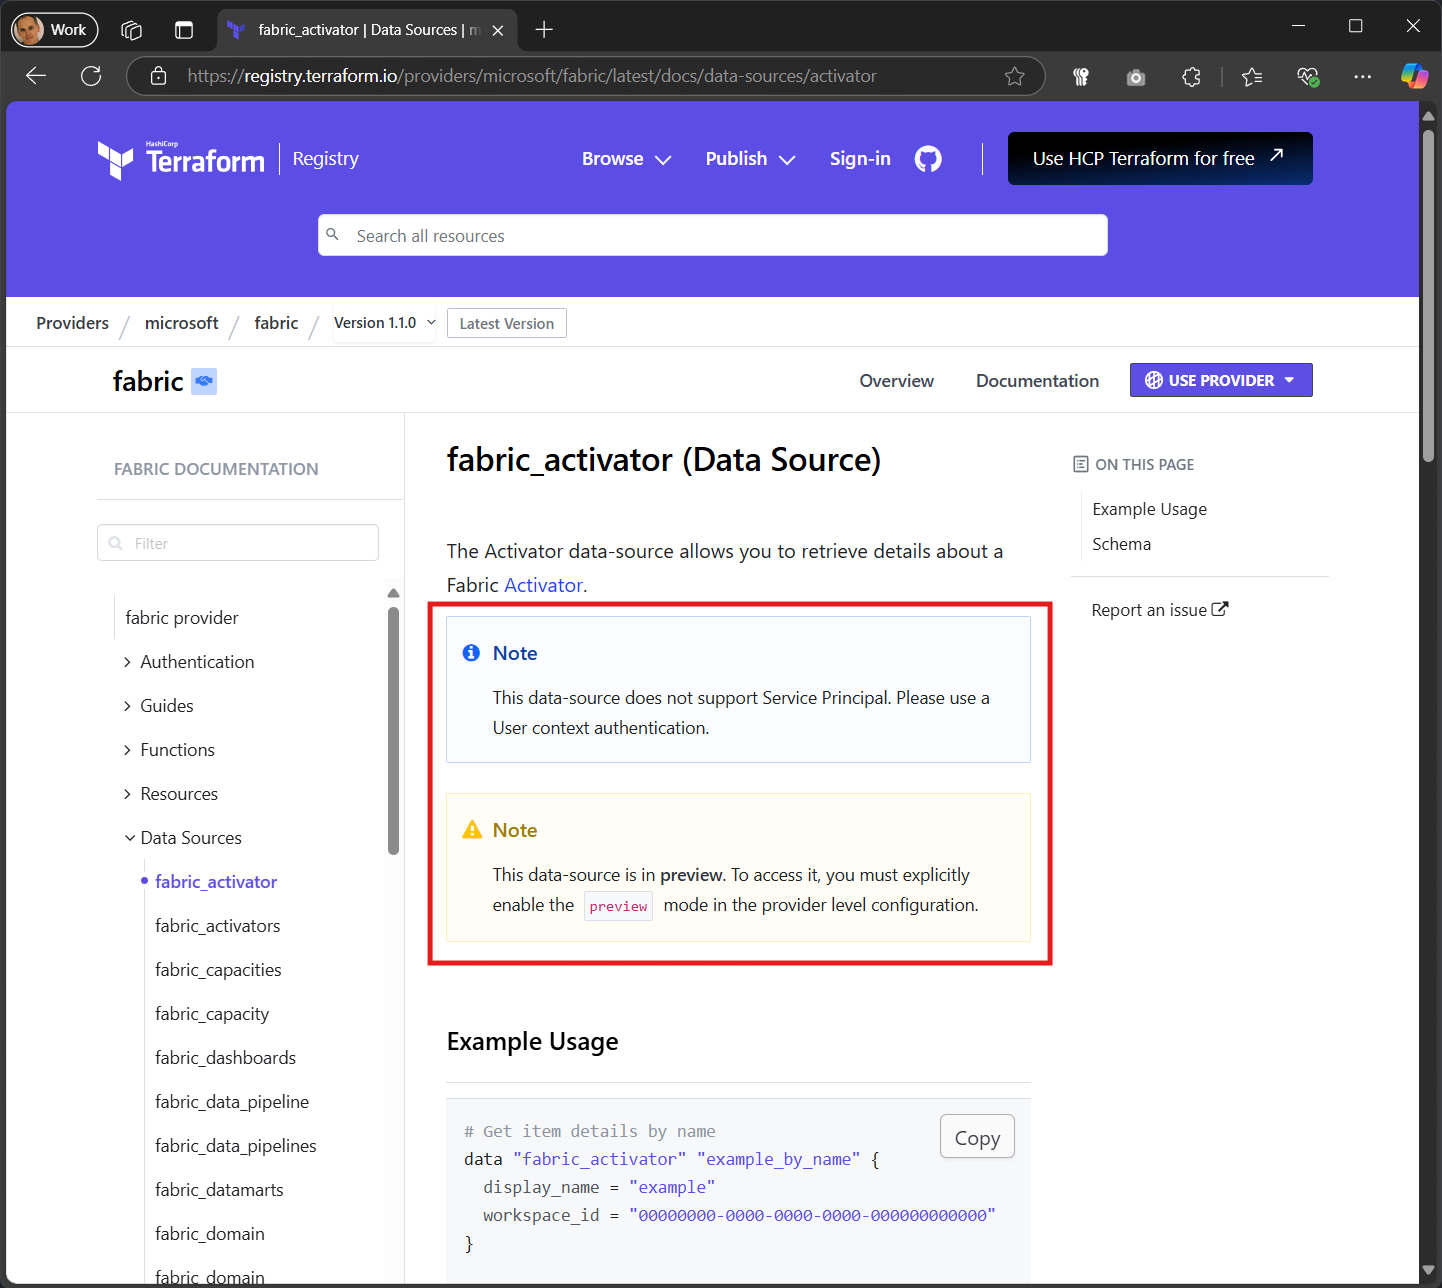
Fabric provider docs
Documentation for the fabric Terraform provider can be found at https://aka.ms/terraform/fabric.
ℹ️ If the GitPages site is ever unavailable then view the source repo docs files directly.
Each of the resources and data sources has a note for preview status and service principal support.
This quickstart will avoid preview resources and those that do not support service principals so that you can transition from testing in the user context and then work with a GitHub repo and service principal.
Role assignment
A little mini challenge for you. Let’s add a role assignment.
- Use the filter to find the fabric_workspace_role_assignment resource page
- Copy the example into your main.tf file
- Add in another user’s objectId, or even better, replace it with a security group objectId
- Change the workspace_id value to a reference to the attribute in the fabric_workspace resource
- Leave Role as Member.
As per the Microsoft Learn fabric documentation, role can be one of Admin, Member, Contributor, or Viewer.
Terraform workflow #2
Check that your files are formatted correctly, are syntactically valid and then plan and apply
-
Validate
Check the files are
terraform validate -
Format
Automatically reformat any files that are not gofmt aligned.
terraform fmt -
Plan
Display the planned change.
terraform plan -var-file=test.tfvarsExample output:
data.fabric_capacity.example: Reading...
data.fabric_capacity.example: Read complete after 8s [id=3da9391c-0cbb-4005-952a-1007a3021888]
fabric_workspace.example: Refreshing state... [id=754577a5-6e9b-414d-8b9a-26b4ec8afa47]

Terraform used the selected providers to generate the following execution
plan. Resource actions are indicated with the following symbols:
  + create

Terraform will perform the following actions:

  # fabric_workspace_role_assignment.example will be created
  + resource "fabric_workspace_role_assignment" "example" {
      + id           = (known after apply)
      + principal    = {
          + id   = "911aba7f-a5ff-478f-8ca5-a90883646482"
          + type = "Group"
        }
      + role         = "Member"
      + workspace_id = "754577a5-6e9b-414d-8b9a-26b4ec8afa47"
    }

Plan: 1 to add, 0 to change, 0 to destroy.

─────────────────────────────────────────────────────────────────────────────

Note: You didn't use the -out option to save this plan, so Terraform can't
guarantee to take exactly these actions if you run "terraform apply" now.
-
Apply
Apply the change to create the fabric workspace role assignment.
terraform apply -var-file=test.tfvarsExample output:
Do you want to perform these actions?
  Terraform will perform the actions described above.
  Only 'yes' will be accepted to approve.

Enter a value: yes
fabric_workspace_role_assignment.example: Creating...
fabric_workspace_role_assignment.example: Creation complete after 1s [id=911aba7f-a5ff-478f-8ca5-a90883646482]

Apply complete! Resources: 1 added, 0 changed, 0 destroyed.

Outputs:

fabric_capacity_id = "3da9391c-0cbb-4005-952a-1007a3021888"
fabric_capacity_region = "UK South"
Go back to your workspace in the Fabric Developer portal and click on Manage access and you should see the new Member. In the example below it is an Entra security group called Sales.

Clean up
OK, the config should have tested fine, and is ready to be committed to the repo, and then we’ll get a service principal configured for the fabric provider.
But first, let’s clean up the test deployment.
-
Destroy
terraform destroy -var-file=test.tfvarsExample output:
data.fabric_capacity.example: Reading...
data.fabric_capacity.example: Read complete after 6s [id=3da9391c-0cbb-4005-952a-1007a3021888]
fabric_workspace.example: Refreshing state... [id=07fc0d02-3fb1-424a-b3dc-9e55c4075684]
fabric_workspace_role_assignment.example: Refreshing state... [id=911aba7f-a5ff-478f-8ca5-a90883646482]

Terraform used the selected providers to generate the following execution
plan. Resource actions are indicated with the following symbols:
  - destroy

Terraform will perform the following actions:

  # fabric_workspace.example will be destroyed
  - resource "fabric_workspace" "example" {
      - capacity_assignment_progress = "Completed" -> null
      - capacity_id                  = "3da9391c-0cbb-4005-952a-1007a3021888" -> null
      - capacity_region              = "UK South" -> null
      - description                  = "This is an example Fabric Workspace created using Terraform." -> null
      - display_name                 = "My Example Fabric Workspace" -> null
      - id                           = "07fc0d02-3fb1-424a-b3dc-9e55c4075684" -> null
      - identity                     = {
          - application_id       = "863d2628-a8b4-40ba-ae86-ff9482ea62a8" -> null
          - service_principal_id = "983a37e9-c1af-4c07-afc3-c6eb19658bb4" -> null
          - type                 = "SystemAssigned" -> null
        } -> null
      - onelake_endpoints            = {
          - blob_endpoint = "https://uksouth-onelake.blob.fabric.microsoft.com" -> null
          - dfs_endpoint  = "https://uksouth-onelake.dfs.fabric.microsoft.com" -> null
        } -> null
      - type                         = "Workspace" -> null
    }

  # fabric_workspace_role_assignment.example will be destroyed
  - resource "fabric_workspace_role_assignment" "example" {
      - id           = "911aba7f-a5ff-478f-8ca5-a90883646482" -> null
      - principal    = {
          - id   = "911aba7f-a5ff-478f-8ca5-a90883646482" -> null
          - type = "Group" -> null
        } -> null
      - role         = "Member" -> null
      - workspace_id = "07fc0d02-3fb1-424a-b3dc-9e55c4075684" -> null
    }

Plan: 0 to add, 0 to change, 2 to destroy.

Changes to Outputs:
  - fabric_capacity_id     = "3da9391c-0cbb-4005-952a-1007a3021888" -> null
  - fabric_capacity_region = "UK South" -> null

Do you really want to destroy all resources?
  Terraform will destroy all your managed infrastructure, as shown above.
  There is no undo. Only 'yes' will be accepted to confirm.

  Enter a value: yes
fabric_workspace_role_assignment.example: Destroying... [id=911aba7f-a5ff-478f-8ca5-a90883646482]
fabric_workspace_role_assignment.example: Destruction complete after 1s
fabric_workspace.example: Destroying... [id=07fc0d02-3fb1-424a-b3dc-9e55c4075684]
fabric_workspace.example: Destruction complete after 7s

Destroy complete! Resources: 2 destroyed.
Example config
As promised, here is an example main.tf file for anyone less familiar with Terraform and struggled with adding the role assignment.
Note that the object_id here is for a security group called Sales in my tenant.
- Change it to the object_id of a user or a group in your tenant
- If you change it to a user then don’t forget to change the principal.type value to “User”
data "fabric_capacity" "example" {
  display_name = var.fabric_capacity_name

  lifecycle {
    postcondition {
      condition     = self.state == "Active"
      error_message = "Fabric Capacity is not in Active state. Please check the Fabric Capacity status."
    }
  }
}

resource "fabric_workspace" "example" {
  display_name = var.fabric_workspace_display_name
  description  = var.fabric_workspace_description

  capacity_id = data.fabric_capacity.example.id

  identity = {
    type = "SystemAssigned"
  }
}

resource "fabric_workspace_role_assignment" "example" {
  workspace_id = fabric_workspace.example.id
  principal = {
    id   = "911aba7f-a5ff-478f-8ca5-a90883646482"
    type = "Group"
  }
  role = "Member"
}
Next
The config is good.
Next we will create a service principal that can be used by the fabric provider.
Then we’ll push the change up into the GitHub repo, configure the federated credentials for the service principal, add some GitHub Actions variables, and run the pipeline.