Create a repo from a GitHub template
Create a repo in GitHub from the template and then clone it locally.
Introduction
Creating a new repository using a GitHub template is a straightforward process, and out template repo will speed up the rest of the labs. This guide will walk you through the steps to create a new repository from the fabric_terraform_provider_quickstart template and clone it locally.
Navigate to the Template Repository
Open the fabric_terraform_provider_quickstart repository in a new browser window.
- Windows: Ctrl + right-click on the link above, and select Open link in new window
- macOS: ⌘-Option-Shift-click
Use the Template
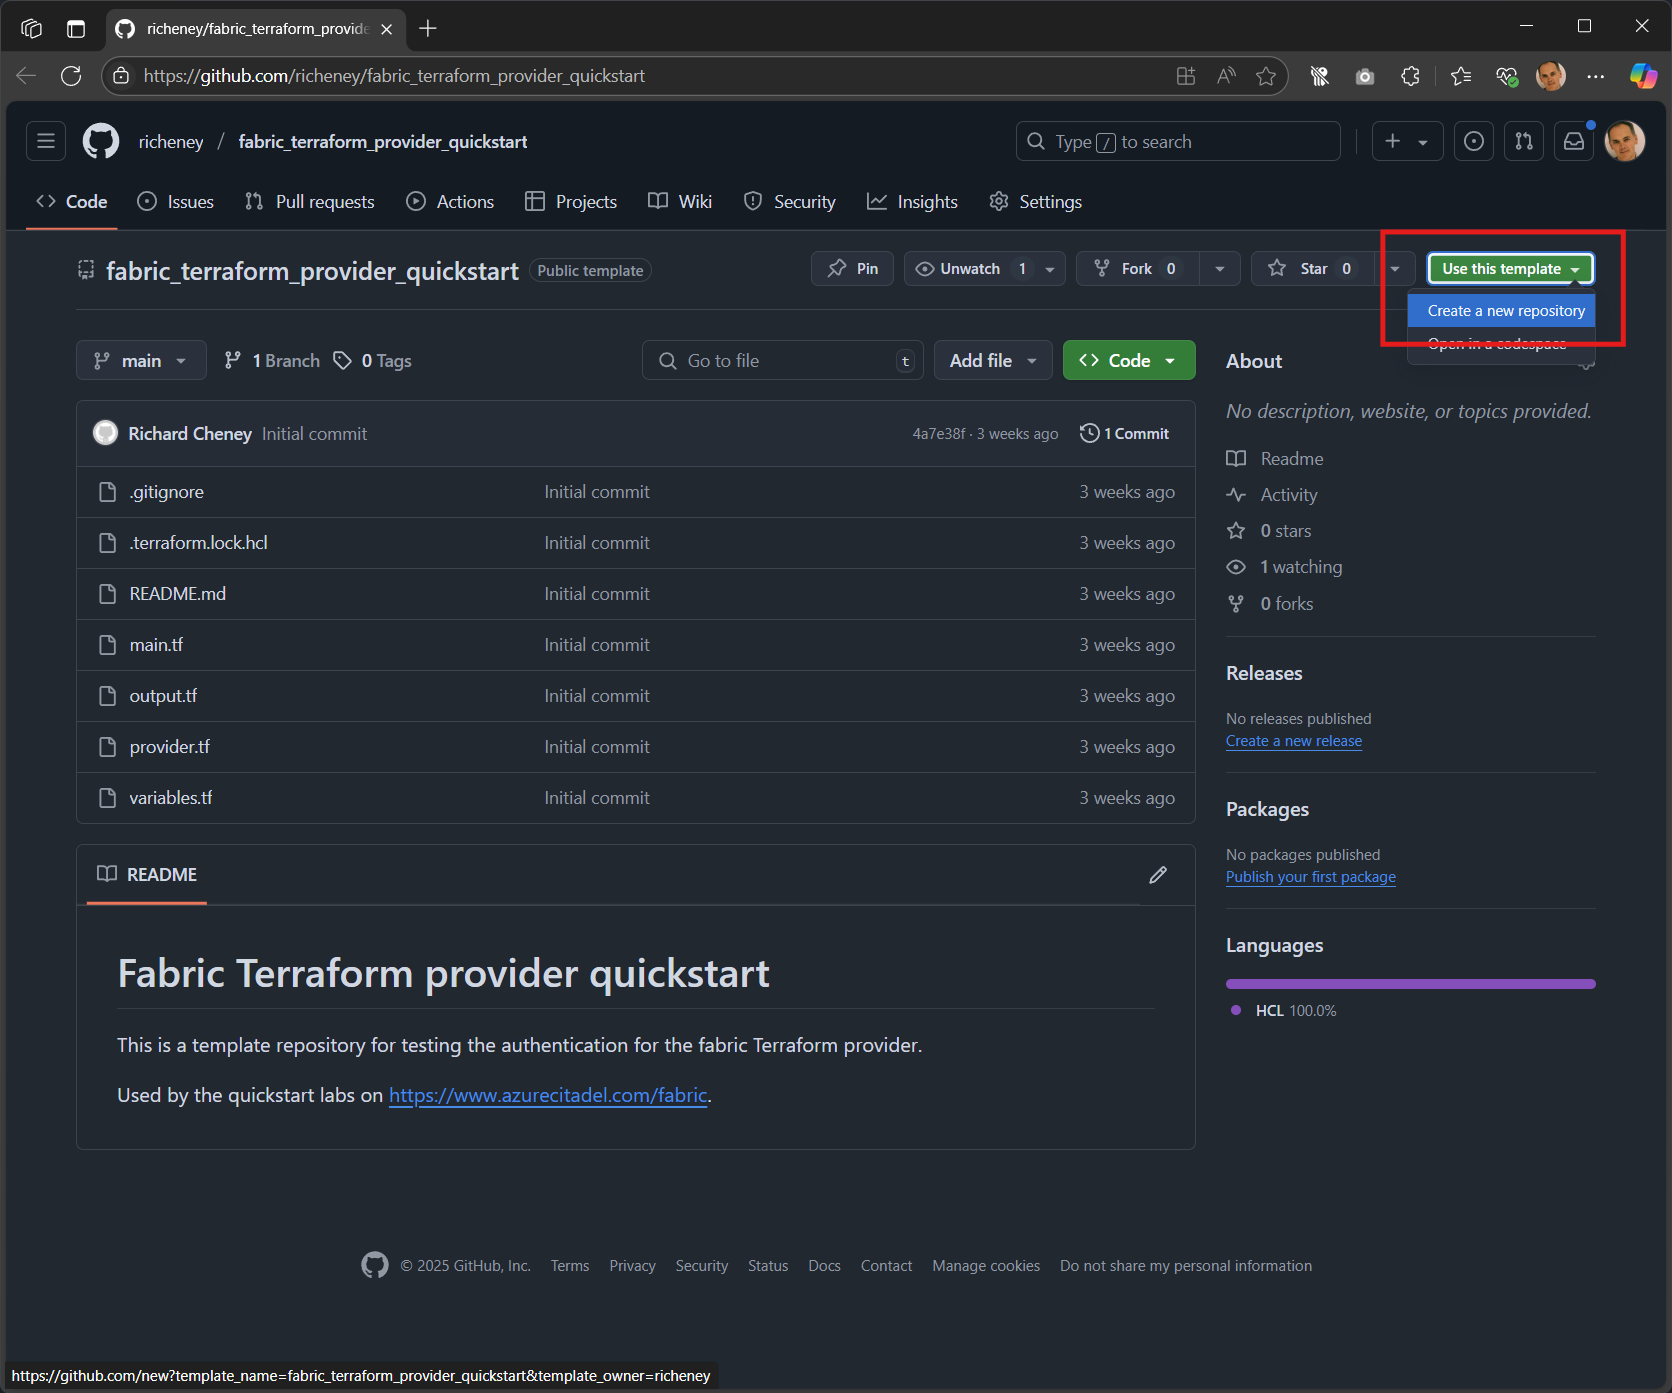
- Click the green Use this template button at the top right of the repository page
- Select Create a new repository from the dropdown
Configure the New Repository
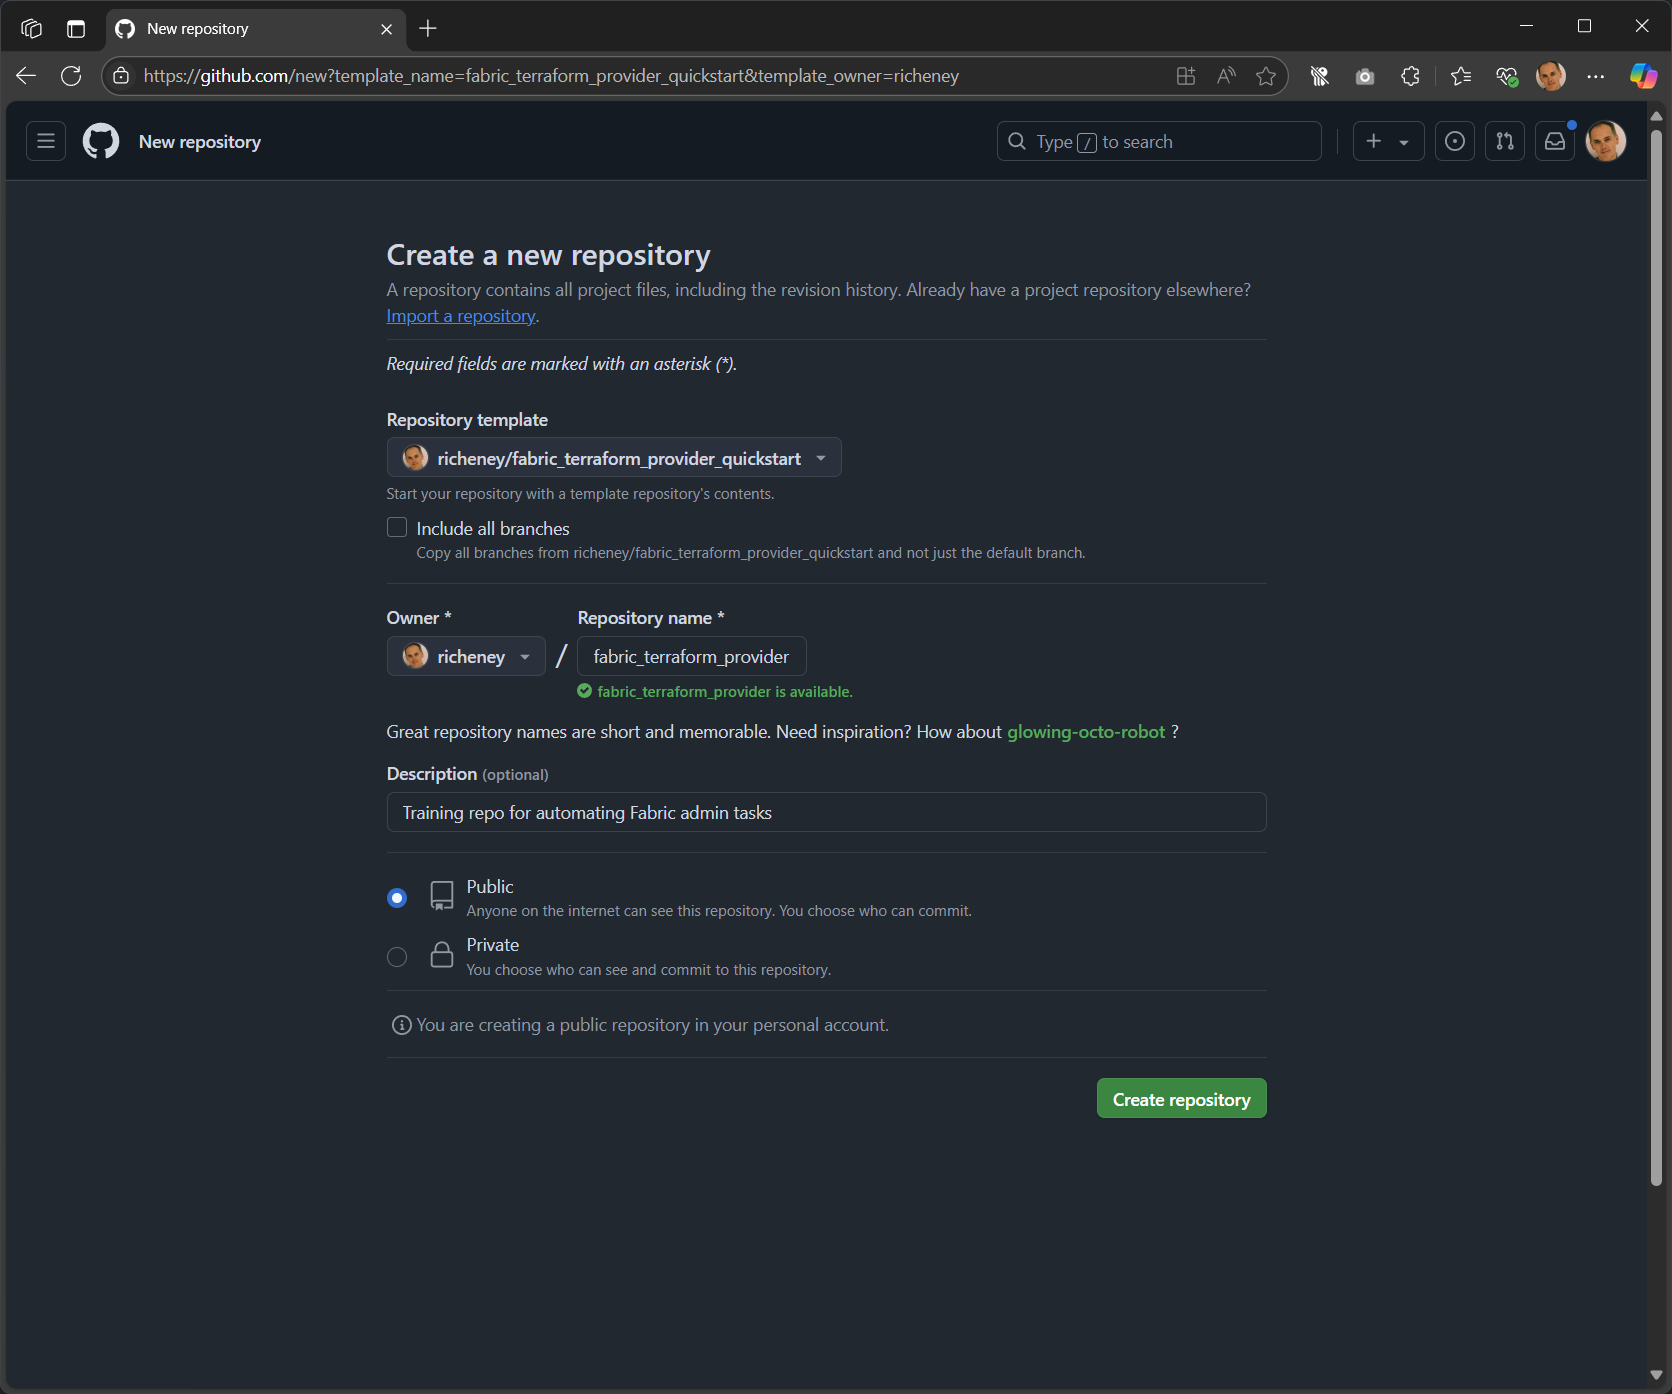
- Provide a name for your new repository
- Optionally, add a description
- Choose the visibility (Public or Private)
- Click Create repository from template
Copy the GitHub CLI clone command
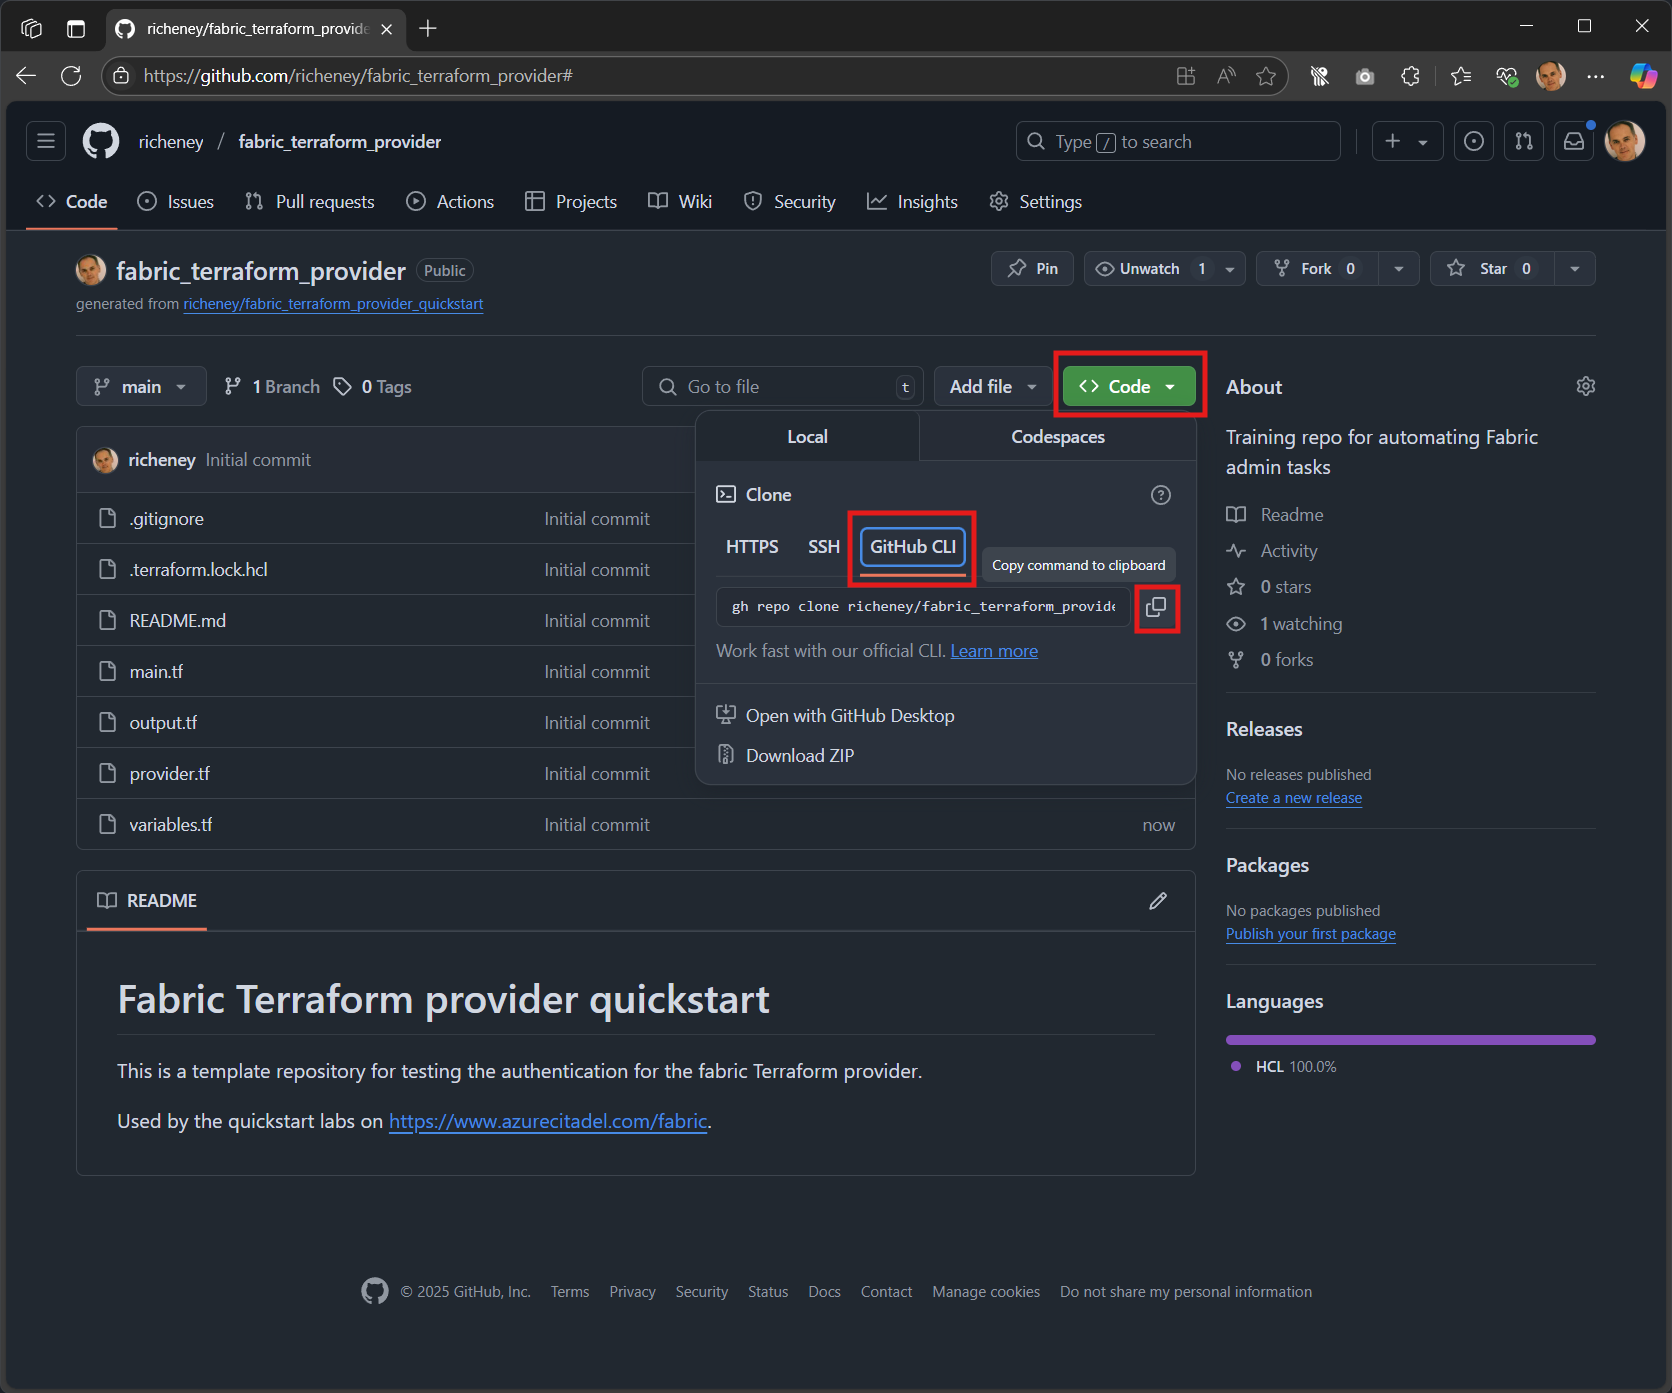
- Click the green Code button
- Select the GitHub CLI tab
- Copy the command to your clipboard
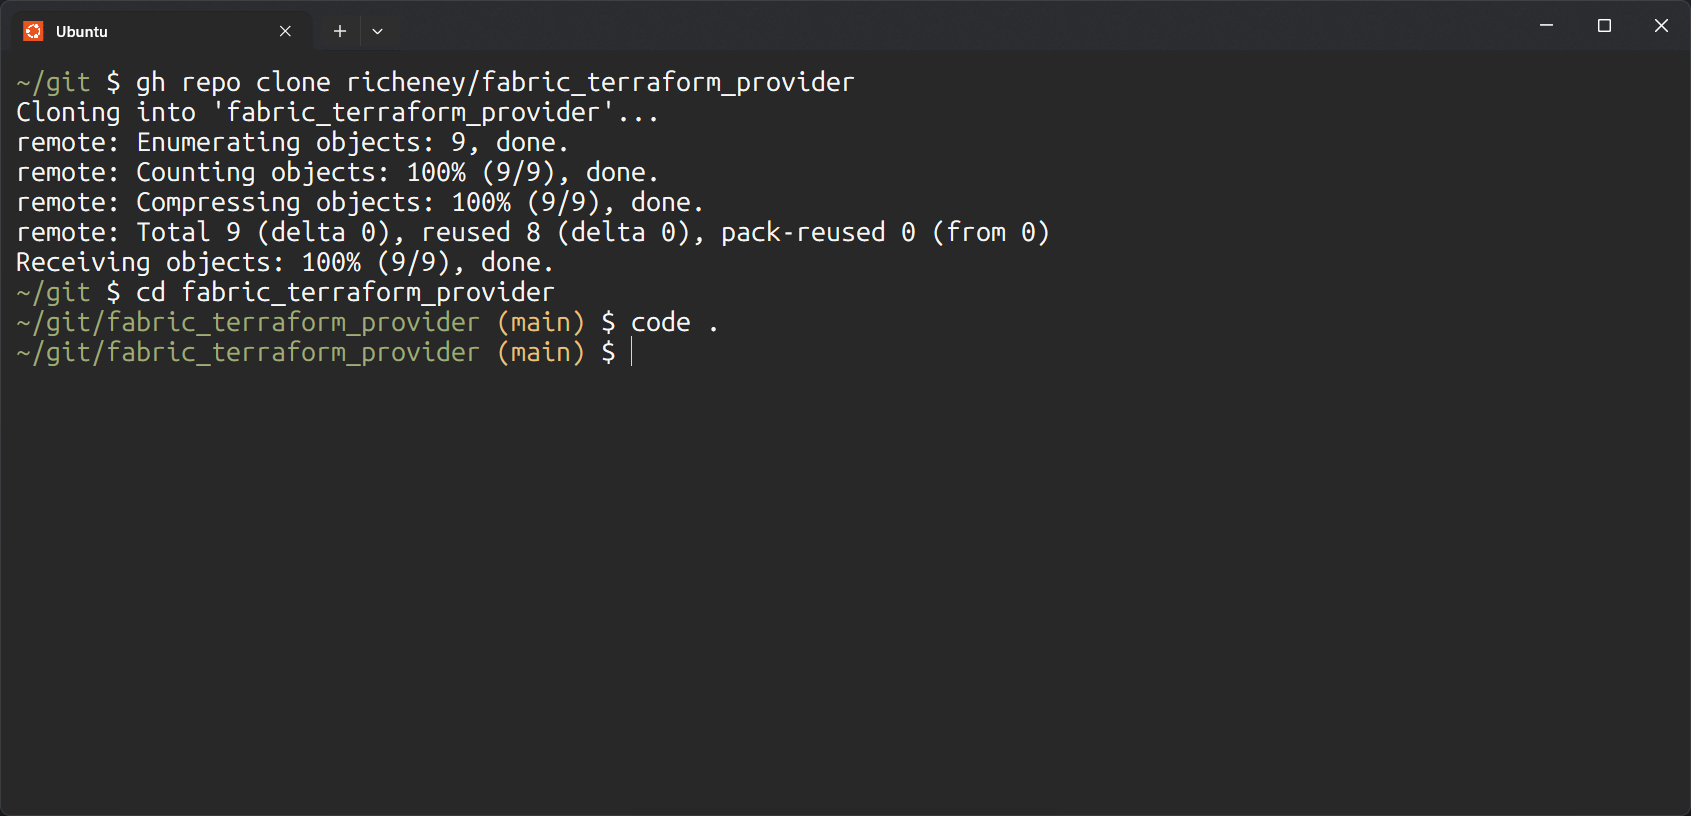
Clone the Repository Locally
-
Open a terminal on your local machine
-
Paste the
gh repo clonecommand from your clipboard -
Change into the repository directory with
cd -
Run
code .to open Visual Studio Code for the current directory
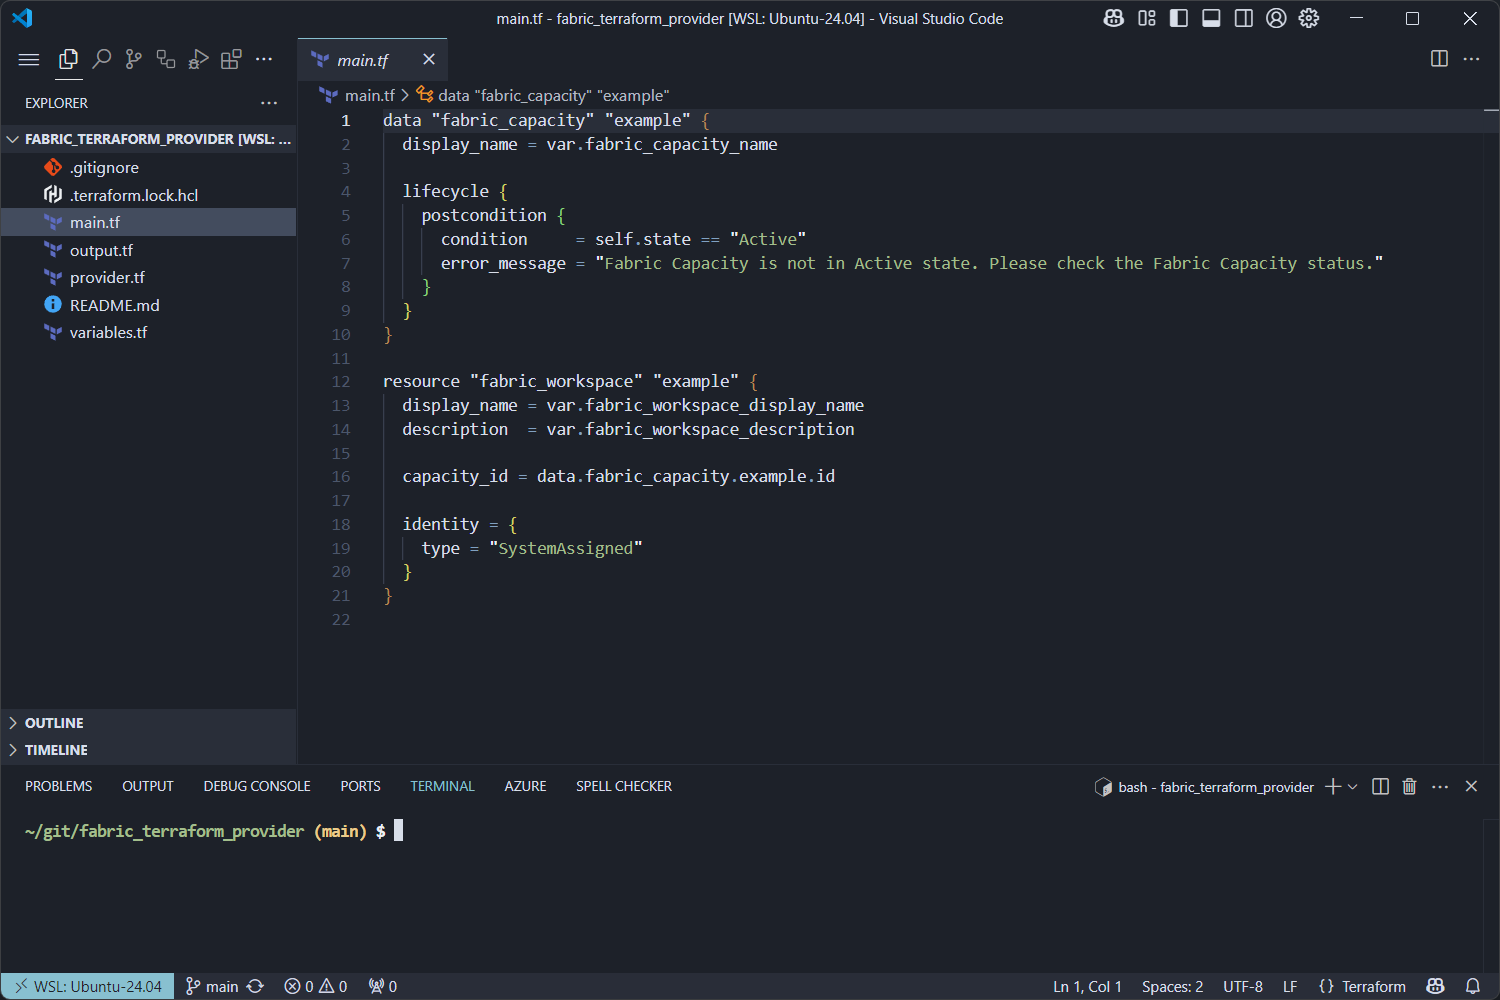
Visual Studio Code
You should now have vscode with the cloned template open.
You can now begin working on your project. Add files, make changes, and commit them to your new repository.
Next
Using a GitHub template repository is an efficient way to kickstart your project with a predefined structure. The fabric_terraform_provider_quickstart template provides a great starting point for Terraform provider development. Happy coding!