Access your on prem VMs
Check you can access your Windows and Linux on prem virtual machines. Plus additional info for Cloud Shell and Code Tunnels.
Introduction
Before we start onboarding the on prem VMs, let’s make sure you can access them successfully. This page also has some additional info for using Cloud Shell and Code Tunnels for those of you who are not comfortable editing files on Linux using native editors such as vi or nano.
This page only applies to Azure Arc partner hacks. If you are on a partner hack then you have been provided with three Linux servers and three Windows servers. Check that your team has access to the server names plus the provided admin username and password.
Whoever successfully accesses the VMs will be considered the customer’s on prem admin team for the next few onboarding labs. If someone has been driving the creation of the target landing zone then this is an opportunity for someone else to take the wheel.
If you are just running through the materials yourself then you will need some servers to onboard. The recommendation is to use a demo cluster on prem, e.g. linux and windows guests running on VMware vSphere or Hyper-V. Or provision VMs in GCP or AWS.
(Alternatively, feel free to use the arc-onprem-server repo that we use behind the scenes for the Azure Arc partner hacks.)
RDP to Windows
You should have RDP access to all three Windows servers. (The screenshots in this section are from the Microsoft Remote Desktop app in the Microsoft Store.)
-
Add an RDP profile for your first Windows server
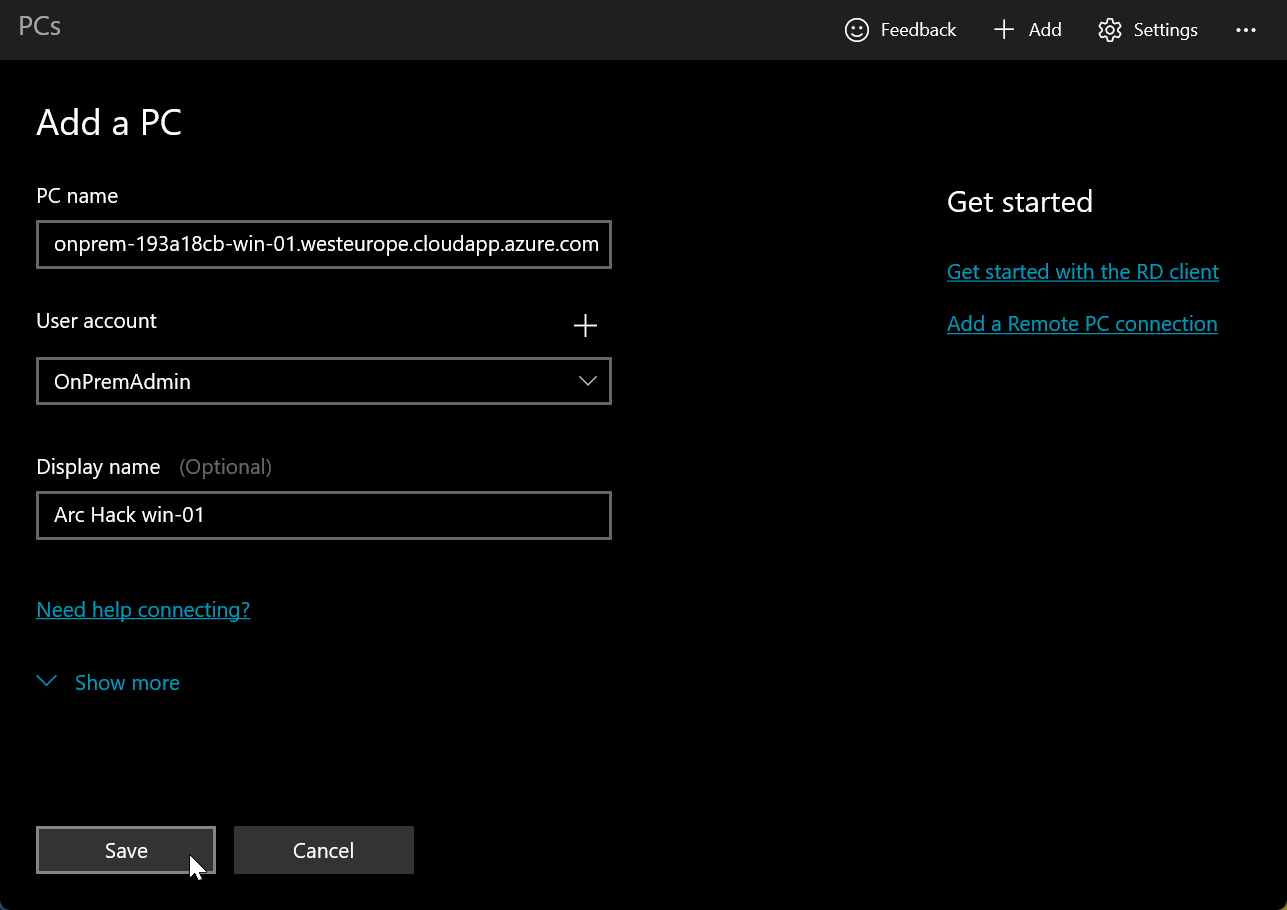
You may want to toggle on Connect to admin session in Show more
-
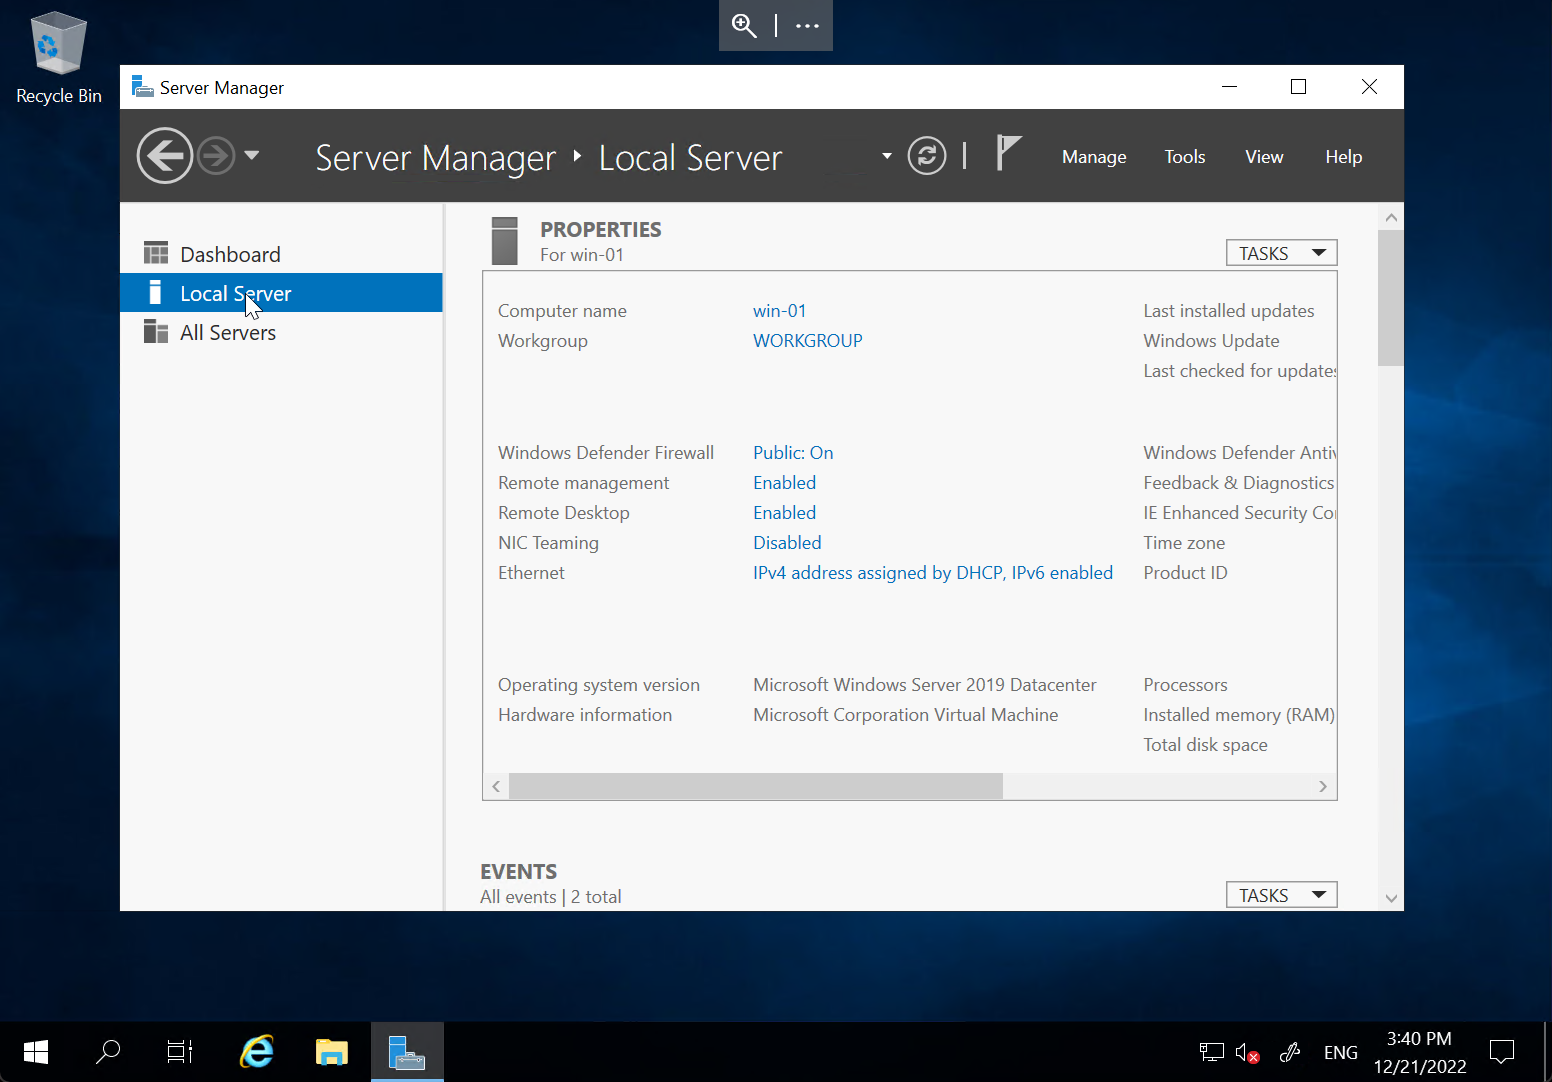
Confirm that you can successfully RDP to the first Windows server
💡 Denied access? There is a network ACL controlling access to the VMs. Your internet connection’s public IP address (https://ipinfo.io/) may need to be added to the list of permitted source IP addresses by the proctors.
-
Disconnect
-
Create additional RDP sessions for the other two Windows servers
SSH
Both Bash and PowerShell have OpenSSH, so you should be able to run ssh at the command line.
You will have been given the ssh commands to access each of the three linux VMs.
You have been provided with an SSH key pair in the onprem_ssh_keys resource group, plus Bash and PowerShell commands to download them locally.
-
Download the SSH keys
Note that if you are using ssh from the Cloud Shell that the container will have its own public IP address.
Type
curl ipinfo.io/ipto determine the public IP for . Note that this public IP address is subject to change. -
Test the ssh command to connect to the first Linux server
Example command:
ssh onpremadmin@onprem-193a18cb-ubuntu-01.northeurope.cloudapp.azure.com -i ~/.ssh/myhackteam -
Respond
yeswhen prompted to add the host to the list of known hosts -
You should now be at the command line for the ubuntu VM
-
Type
exitto return to your local CLI session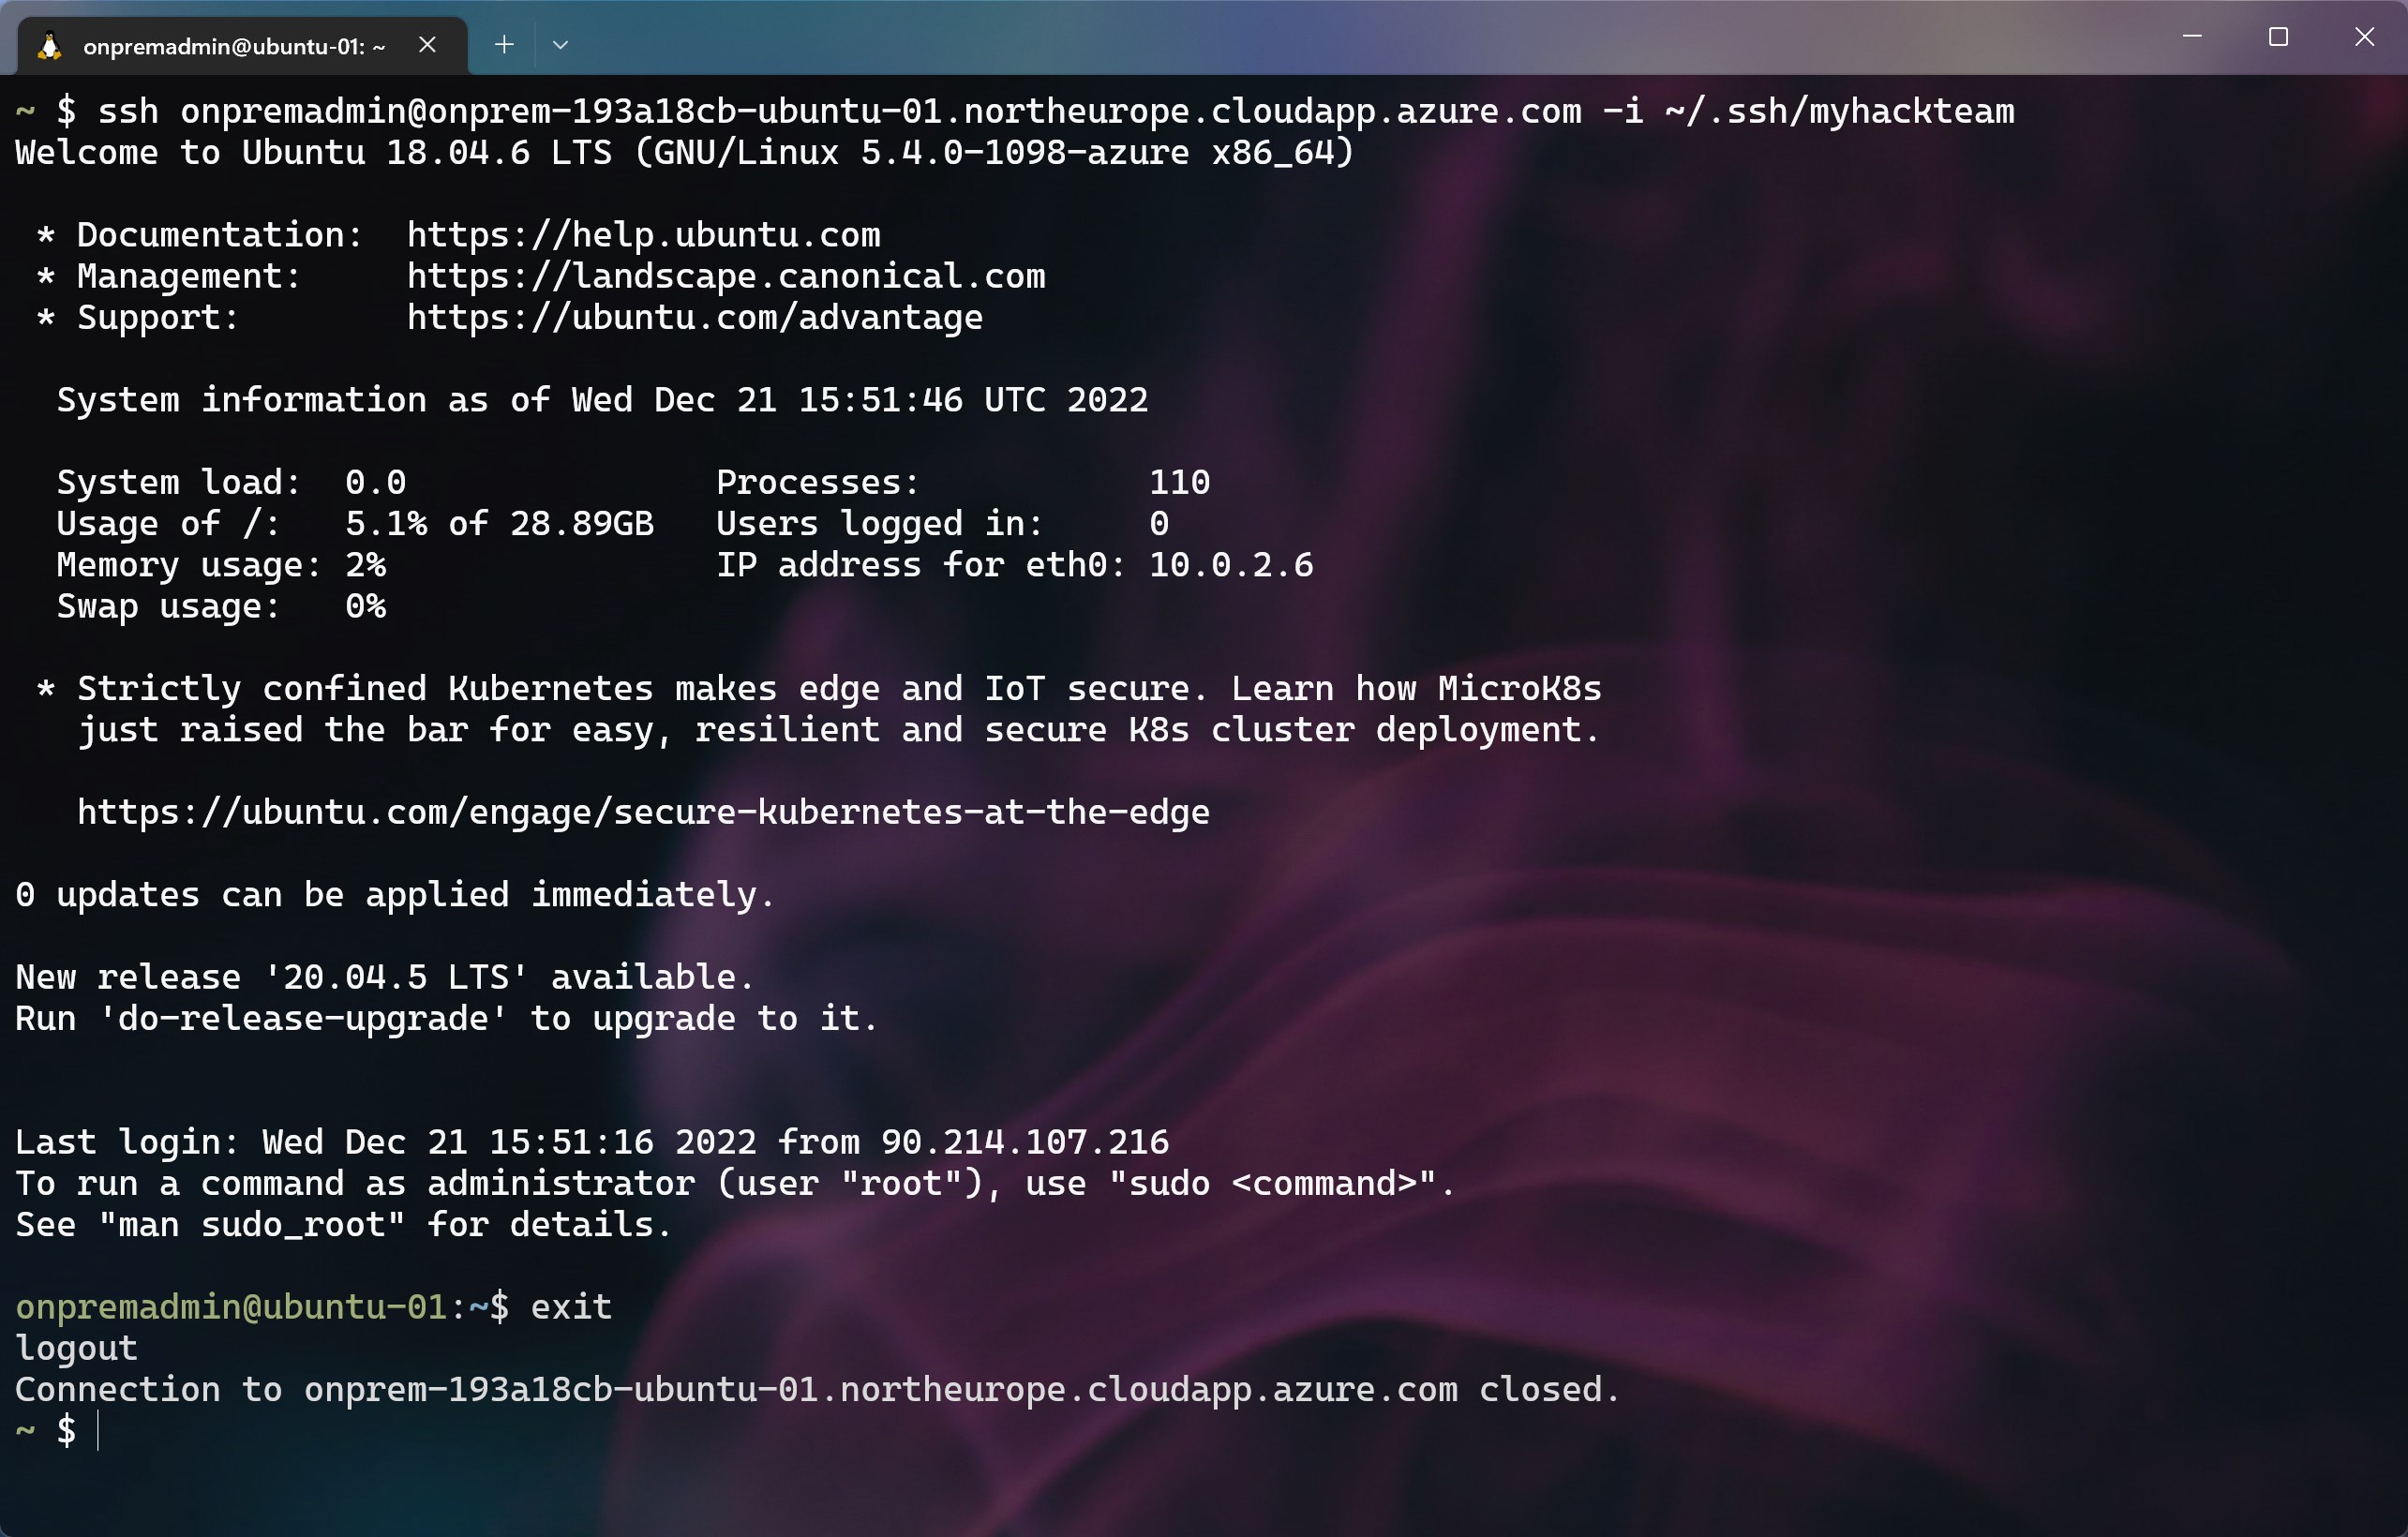
If you can access your Windows and Linux VMs and you are comfortable using the native editing tools, changing file permissions and runnning Bash and PowerShell scripts then you can move straight on to the onboarding labs.
If you are not comfortable editing on Linux then the following sections on Cloud Shell and Code Tunnels may help. (After all, these labs are not intended as a test of your Linux prowess.) Three is also a little test script so you can check.
Monaco editor in Cloud Shell
If you are using Cloud Shell (https://shell.azure.com) then the Monaco editor is highly recommended. Note that the Cloud Shell has an icon for uploading files to your home directory.
Type code . at the prompt to start up the editor for the current directory.

-
CTRL+Sto save a fileUnsaved files have a large dot in the tab.
You will be prompted to enter a filename.
-
CTRL+Qto close the editor
Code Tunnels
If you are working direct from your laptop (i.e. not on a Cloud Shell) and you are not comfortable on Linux then using code tunnels may make creating and running scripts a little simpler.
Note that code tunnels are unrelated to Azure Arc. This is a Visual Studio Code remote development feature.
Initial configuration
This is only done once, but only take a minute or two per server.
-
Connect to a Linux server via SSH in Windows Terminal
-
Download the vscode cli
wget https://code.visualstudio.com/sha/download?build=stable\&os=cli-alpine-x64 -O /tmp/code.tar.gz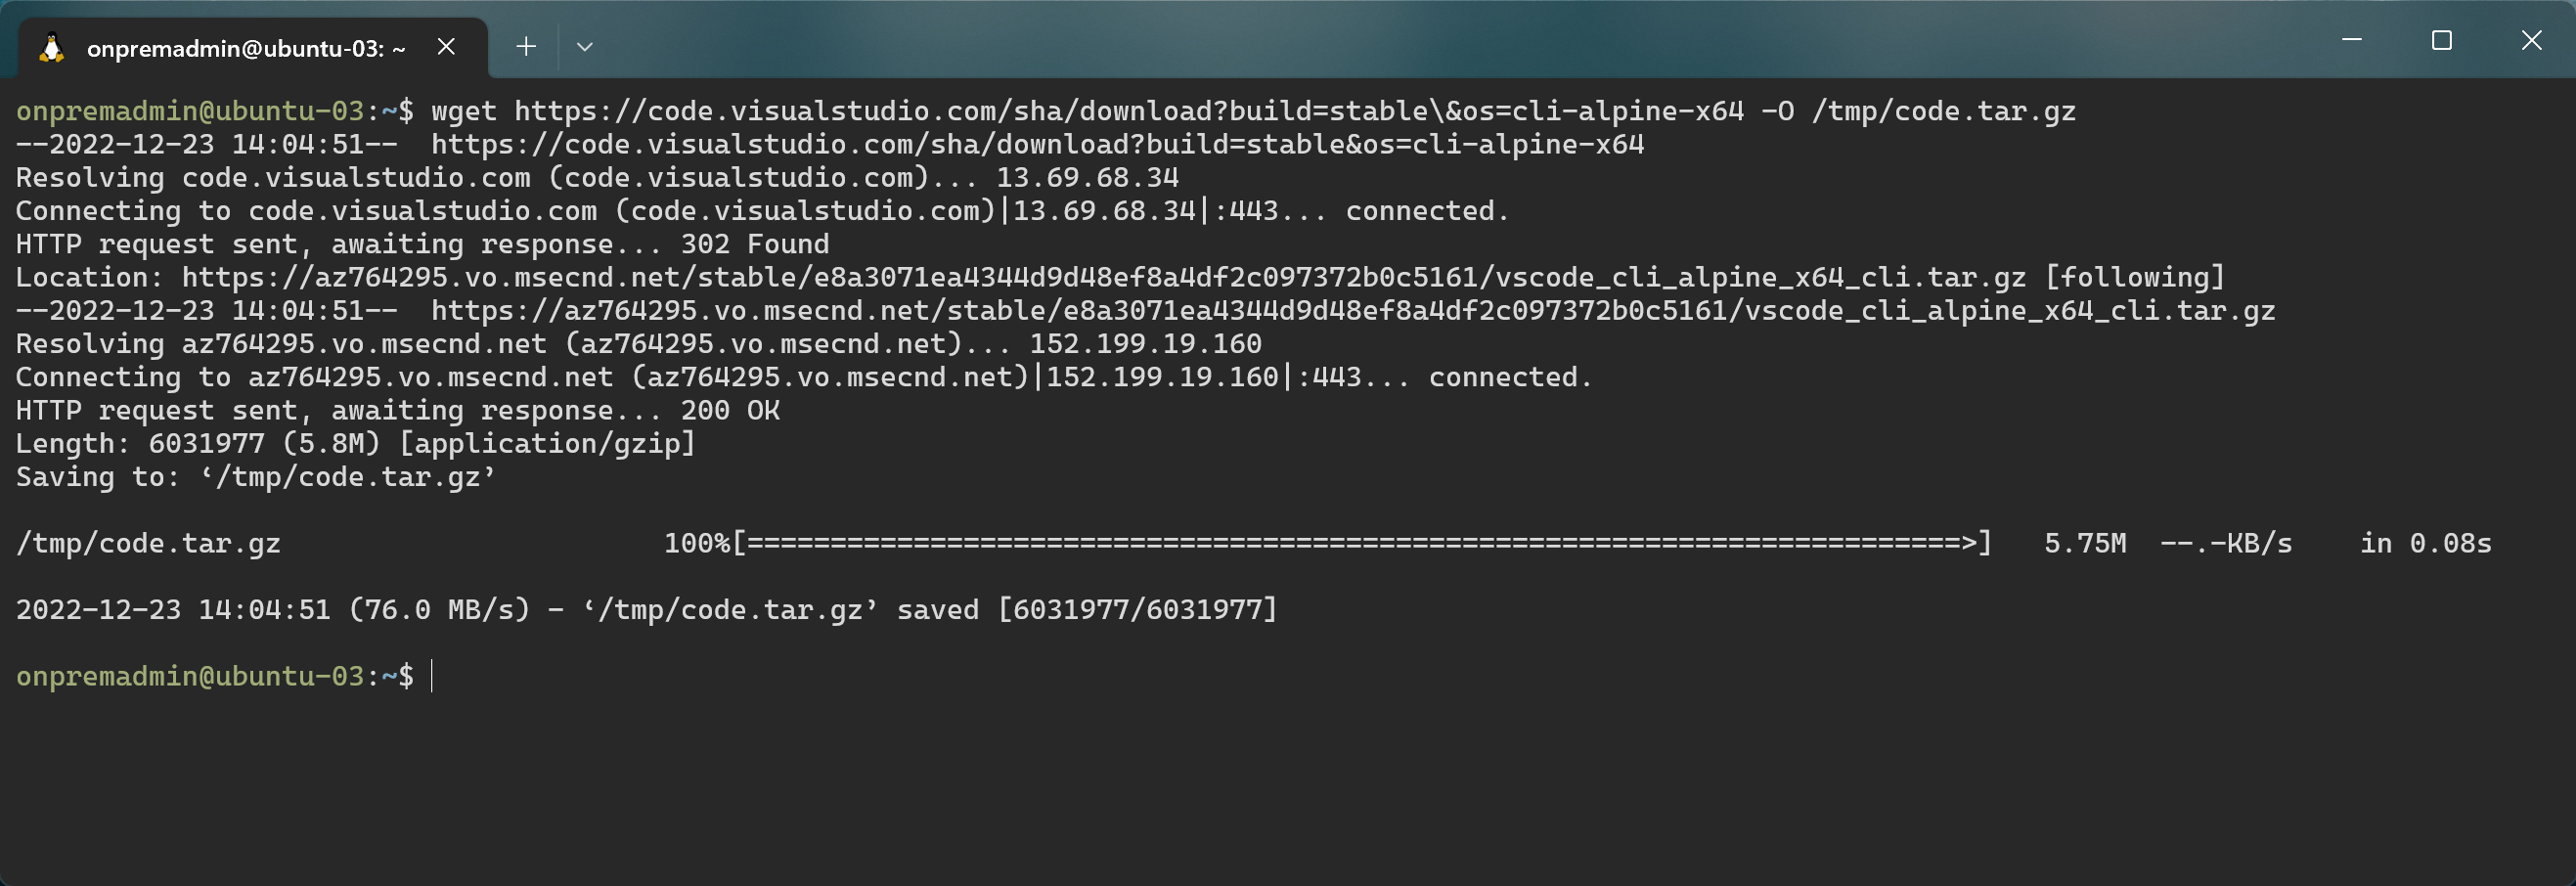
-
Extract the executable to /usr/local/bin
sudo tar -zxvf /tmp/code.tar.gz -C /usr/local/bin && rm /tmp/code.tar.gz -
Start the tunnel
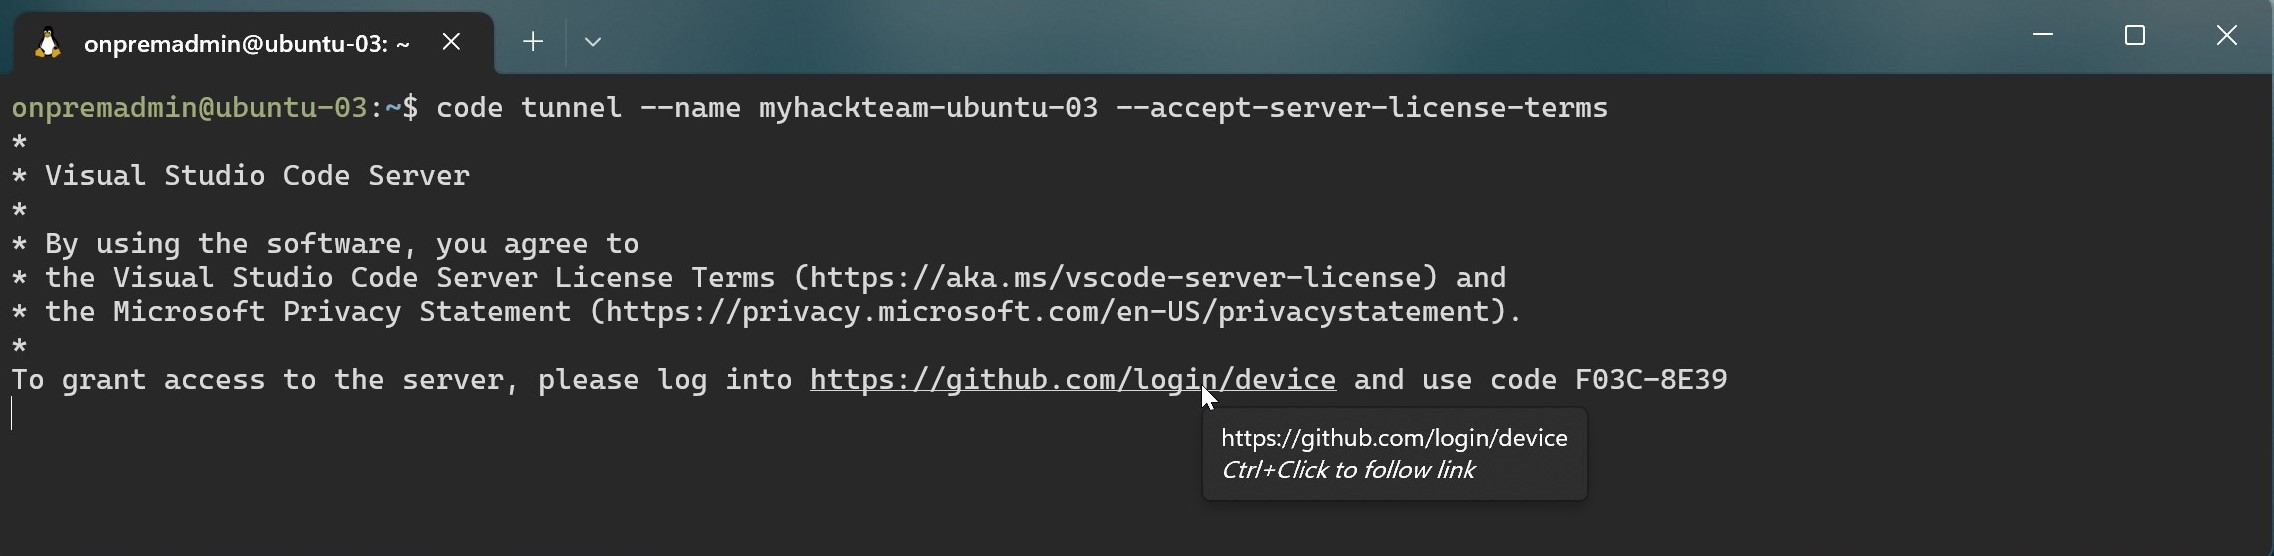
Here is an example command for one of my test VMs.
code tunnel --name myhackteam-ubuntu-03 --accept-server-license-termsChange the name to match your hack team’s shortcode and server name.
The first time you create a tunnel you will need to follow the instructions to create the trust relationship between this server and your GitHub account.
-
Highlight the code and right click to copy to the clipboard
-
Hold CTRL and click on the link
-
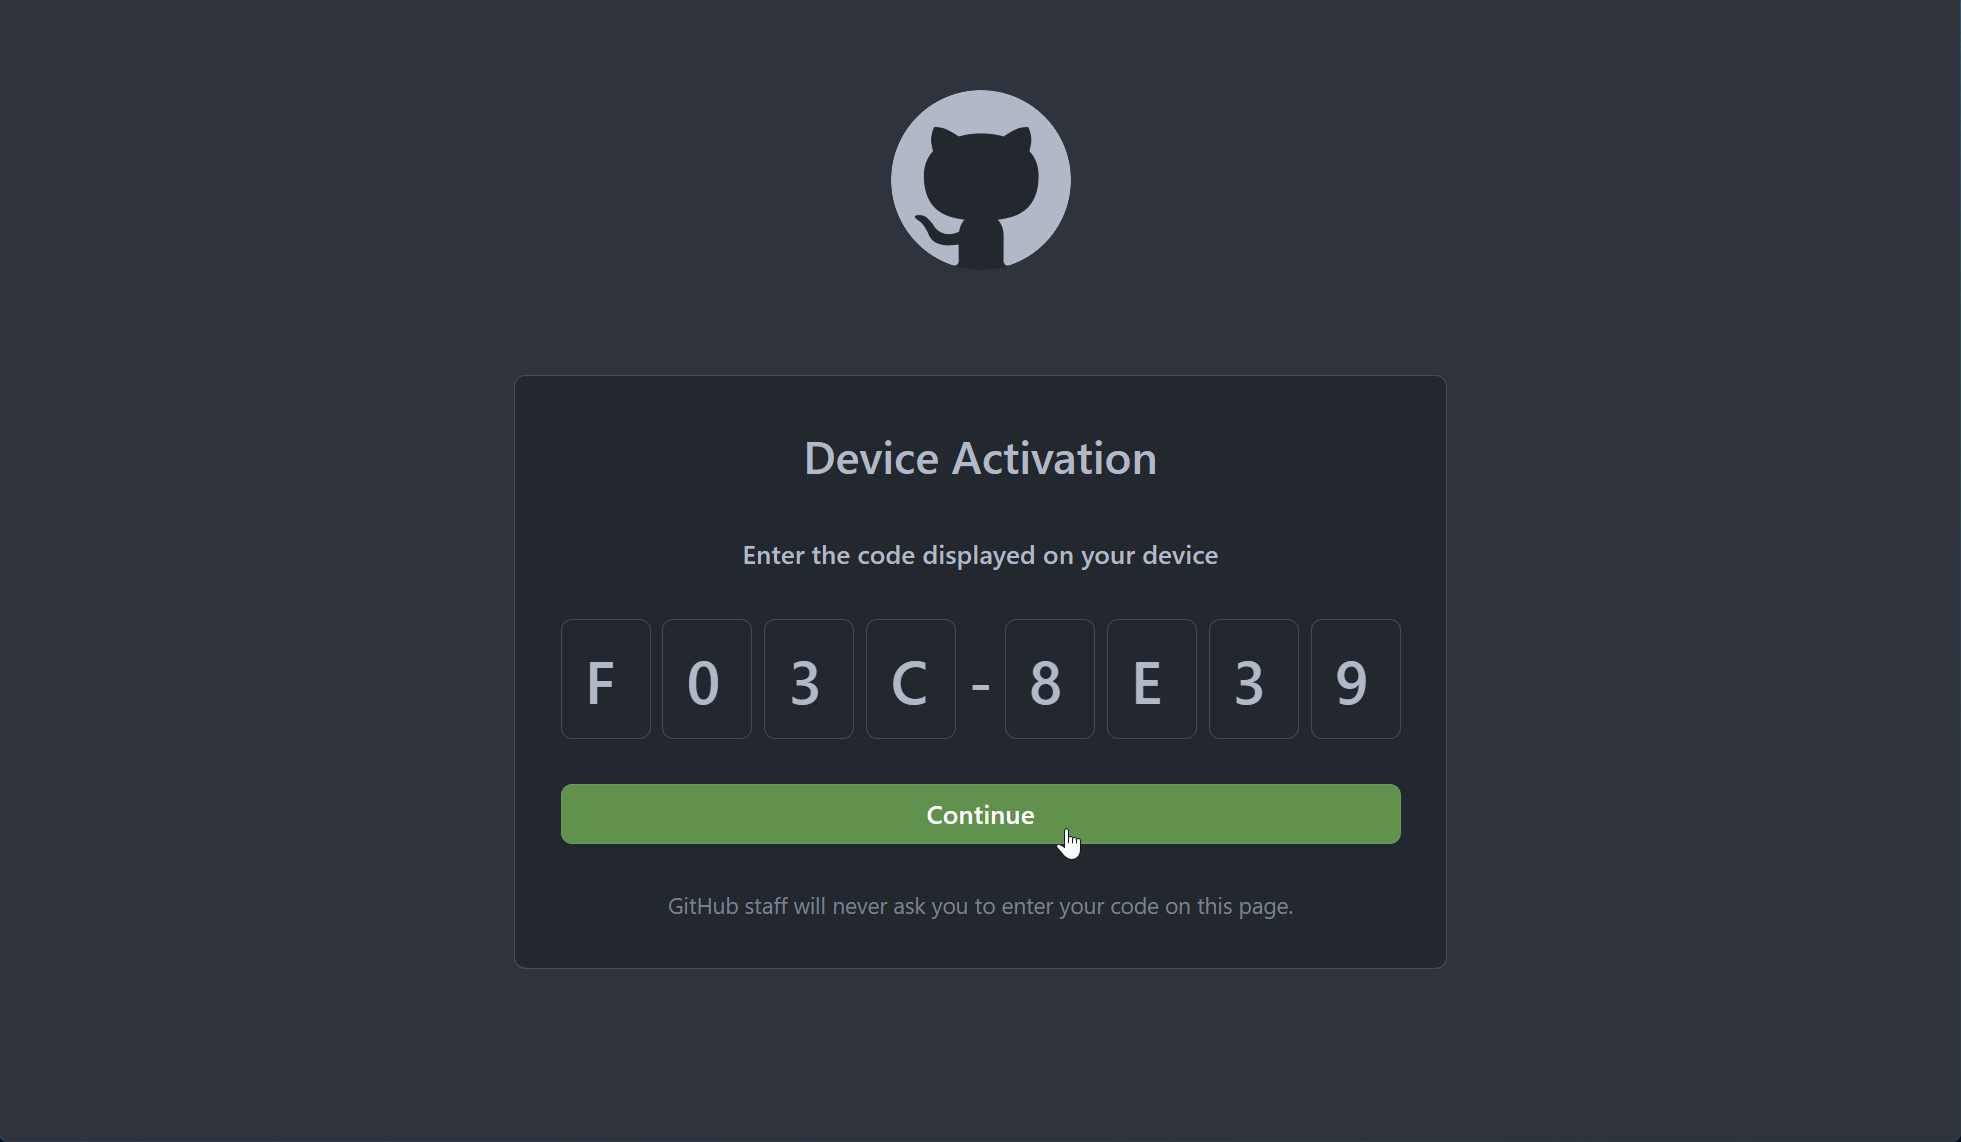
Paste the code from the clipboard
-
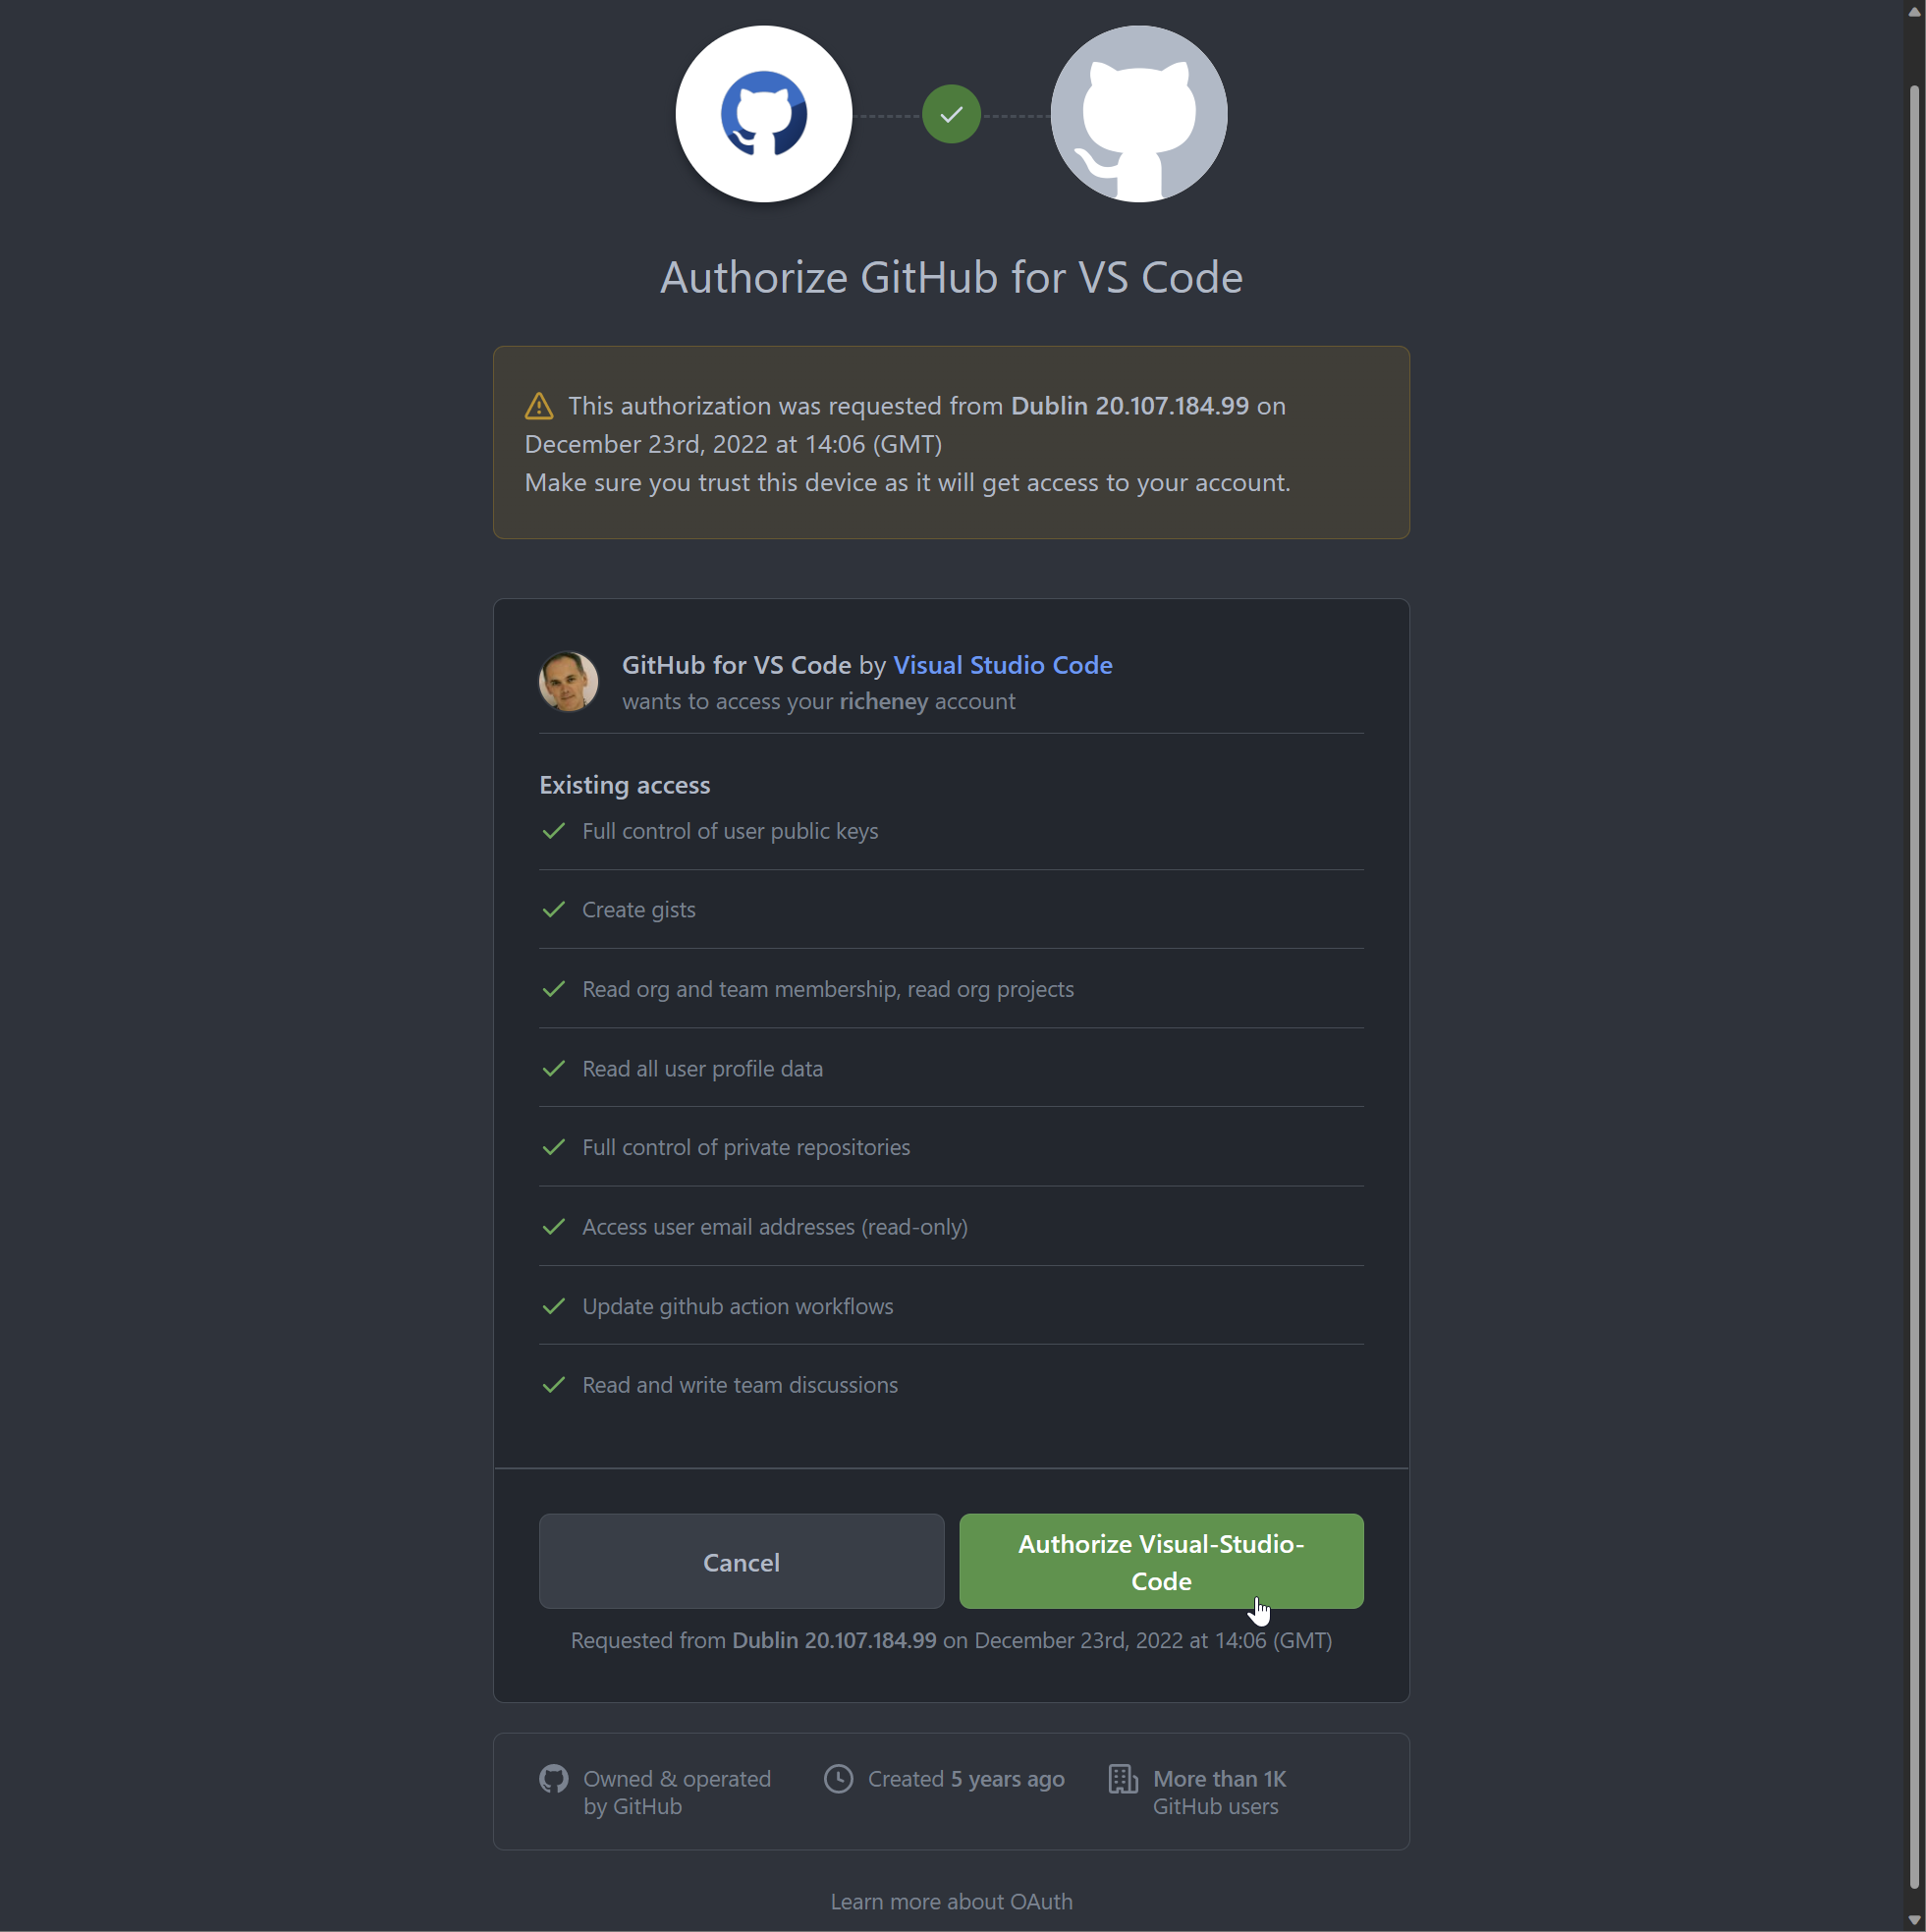
Accept the terms
-
All set!
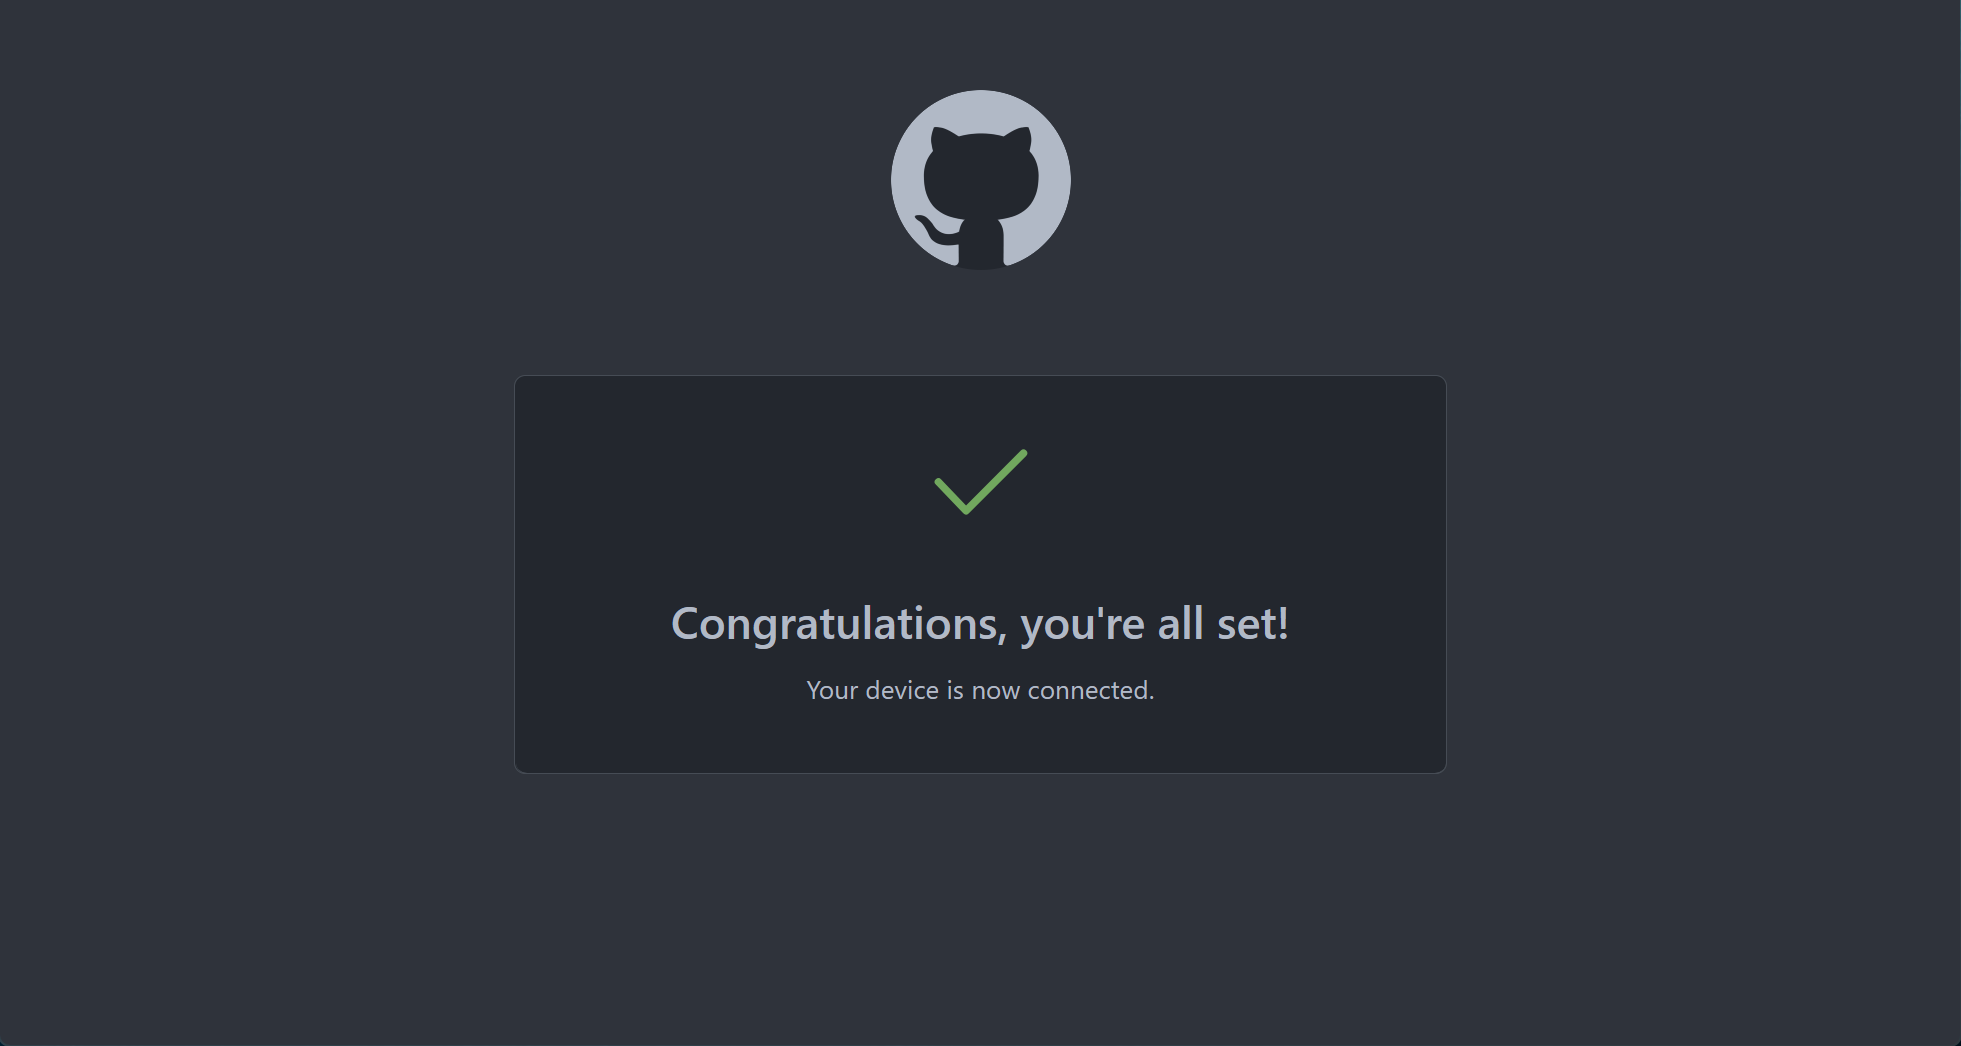
The OAuth relationship to your GitHub account is configured and your server name is registered.
-
Closing sessions
Press
CTRL+Cto cancel the code tunnel process in the Windows Terminal.
Code Tunnel in the browser
-
SSH to the VM in the Terminal
-
Start the tunnel
code tunnel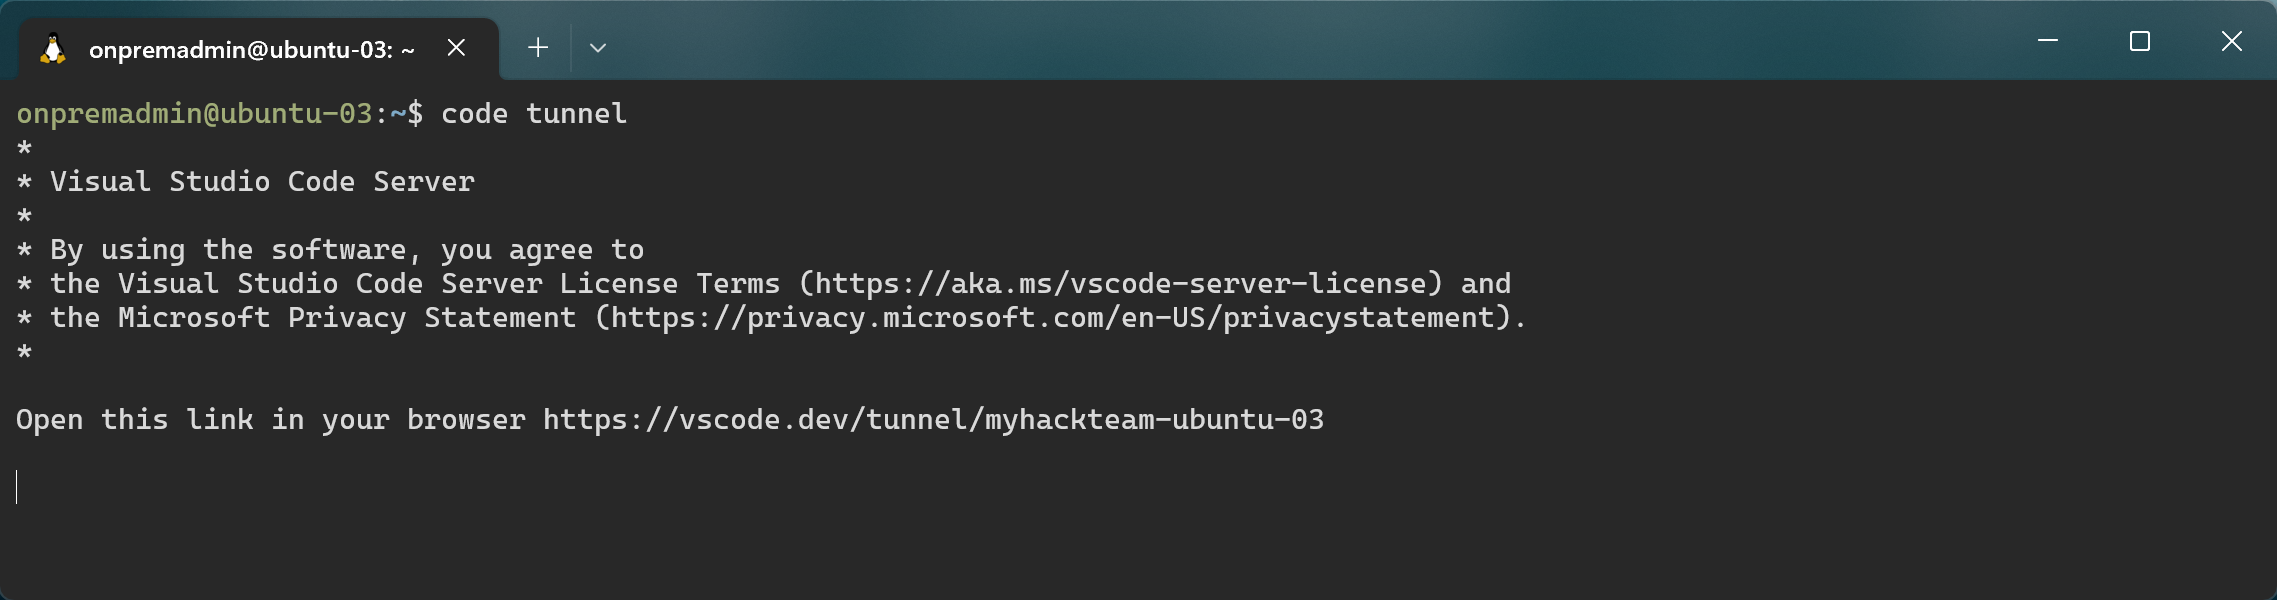
Note that the configured machine name has been remembered.
💡 Don’t forget that Terminasl supports multiple tabs.
-
Browser session
Click on the link to use vscode across the tunnel.
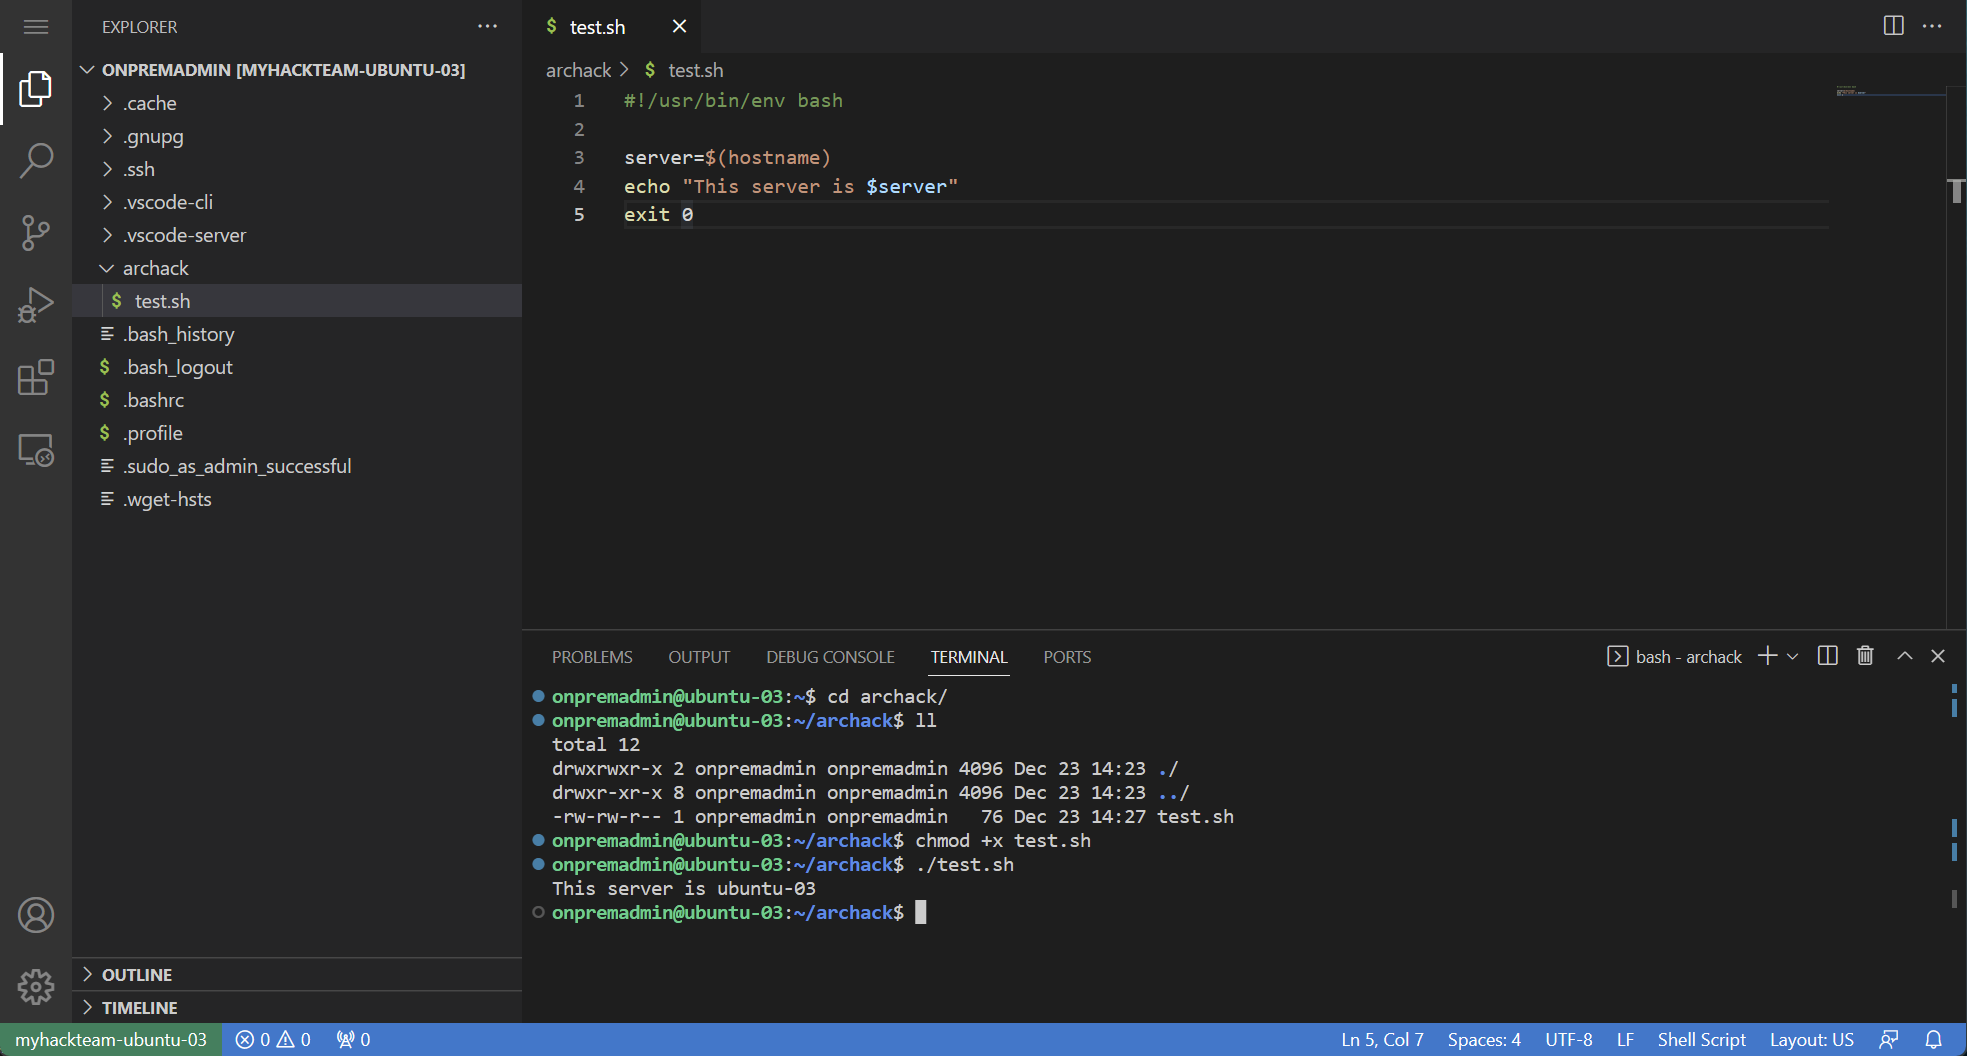
You now have a useful Explorer on the left - CTRL+SHIFT+E, or View | Explorer. The Explorer supports file drag and drop.
Open the integrated Terminal with CTRL+', or View | Terminal.
Code Tunnel in Visual Studio Code
Alternatively you can also open the session in the full Visual Studio Code client. You may want to open a new window.
-
Start up the
code tunnel -
Bring up the Command Palette (
Ctrl+SHIFT+P, or View | Command Palette) -
Search on “Tunnel” and click on Remote-Tunnels: Connect to Tunnel…
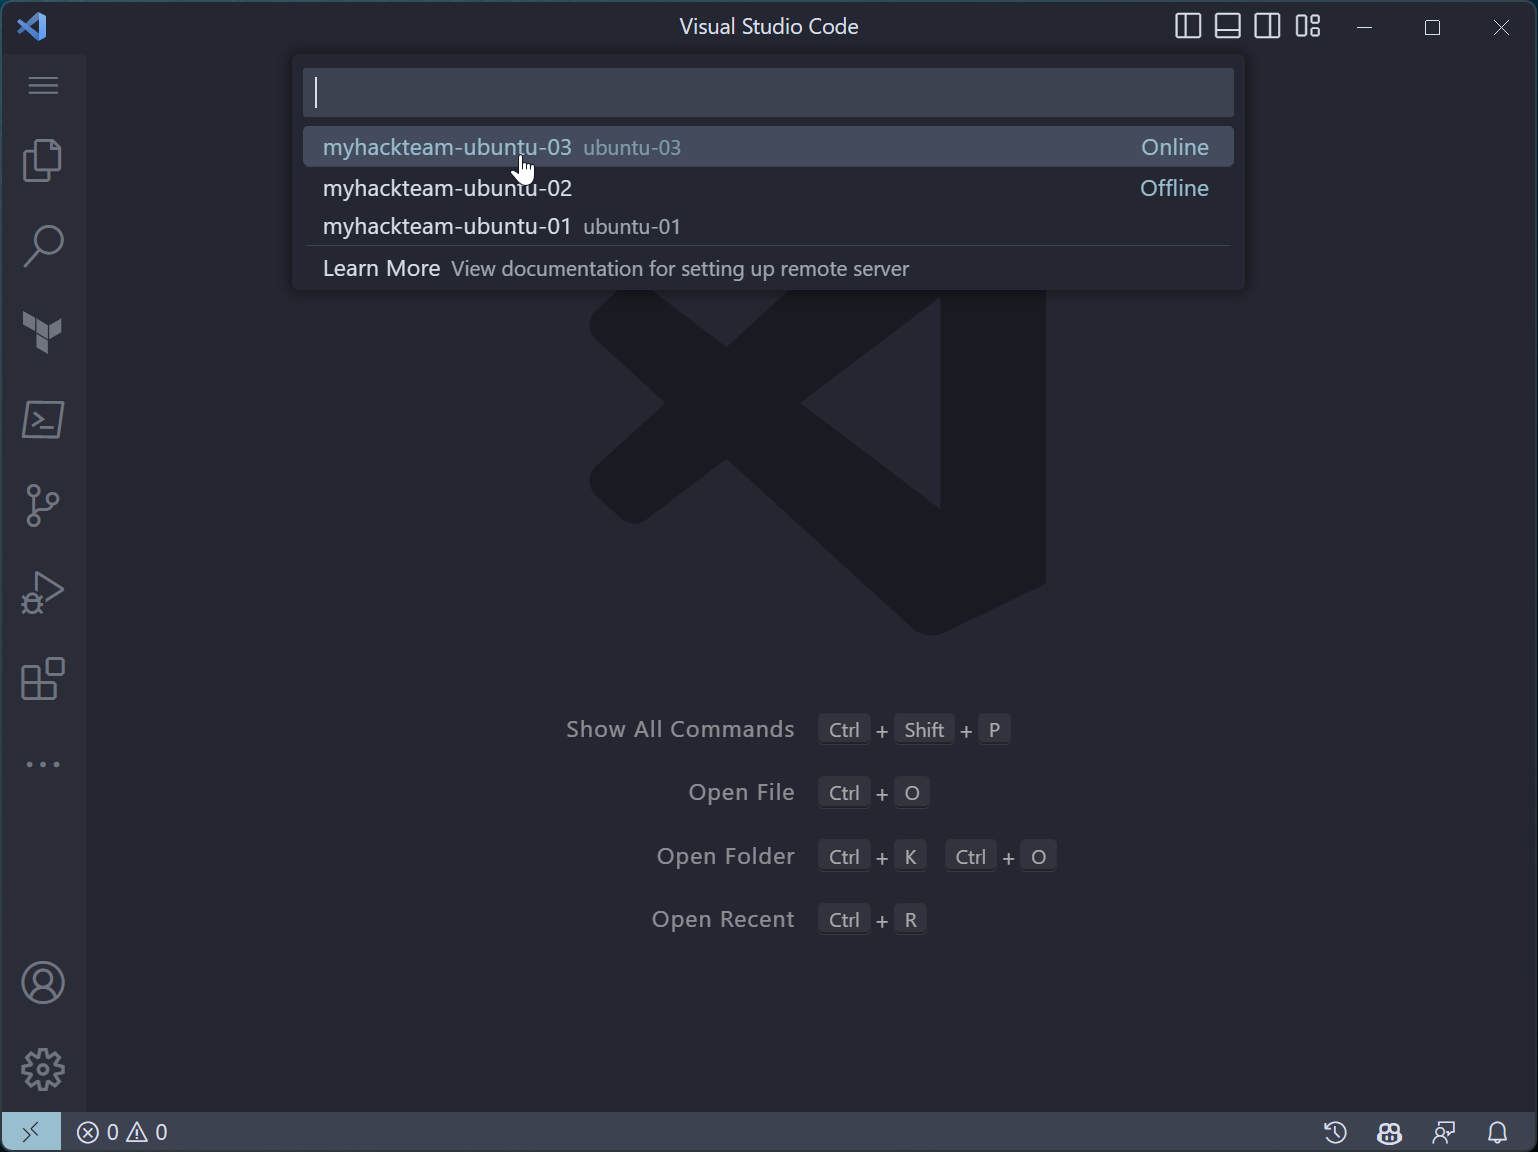
-
Select the machine name
-
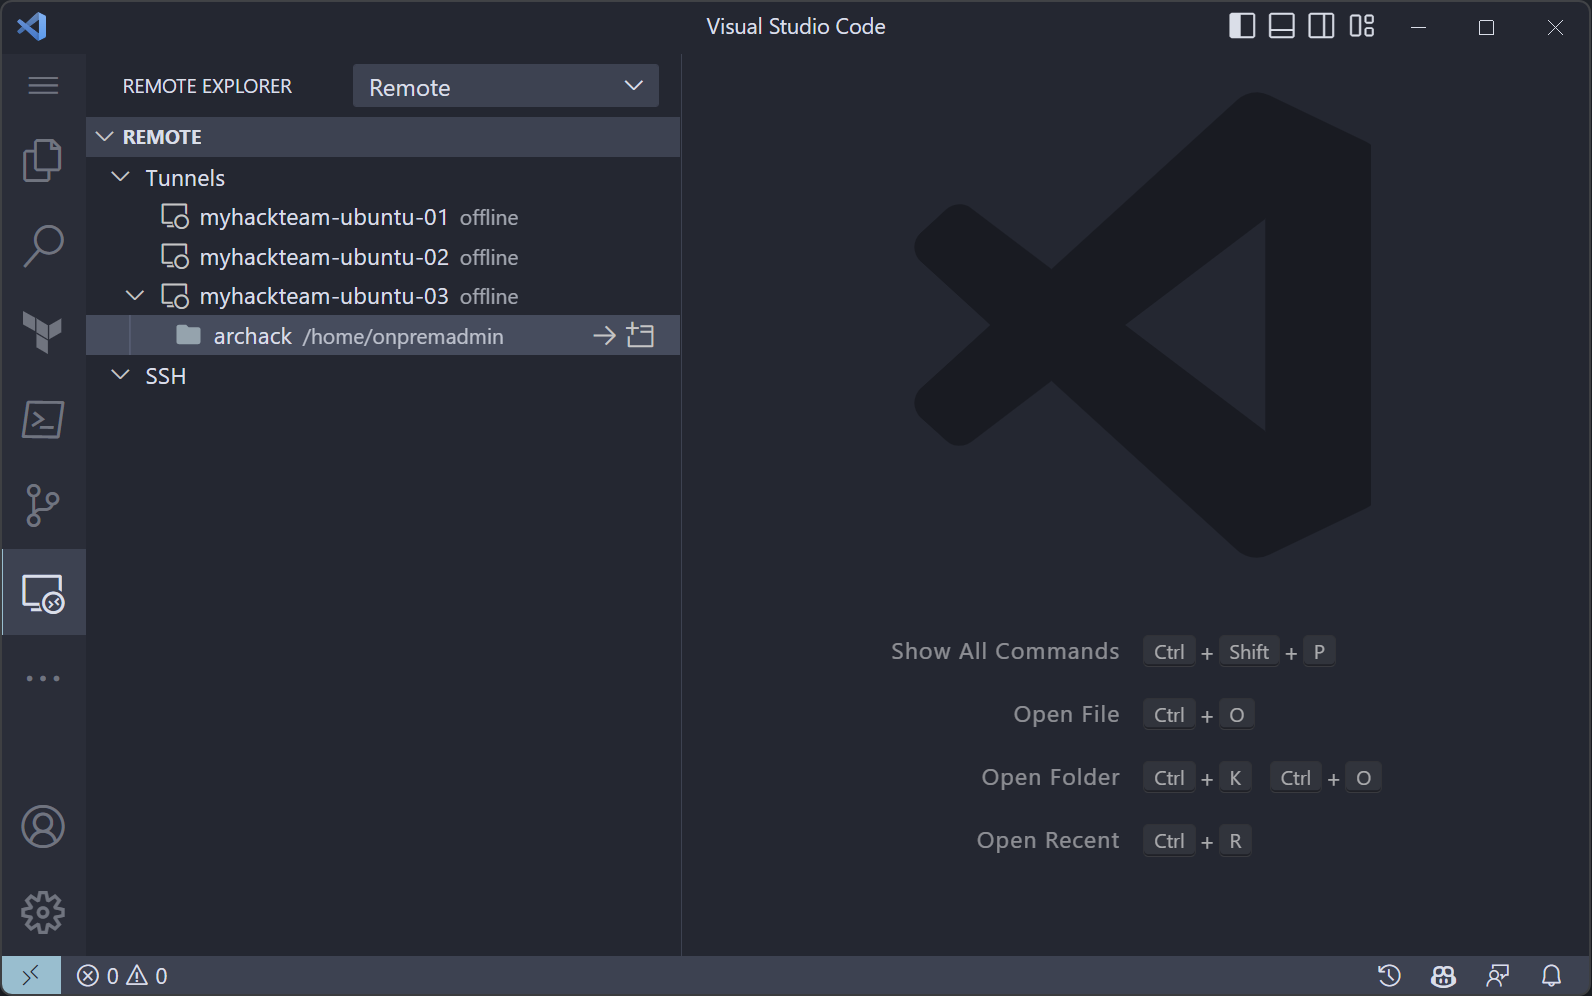
Remote Explorer
From now on you can select Remote sessions in Remote Explorer.
Test script (optional)
If you want to check that you can create and run a script then follow these steps.
-
Create a file, test.sh
-
Paste in the code block below
#!/usr/bin/env bash

server=$(hostname)
echo "This server is $server"
exit 0
Bash scripts usually have
#!/bin/bashor#!/usr/bin/env bashon the first line. This is called the shebang. -
Save with
CTRL+S -
Switch to the terminal
-
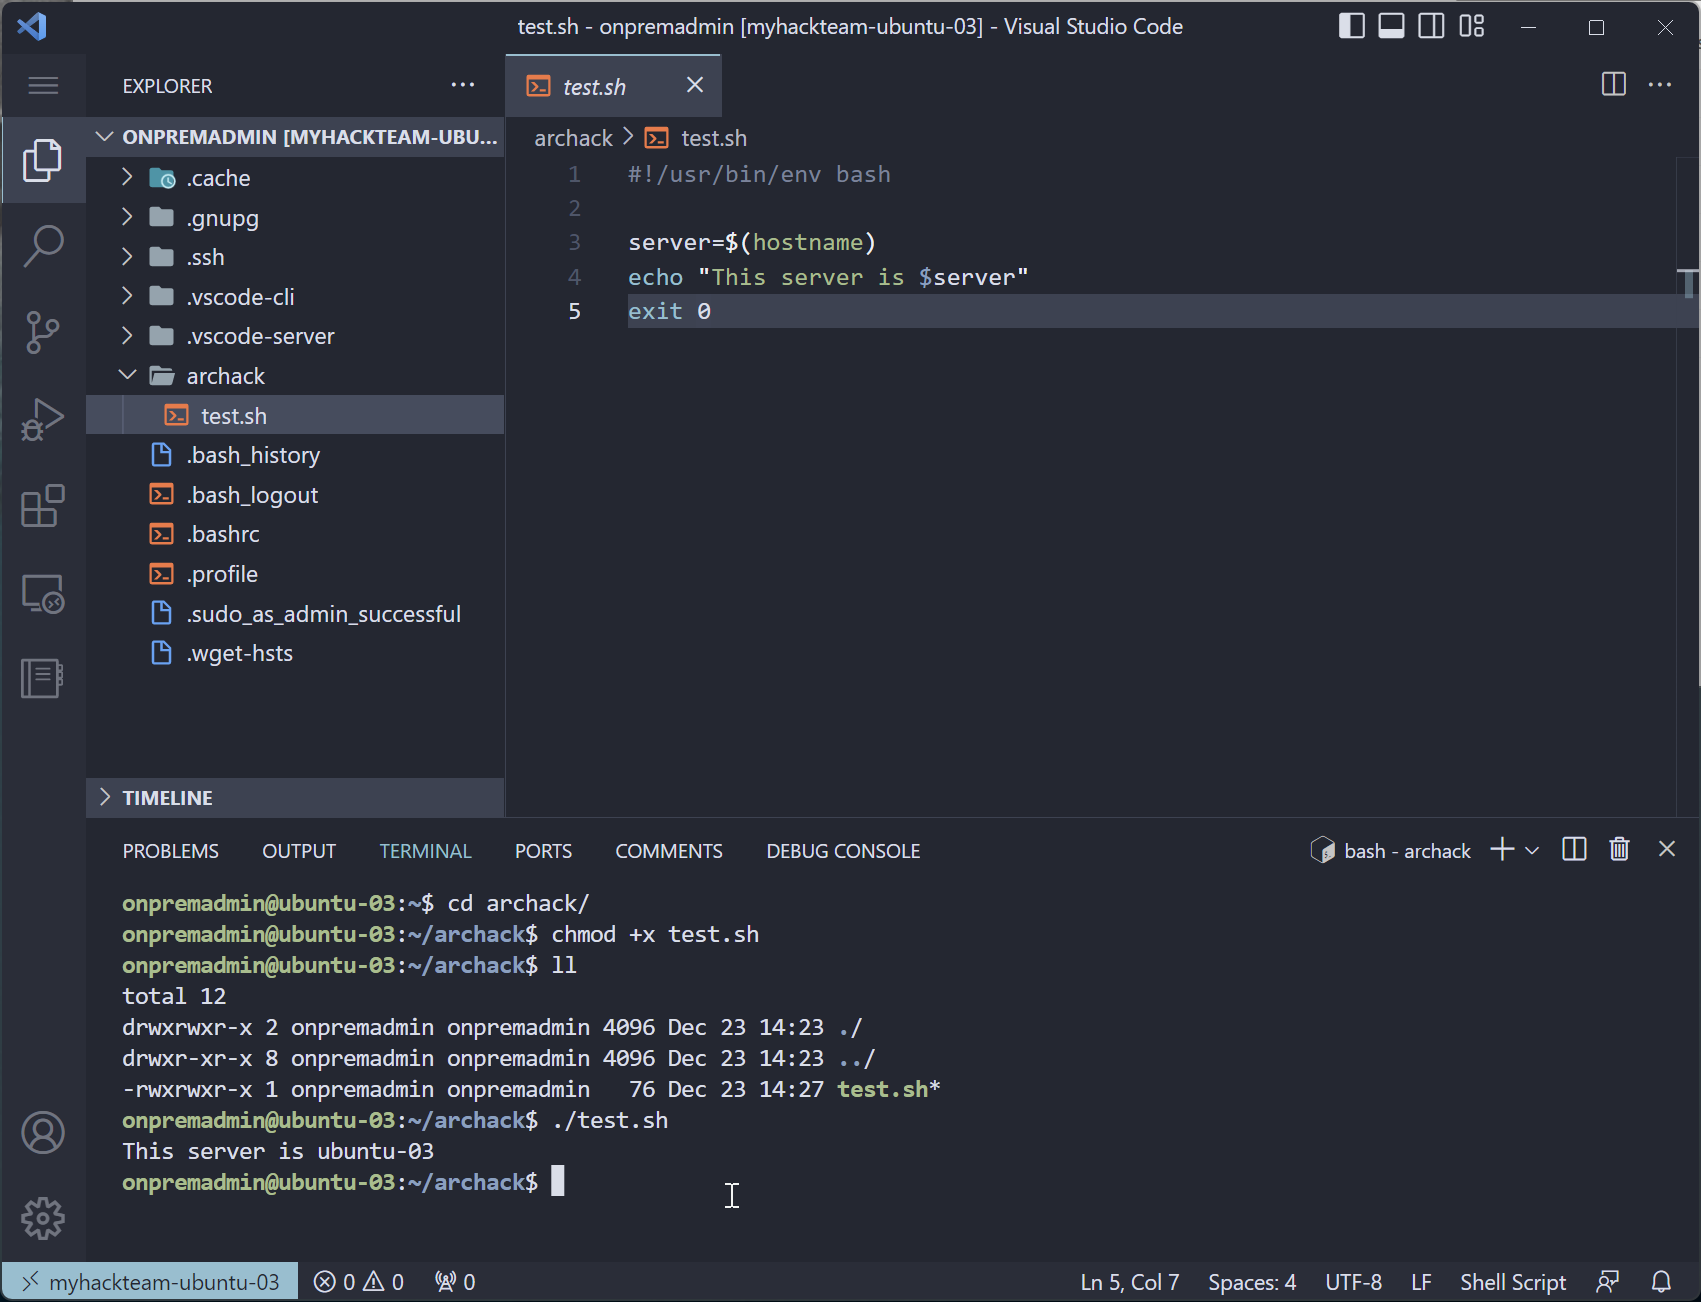
Add execute permissions
chmod +x test.sh -
Run the script
./test.shExample output:
This server is ubuntu-03
Success criteria
Show your proctor
- that you can RDP onto win-01
- that you can ssh onto ubuntu-01
- that you are OK running bash scripts on Linux
Resources
- Microsoft Remote Desktop
- https://learn.microsoft.com/windows-server/administration/openssh/openssh_install_firstuse
- https://github.com/terraform-azurerm-examples/arc-onprem-servers
Next up
We have on prem servers and we have a target environment. Let’s start onboarding!