Getting Started
Get started making your first contribution.
Overview
Contributions to this community site are encouraged.
Each page comes with a Make a change button that will take you directly through to GitHub and allow you to submit a Pull Request.
Process
Make a change
Find the page that you want to contribute to.
Click the Make a change button.
This will take you through to GitHub where you can edit the code for this site.
Fork this repository
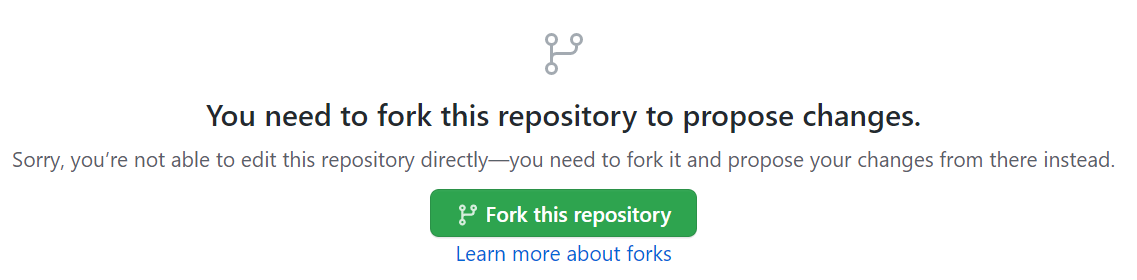
Commit your change
You can edit the file directly on GitHub for smaller changes without having to download or install any software.
This will commit the changes directly into your forked GitHub repository
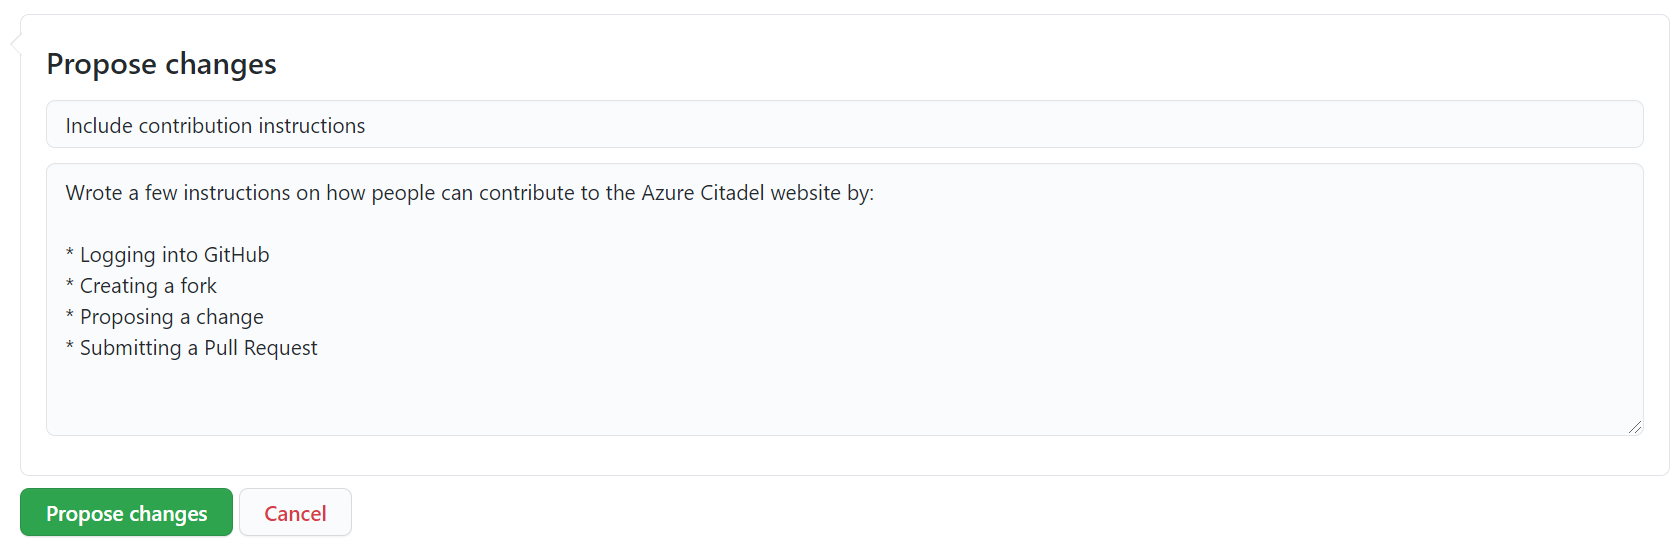
After filling in a short title and longer description, select Propose changes.
Create a Pull Request
All changes that get merged into the main branch of Azure Citadel get Continuously Deployed to live. To ensure quality all changes must be reviewed prior to being deployed.
The mechanism for reviewing changes is the Pull Request
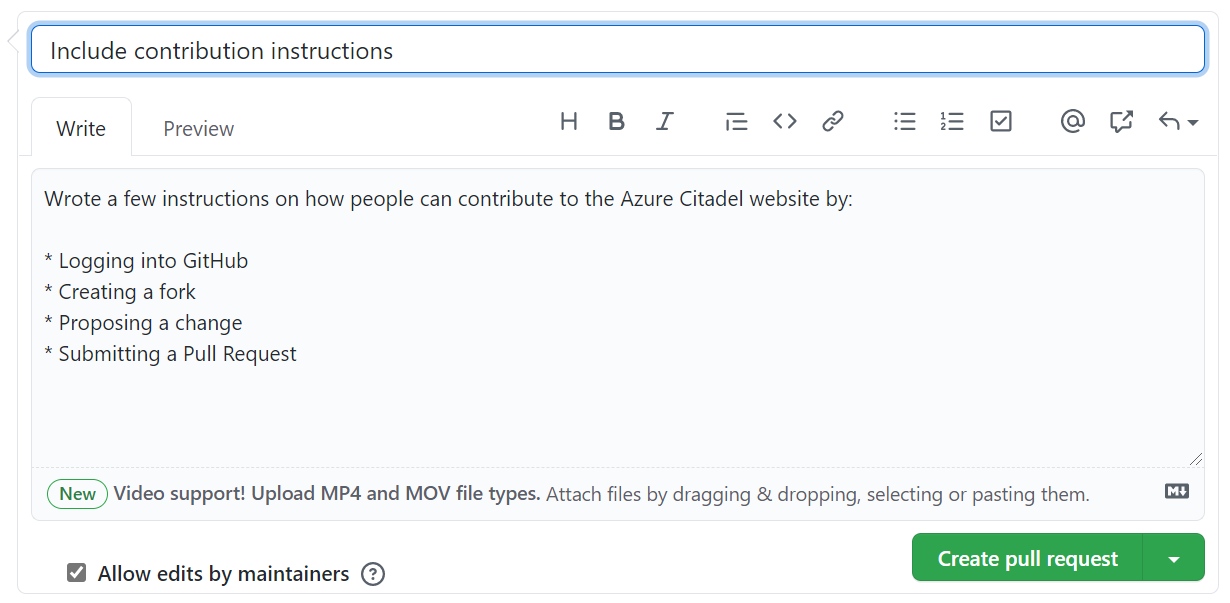
You can create a Pull Request by following the prompt after proposing your changes in the previous step.

The Title and Description of the Pull Request will be auto-populated from the Git commit that you created on your branch.
After you’re happy that you have included enough information, especially when proposing larger changes, you just have to Create pull request
Pull Requests provide a space for discussions to take place and keep a log of the the reasons why certain changes were made.
Relax
That’s it. Your Pull Request will be reviewed, merged and go live soon and you’ll be notified.